Back
Back
 Pixomatic Team
Hang in there, for most of us the warm days of summer are just around the corner. Until then, stay safe but never stay bored. We’ll show you some new fun posts to include on your social media profiles to get you in the summertime mood. There’s a lot of fresh and creative ideas for you below, so let’s get into it.
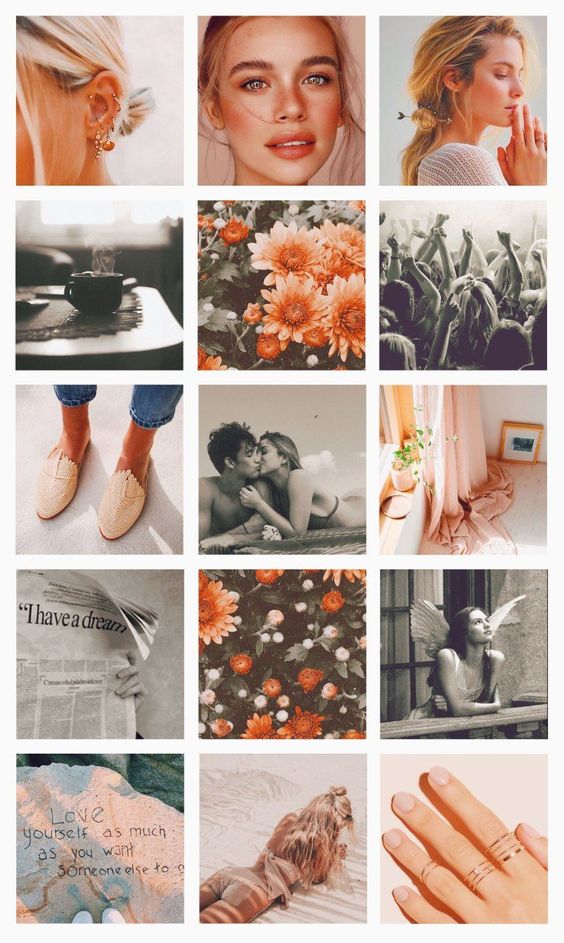
As always, this section is custom-tailored for those of you who like satisfying image themes.
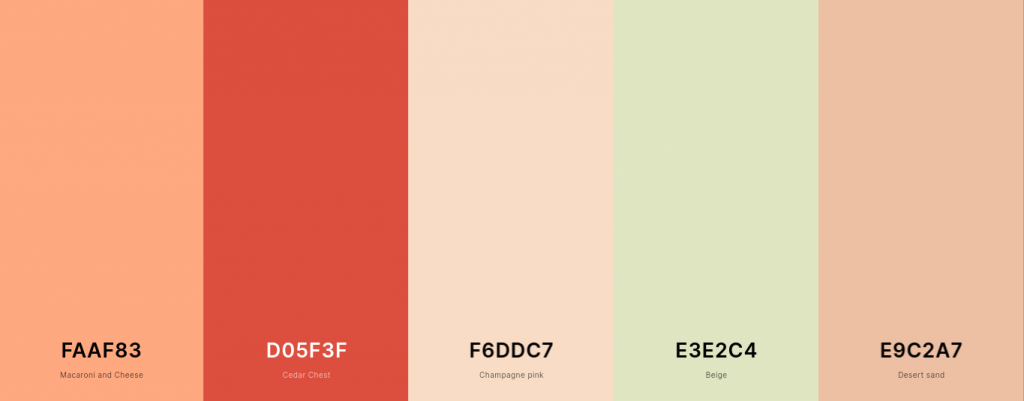
Peach-colored hues offer a great balance of brightness and softness. You get a pop of color without anything dramatic. You can pair these nude tones with green, off-white, or even grey. The peachy color is easy to find in flowers, during sunsets, and even your skin tone. You'll come across this color in your surroundings more than you think!
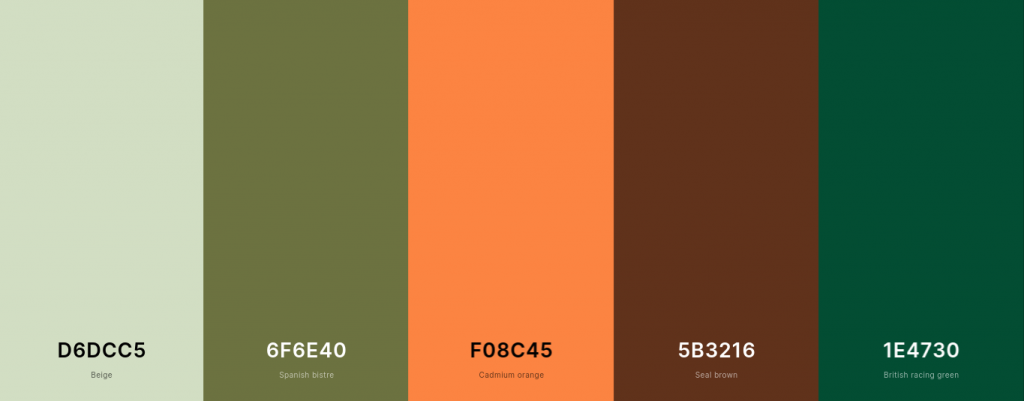
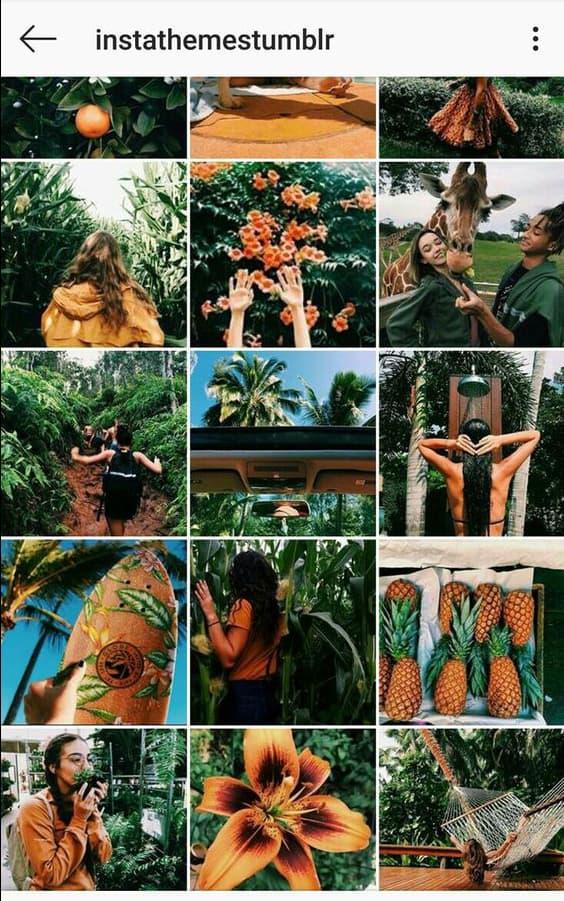
While we’re spending most of our time at home, nature doesn’t stop blooming outside. Take this opportunity to include a lot of greens and earthy tones into your social media. Have you been taking care of your plants or going out on walks? You can even take photos of the fruits and veggies you bought. There is a lot of beauty in nature, just look out for it!
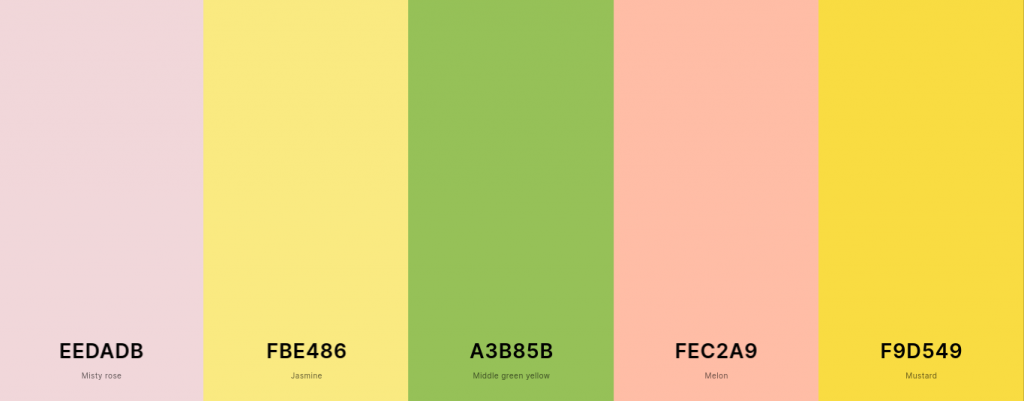
Has quarantine made you appreciate a healthier lifestyle? Then this refreshing color scheme is just right to also freshen up your social media photos. Find the bright tones of fruit, plants, and anything else that’s been essential for your lifestyle lately.
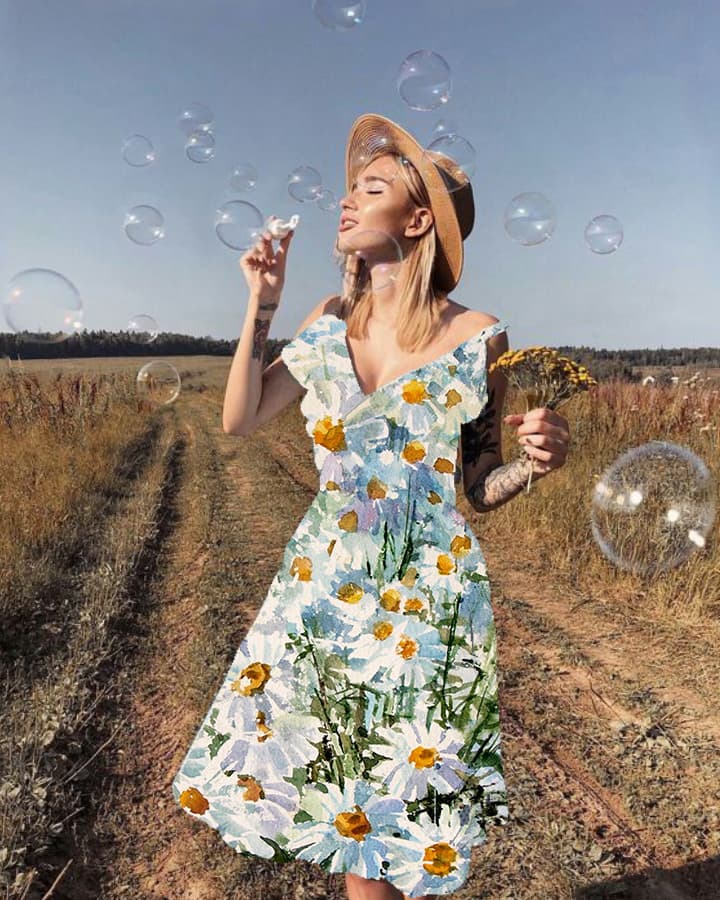

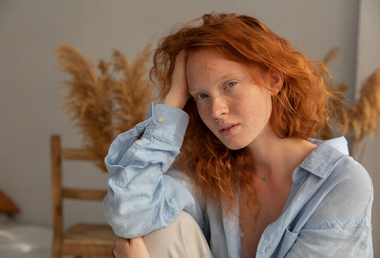
A unique photo manipulation that’s been going around lately is changing the design of your clothes in a photo, especially by replacing it with works of famous artists. You can do this just for the aesthetics, your love of fine art, or just because you have too many photos with the same dress already. If anything, it’s another great edit you can try out just for fun as well if you don’t want to post it online.
Step 1: Choose your photo Step 2: Select a pattern
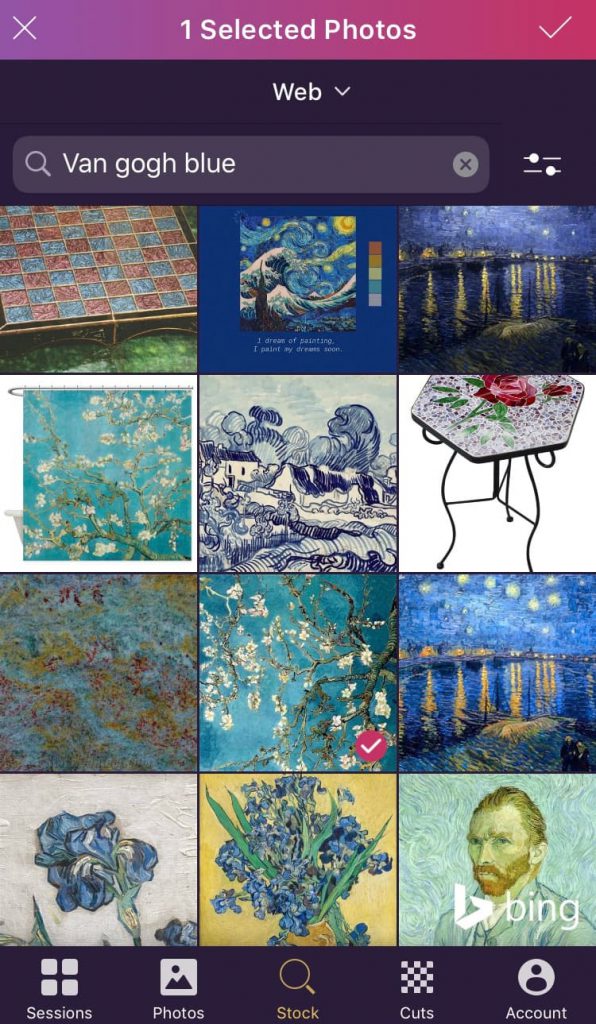
Pick out the photo you want to edit and upload it to the editor. Next, think of what pattern or design you want to replace your shirt or dress with. You can search for inspiration through our stock photos section, or if you know specifically what you want just search for it! We’re currently inspired by famous works of art that can be used as beautiful patterns such as Van Gogh’s Almond Blossom. This is what we’re using for today’s edit.
Step 3: Adjust the placement Step 4: Refine the excess
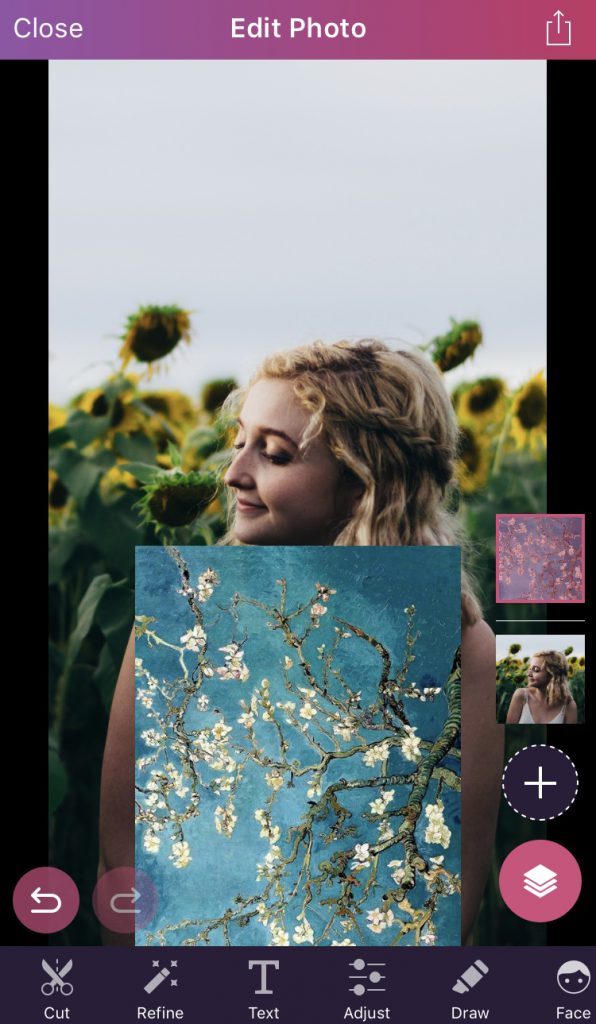
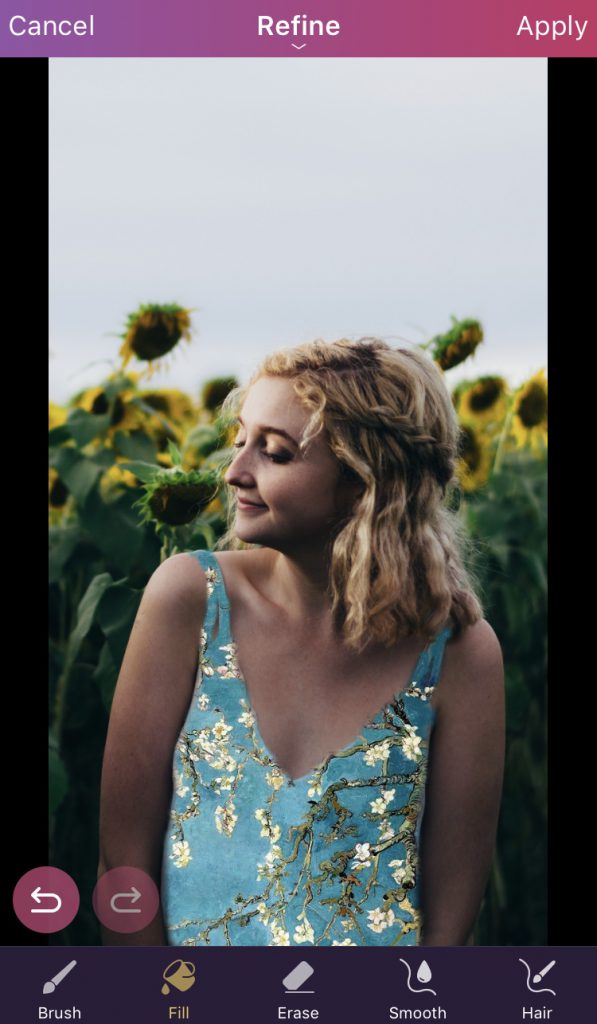
Once you’ve picked out a pattern or design, place the image so that it fully covers the clothing. Next, using the Refine tool erase the excess parts of the pattern so that it shapes perfectly around the shirt.
*Step 6: Blend the colors Done!
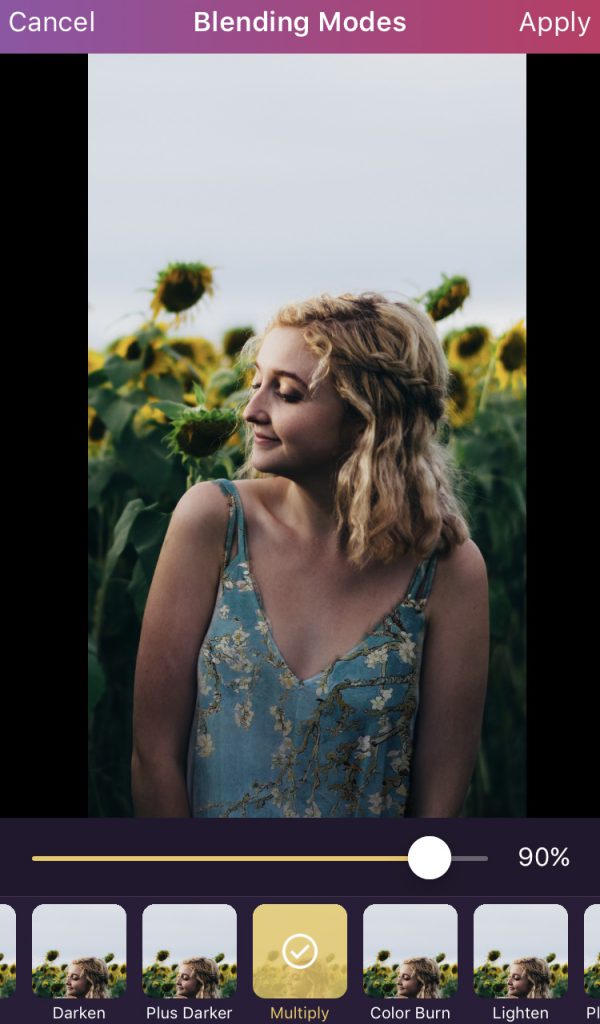

This next step is *optional depending on the pattern you decide to use. If it stands out too much, consider blending it better with the colors of the entire image for a smoother transition. If you don’t feel the need for this step, just skip it! And now you have a completely unique and new outfit for your portrait.
If you’re growing tired of posting regular portraits of yourself one after another, then this minimalistic collage idea is perfect for you! The best part is that you don’t really need many tools. All you need is a portrait photo, an online photo editor, and your creative touch. This outside-the-box idea will add a fresh touch to your social media feed. Watch Pixomatic’s quick tutorial video above to see just how easy you can create your own.
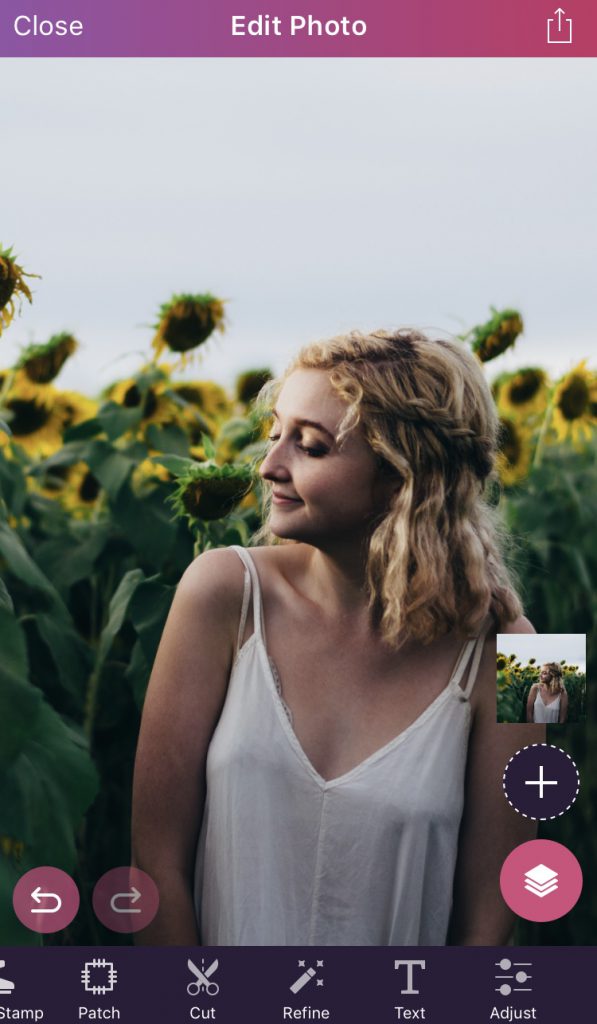
This month, we’re changing it up a bit for our ‘Inspired By You’ segment. As much as we like to follow trends, we also want to set trends! Our Pixomatic user @khairulselamat added his personal touch to a traditional before-and-after image. He added a newer image of himself on top of an old photo, showing how he’s changed over the years. We’re challenging YOU to do the same. Create a photo manipulation in this style and tag us @pixomatic_app on Instagram and you just might get featured. Don’t worry, we’re also going to show you just how to make this if you’re new to the app.
You only need to use 2 of Pixomatic’s tools to reach our end result. First, pick out the throwback photo that you want to use. Then, add another “image layer” and now upload the more recent photo. Using the Cut tool, remove the background of the new layer so that you can easily add it to your first image. Now just add the numbers!
After you have the cut out of the second layer, place it wherever you want. All is left now is to add the years with the Text tool. Adding shapes under the numbers is an optional step if your background has too much going on.
Don’t forget to tag us @pixomatic_app after you’ve made your own throwback photo.
We hope you enjoyed reading and we’ll see you back again next month!