 Pixomatic Team
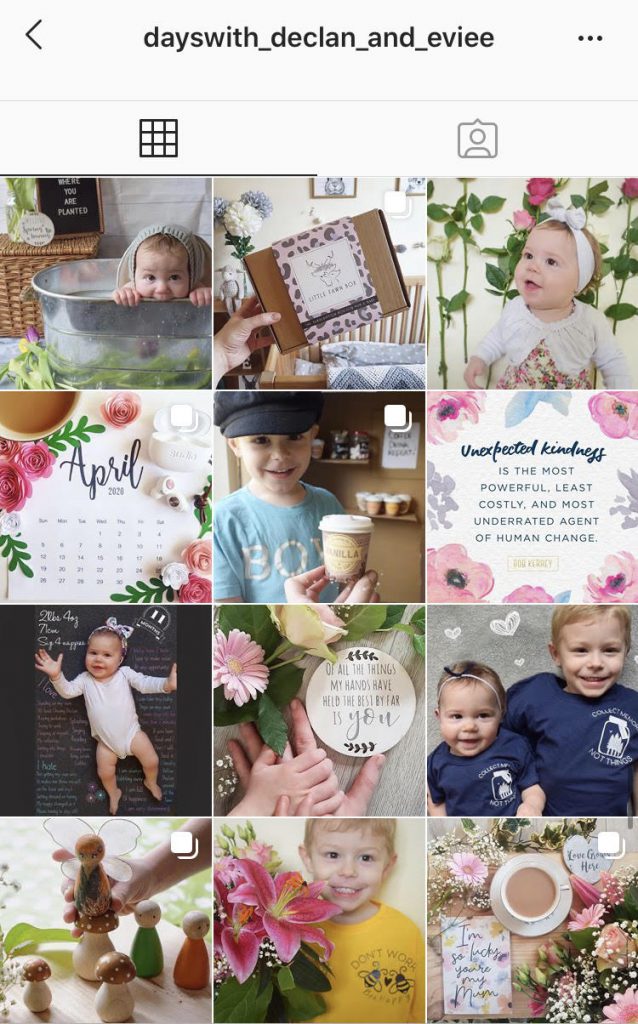
While most of the world is in lockdown this time of year, that doesn’t stop the flowers from blooming and April from emerging. We’re on social media now more than ever, so why should we stop spreading positive vibes through our photos? We’ve put together several tutorials, ideas, and inspiration to include in your social media feed this month.
Color Schemes for Inspiration
As always, we’ve put together 3 color palettes that are trendy for this season. Since our time outdoors is limited, this is a great time to start creating a matching theme for your social media photos. You may just like it enough to do it every month!
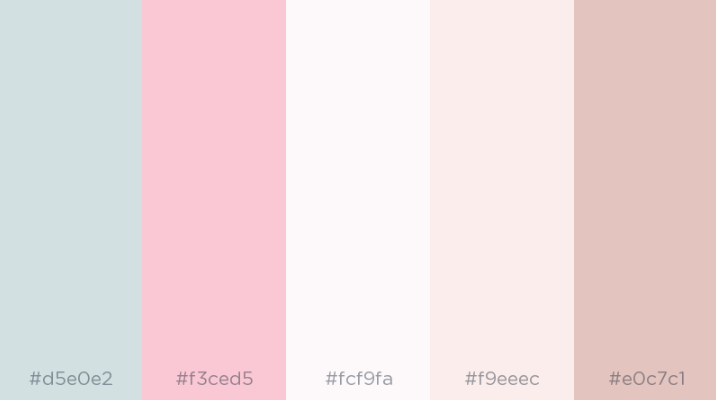
If you have a soft spot for cotton candy, then try out this sweet color theme. The dominant colors are baby blue, light pink, and even mint green. You can use softer accent colors like white and beiges for contrast in between. If you don’t own many items in this color scheme, you can easily find several filters or doodling tools as a creative solution to incorporate these hues.
Cream
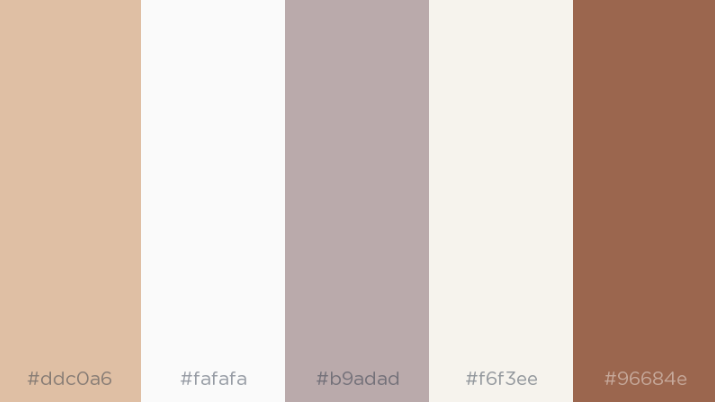
You can definitely find middle ground between a colorful and dark scheme. Trying out these shades of beige, brown, and grey will give you a warm and comforting feed. Use this time to take photos of anything aesthetic you can find at home since these colors are pretty common. Incorporate candles, blankets, jewelry, clothes, food, pets and much more.
Easter Bunny
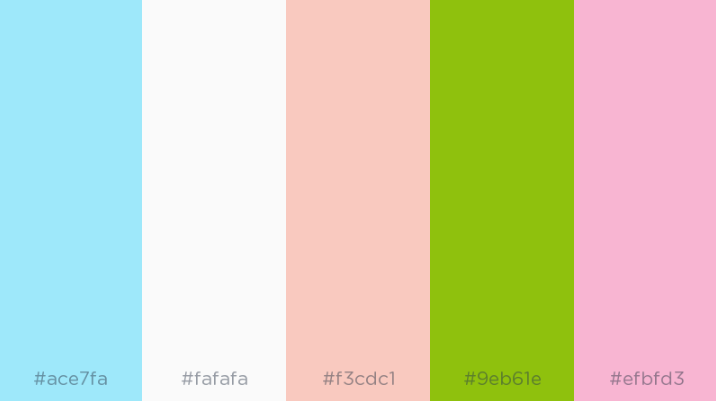
Whether or not you celebrate Easter, the pretty pastel colors of Easter bunnies, eggs, and yummy desserts are still appealing to look at. Mix some bright spring colors with more muted pastels to get a stunning feed for this time of year.
Floating Portrait
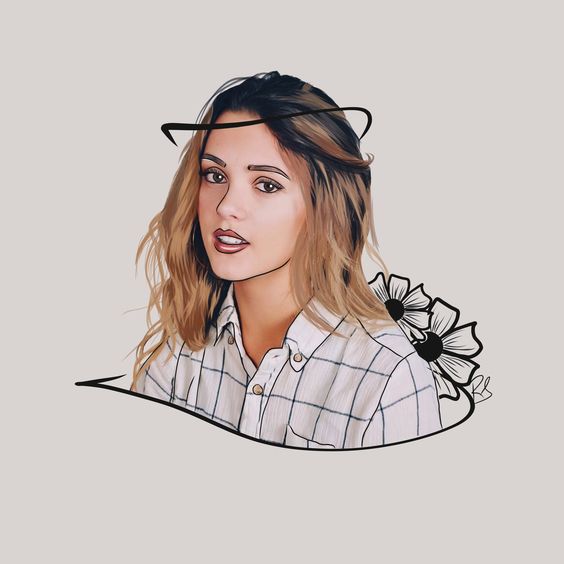
Floating portrait photo manipulations are a new, trendy way to make your portrait photos stand out. And surprisingly, they’re not all that hard to make. Here’s a step-by-step guide on how you can replicate this style for yourself on Pixomatic’s online editor.
Step 1: Lay the groundwork
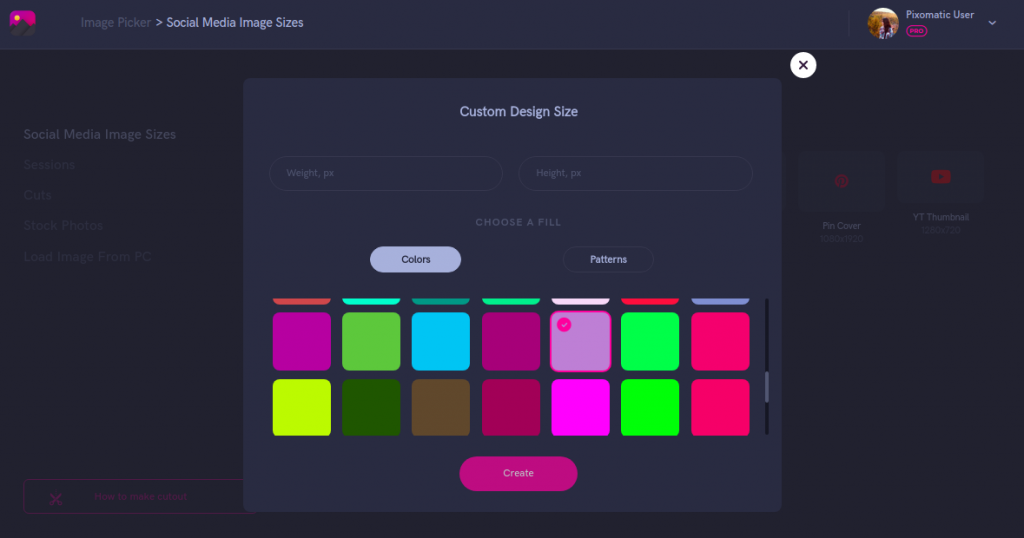
Pick out your background photo to use as the foundation of the edit. Solid backgrounds work best so we would recommend using one. You can now pick from a selection of solid backgrounds on Pixomatic’s updated desktop editor. Set your custom size for the image as well. We’ll be using a 600x600 square for this edit but feel free to make it horizontal or vertical if you want.
Step 2: A Quick Cut
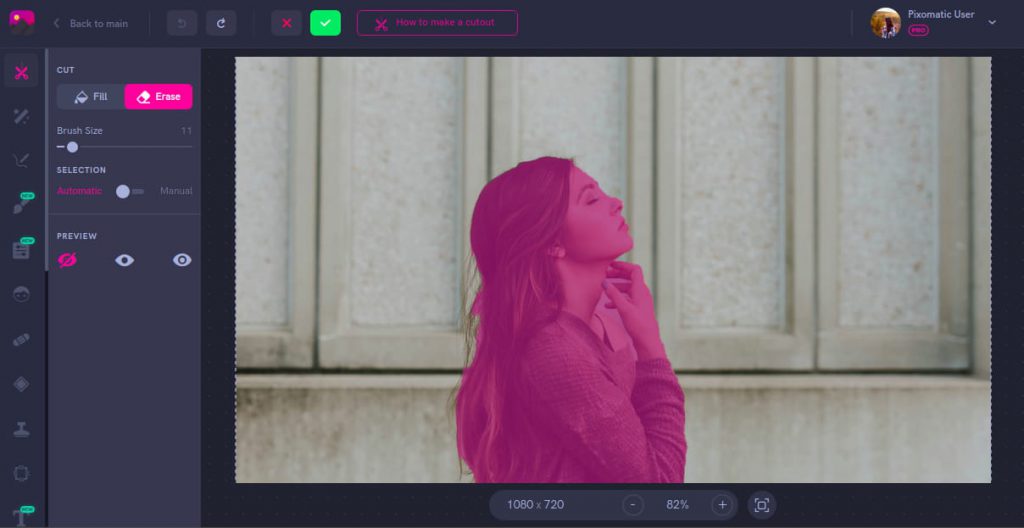
Now, add a photo of yourself (or another model) who will be at the center of the photo edit. Using the Cut tool, remove the background from the model. You can use the Hair tool afterwards to adjust any hair pieces that did not cut perfectly.
Step 3: Fix the Edges
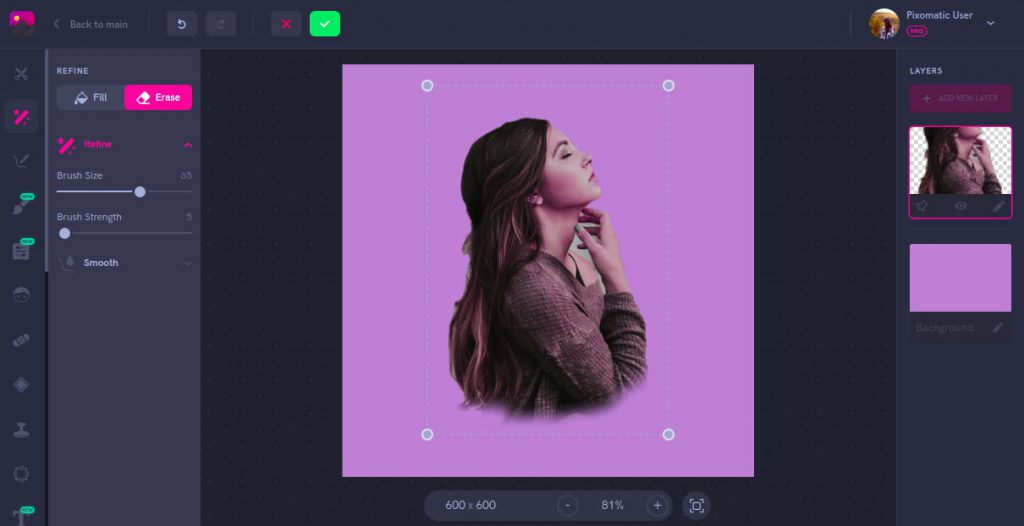
Next, use the Refine tool to erase some of the harsh lines at the bottom part of the model. Erase it with a slight curve to let the woman blend better with the background.
Step 4: Let Your Creativity Loose
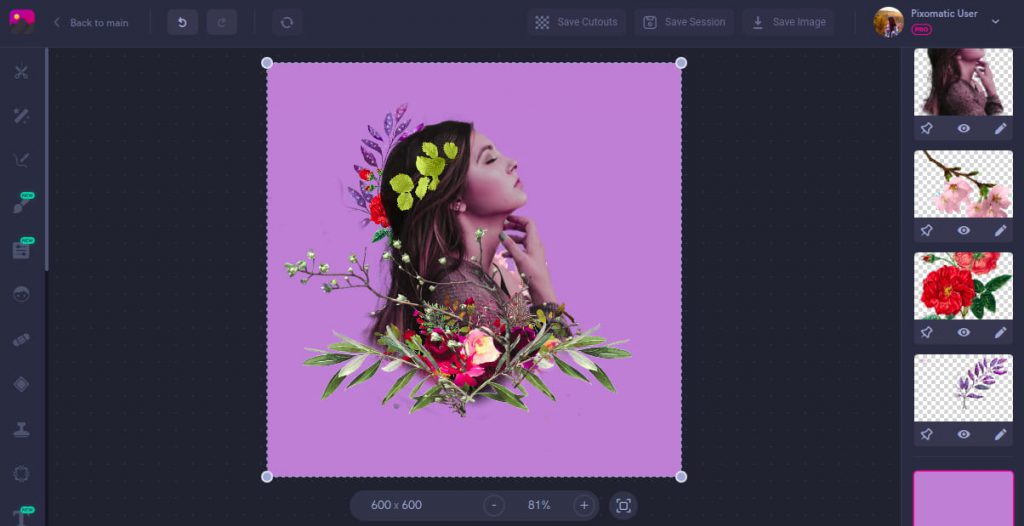
Now it’s time to decorate your portrait (the most fun part). We’re doing a springtime inspired version, but feel free to keep it as minimal as you like. Find branches, leaves, flowers, and other natural decor pieces and add them as separate layers. It’s best to use the Bing image search and filter by transparent images only, so you don’t have to spend time trimming the background off of each individual flower. You can use the Refine tool if needed to blend some pieces better.
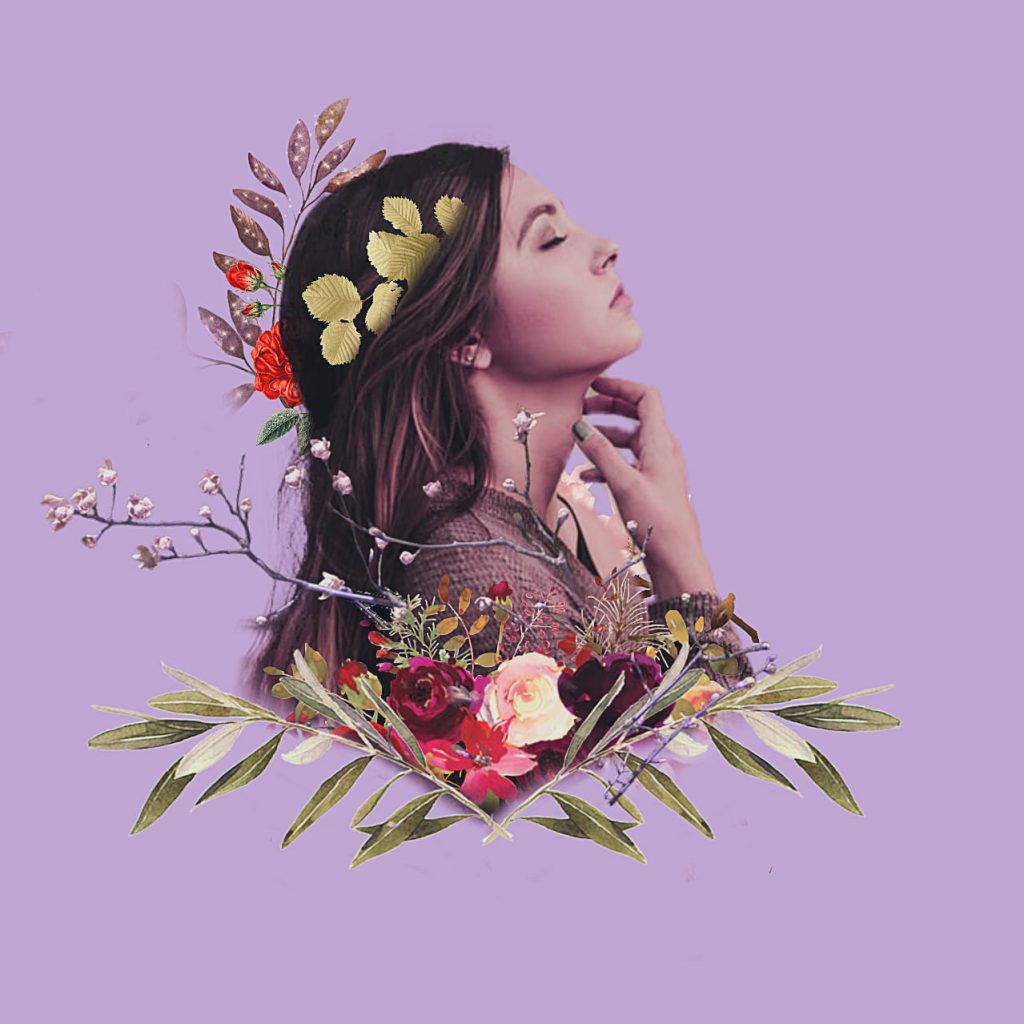
If you would like, add a filter on top to bring everything to a similar color tone (we used Pixomatic’s E4 filter here). And that’s all it takes! Use this edit for a unique addition to any one of your social media feeds.
Inspired by You
Pixomatic users never stop letting their imagination roam to create the most fantastic photo edits. We’re currently amazed at how @bast_worldwide on Instagram uses the Earth so flawlessly in his photo edits. So for this month’s photo tutorial inspired by you, we’ll show you how to create a photo edit that’s out of this world.
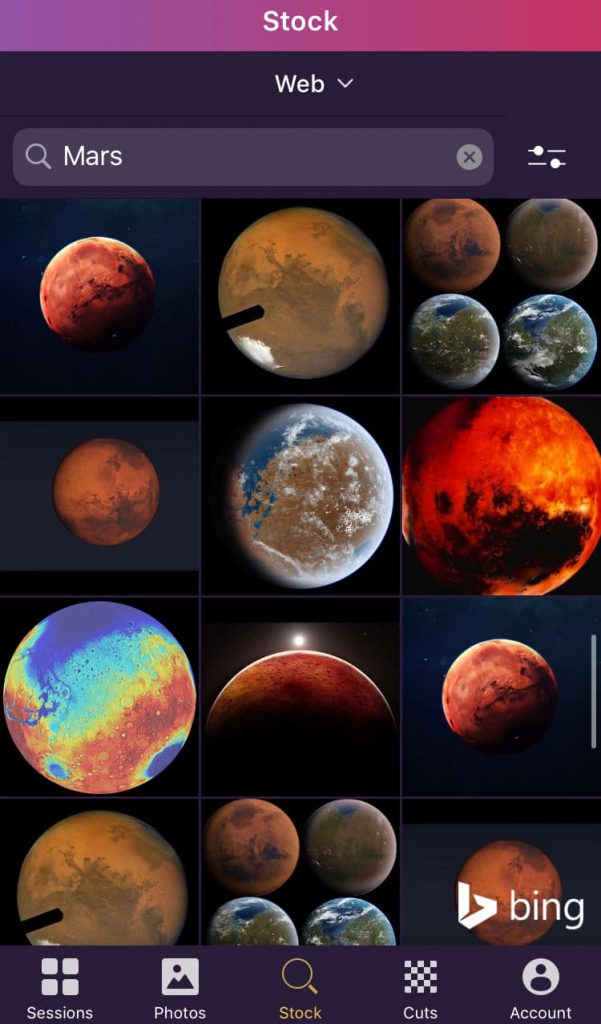
Step 1: Choose your backdrop
Step 2: Add a foreground
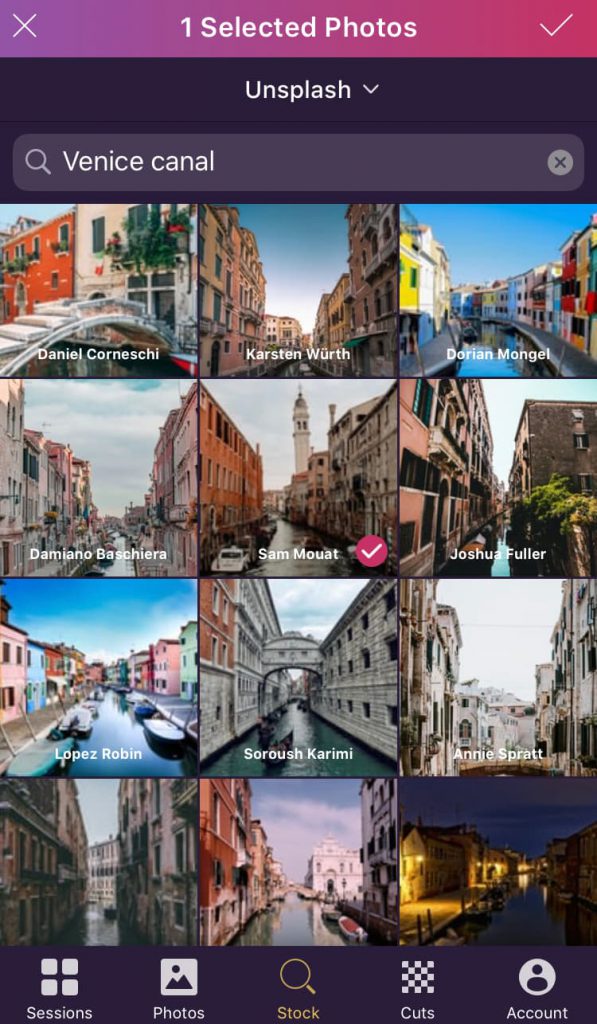
We don’t want to make a full copy of @bast_worldwide’s creation, so instead, we’ll be using Mars as our backdrop. Gathering photos from stock photo search makes everything a lot easier since only a few of us actually have original photos from the galaxy. Choose a planet of choice for your background and one urban landscape for your foreground image.
Step 3: Refine!
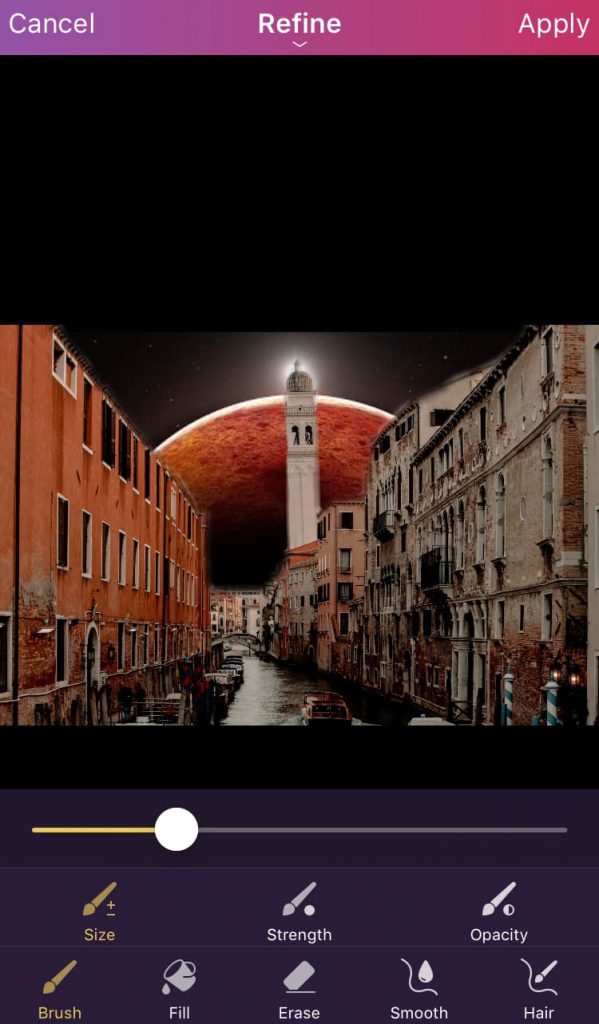
Step 4: Finishing Touches
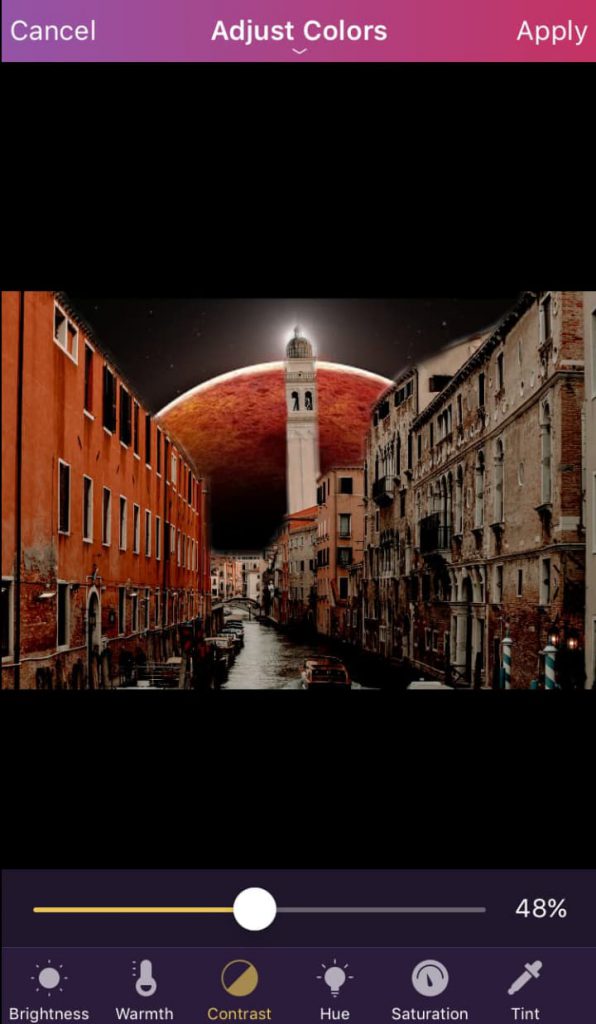
After aligning your background and foreground on top of each other, use the Refine tool to carefully erase the parts of the foreground that you want to be exposed with Mars. You just need to trace around the buildings so that your sky is now replaced by the background we selected in the previous step. The hard part is now over! Adjust the colors a bit to make both layers match, add some details such as people or birds flying in the background, anything that your creative touch allows.
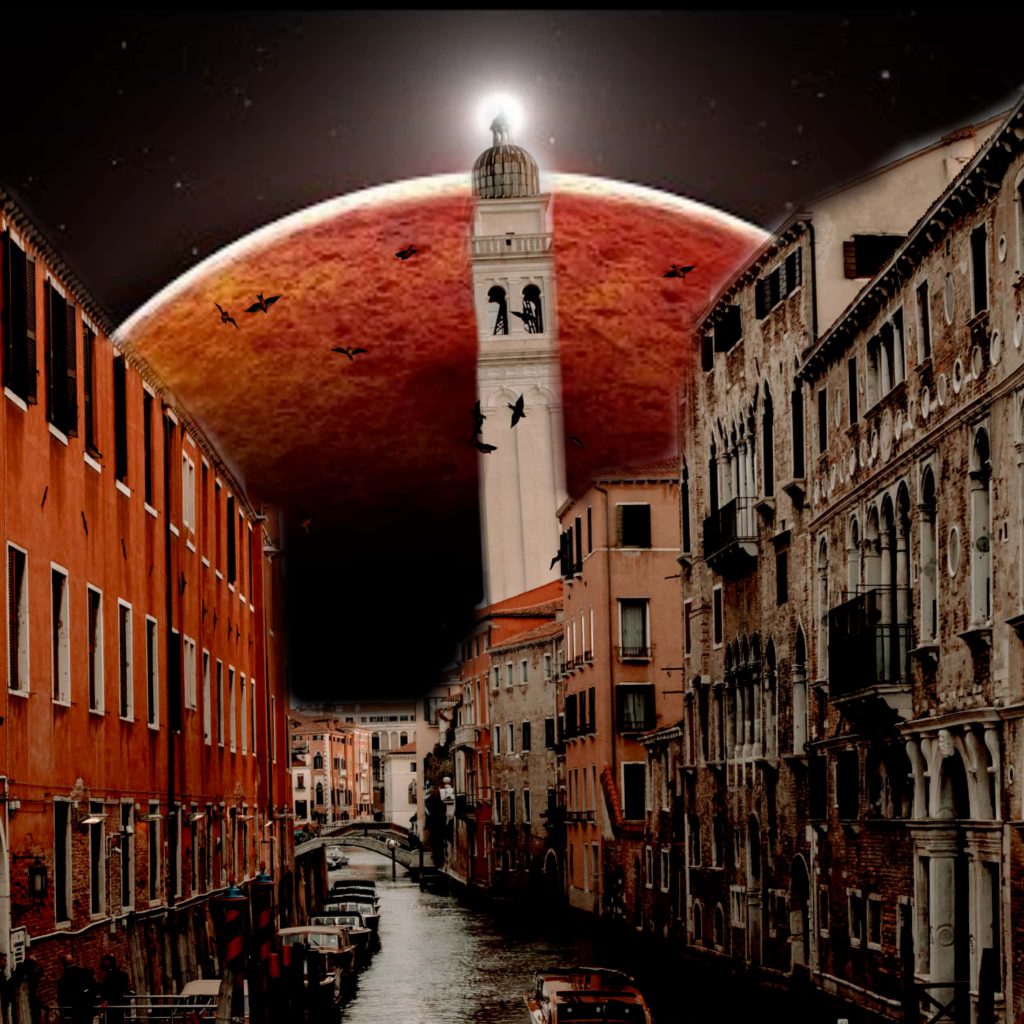
That's all we have in store for you this month. Keep on creating in your spare time and we'll see you again a month from now.

