Back
Back
 Pixomatic Team
Each and every new smartphone comes equipped with a camera capable of taking professional level photos. So, why is our social media feed full of blurry nature photos? Many people simply don't know how to get the best out of their smartphones, but that is about to change, right now! Here are our 6 tips for mastering smartphone photography.
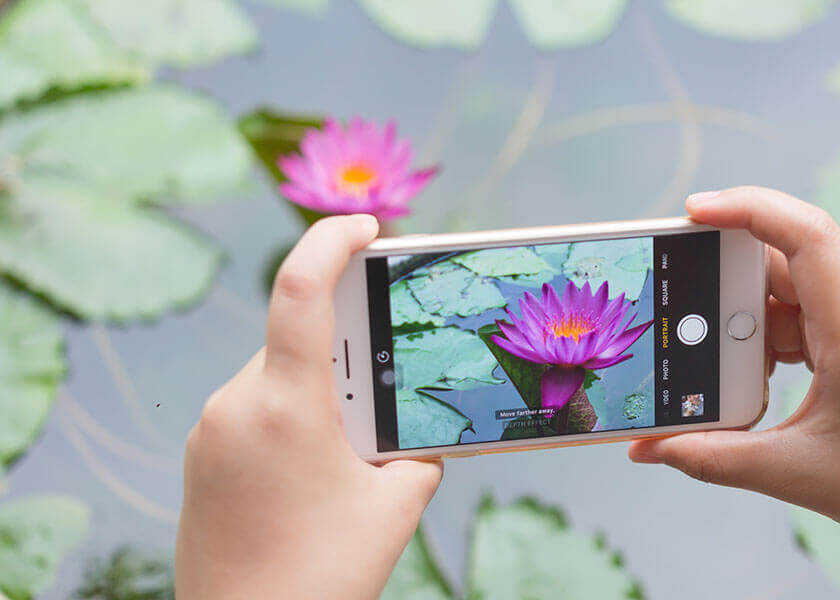 This feature is so simple, and yet there are so many people who simply haven't learned most of the smartphone photography hacks. As everyone thinks that his phone will do a pretty good job of focusing on the object automatically, it’s not always working properly. Your smartphone camera is built to get as much of the scene in focus as possible. This is where you need to help it help you, by literally showing it what is most important. Just tap on the subject that needs to be in focus on the screen and you won’t regret the result.
After you tapped to focus, that's when your camera is going to measure the proper exposure. Its automatically picked exposure will usually be desirable, but there are some exceptions. For example, when you try to take a photo of a tree on a bright, sunny day, you will want to focus on the tree, but when you tap on it, the background turns white and you simply lose the blue sky and the beautiful white clouds on the background. This means that the camera is exposing for the tree and overexposing the bright clouds in the sky. Fortunately, we are able see and choose how our exposure is going to look, right on the screen, before we take the photo. All you have to do is adjust the desired exposure to brighten or darken the image. The fine-tuning of the exposure is the crucial point in making it look the way you want it to look.
Sometimes, your scene just has too much contrast. You brighten it up and the tree looks good, you darken it down and the sky looks good, but you can’t find the satisfactory middle ground, where both of them will appear attractive. Now it's the HDR time. HDR stands for High Dynamic Range, and it’s referring to the difference in shades the camera's sensor is able to capture. Unlike the camera, our own eyes have the ability to see a very wide variety of dynamic range. We can look at a scene with very bright and very dark parts and be able to see details in both. Your smartphone camera sensor simply can't do that. In each exposure, it has a much smaller range of shades and tones it can capture. So it’s either you get the lights or the darks, but not all together. The HDR setting is created to increase the range of tones by taking multiple photos, at different exposure settings and combining them together. With that you can have a photo that looks much closer to the way your eyes see the scene. 

With all its greatness, HDR is not always the option. In fact, there are some settings where it will only make things worse. If there is any movement in your scene, like a bird flying by, or leaves blowing in the wind, you are going to be in trouble. With time the cameras in our phones have gotten really good at taking the 3 exposures in very fast succession, but it still takes too long if you have a fast moving subject. You will end up with “ghosting”, glowing borders around high contrast parts and maybe even faint doubles of moving objects.
 Most people are not familiar with their smartphone camera tricks and effects. Do you know you can use the volume buttons on your phone to snap the photo, rather than touching the shutter button on the screen? It's true, go ahead, try it! It's a much more natural way to take photos, and can be suitable for those who are used to pressing a shutter button on top of their camera. Go ahead hold your phone with both hands the whole time without having to struggle with the phone by tapping on the screen.
When taking photos of people outside in broad daylight, you may have noticed the results are less than flattering. Shiny parts like the forehead may simply turn white, while small shadows collect under their noses and eyes. In order to get a beautiful, even exposure on a person (or any subject) outside in bright or harsh sunlight, you have to find an open shade. Open shade means just what you think it is, a shady place that is open on the sides, which still allows some daylight in. It can be anything really: a covered veranda or a small picnic shelter, in the shade of a wall or a dense tree (I’d recommend a dense tree because the patchy sunlight streaming through leaves in the forest looks incredible when you are there, but terrible across a person's face in a photo). If you have an overcast day, guess what, it’s not that bad! A cloudy day is actually the most flattering light to photograph people in, so take advantage of it and snap some portraits! Altogether, this set of tips and tricks should be useful for almost any genre of photography and is aimed to increase both your abilities and efficiency. And of course, when you've mastered the technique, you can also check out our 7 Steps to Successfully Promote Your iPhone Photography on Instagram. Have any favorite photography tricks to share with us? Leave a comment below!