Back
Back
 Pixomatic Team
Some photographs are packed with details and objects that they become confusing for the eye. Blurring out an object’s surroundings is the quickest way to separate it from its background. But, a circular blur does not always suit a photo. For example, if there is a long bridge that you want to keep in focus. A linear blur is a suitable option because it has the effect of a focal strip. What does that mean? The tool provides a rectangular strip where the image will remain untouched. Everything falling outside the borders of the focal strip will receive a smooth, foggy finish. Pixomatic developed the Linear blur tool to have a soft and gradual effect. So, the borders of the focal strip are made to apply low-intensity blur on photos online.
With Pixomatic’s desktop editor, you can blur photos online in more ways than one. What makes Linear blur special? The tool is fine-tuned to create a long slither of focus rather than highlight a single object. This quality makes it useful for adding perspective, keeping long shapes in focus, and creating many other effects. The Linear feature operates similarly to Radial blur but can be applied across the image rather than a circular portion.
The editing process is a matter of four easy steps: image selection, tool selection, resizing, and positioning.
To begin with, open Pixomatic’s online editor or app version. Now, select the image you want to edit from your personal gallery. If you want to practice editing with Linear blur first, feel free to use the stock photos in Unsplash and Bing archives.
Disclaimer: If the original image is already blurred, the focal strip will not make the image clearer. The tool only adds blur around a selected line of focus. Consider the end-result a layer rather than a modification of the original image.

Next, refer to the tool menu in the left tab and click on the blur feature ![]()
You will be directed to a tab with four blur options. From the list, click on Linear blur to activate the tool.
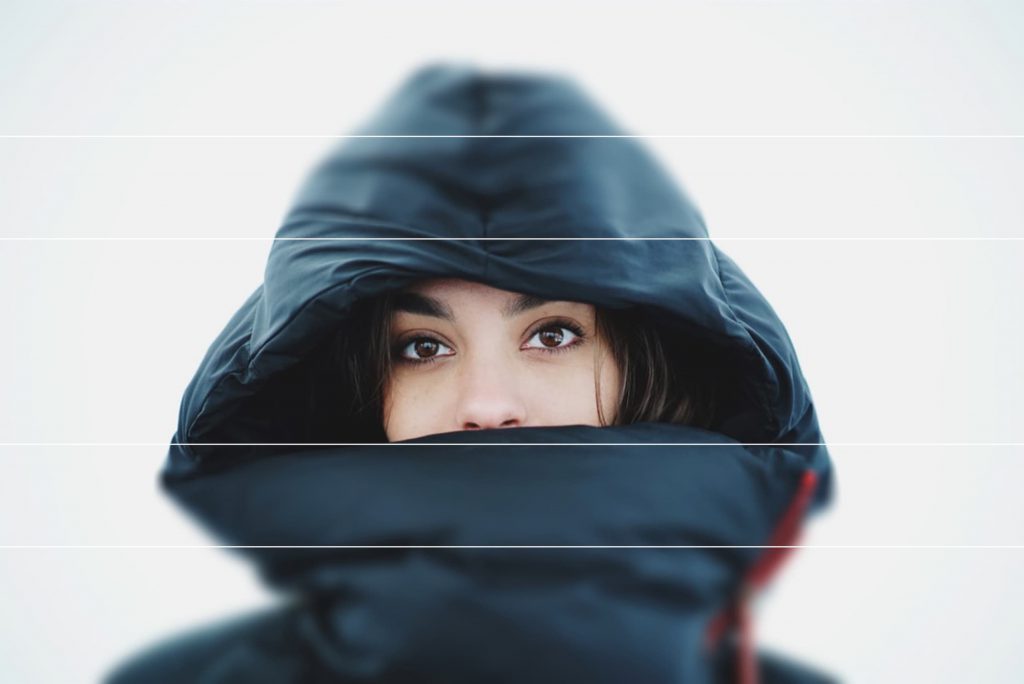
A white border will then appear above the photo. The border acts as a guide as to where the blur will start and end. Everything that falls inside it will remain untouched and will start fading out at the linear borders. This effect creates what we may call a focal strip that flows from one end of the photo to another.
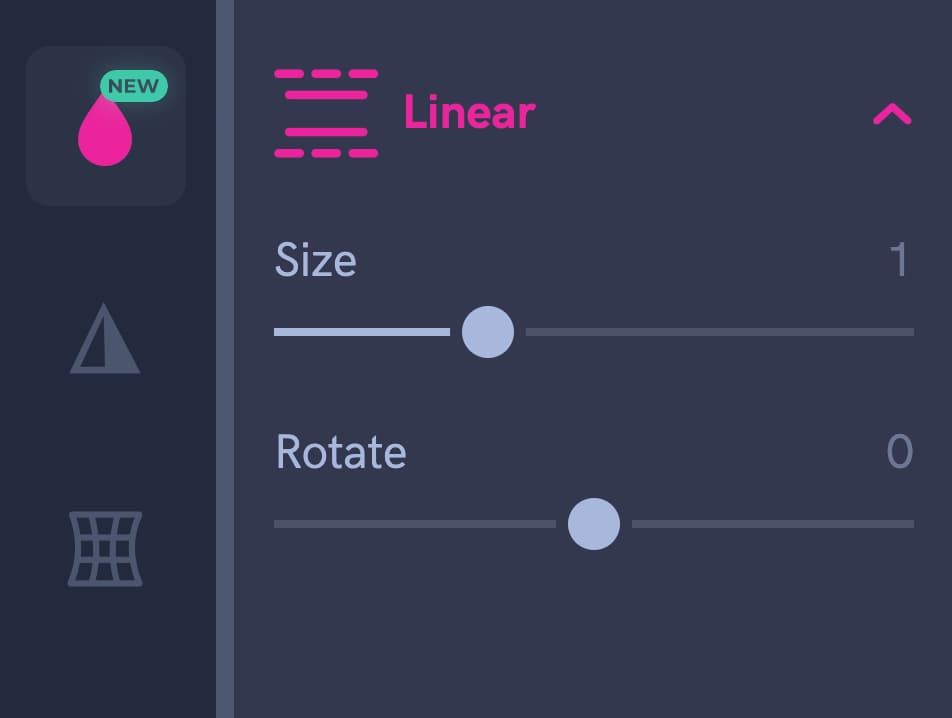
Now that the blur tool is activated, you can easily reposition the border by clicking and dragging. The size of the blur is also highly important. You would not want to make the focal strip narrower than the object you want to remain clear, nor too broad. Simply change the size of the Linear blur by adjusting the slider in the blur tab on the left.
You might need to rotate the blur borders to apply linear blur on photos online. Why? Well, that would depend on the photo you are editing and objects you want to keep in focus. For example, if you are interested in a diagonal object or if you want to align it to a piece of architecture. Rotating the border is a two-second matter with Pixomatic’s blur tool. All you need to do is shift the slider in the blur tab. Linear blur has 360° rotation with horizontal centering at 0.
All done? Click that green tick at the top of the editor to apply the blur.

Now that you know how to use the tool, it is time to show its potential. Linear blur can function as a practical focal point, a sneak-peek effect, and an artistic touch.
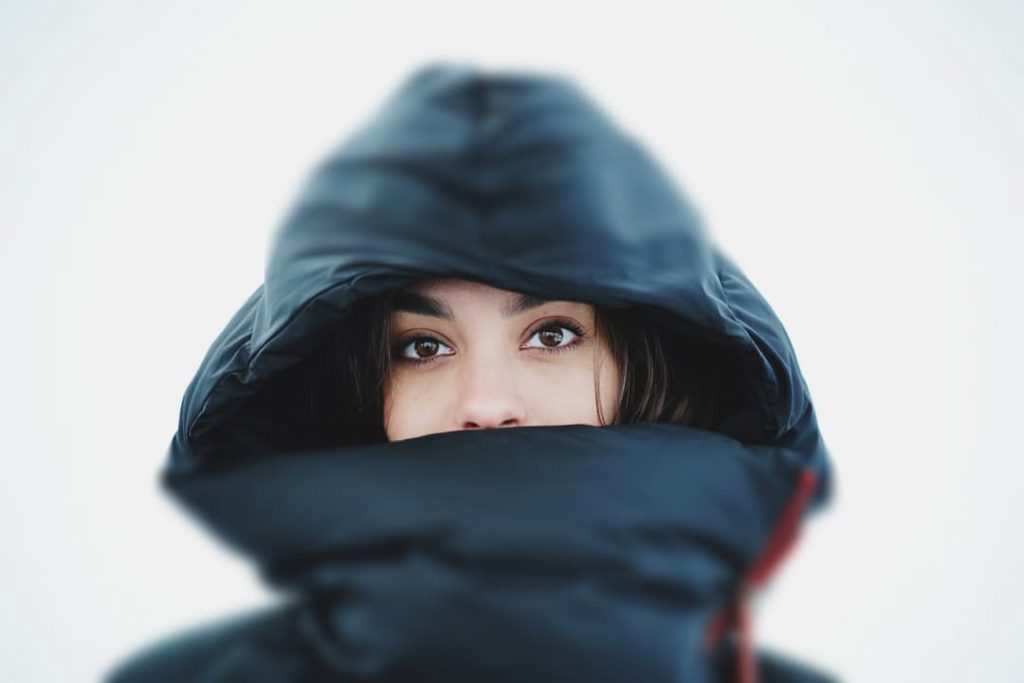
Linear blur can function as an excellent sneak-peek into a section of a photo. The technique is easy, just set the blur border on one of the ends of the rotation slider, to make it vertical, and position it to a section of the photo. It will draw the audience in on the objects you find most important. Like sharing a secret with the viewer!
Pro tip: make sure the original image is in good quality and focus to make the focal strip more visible.

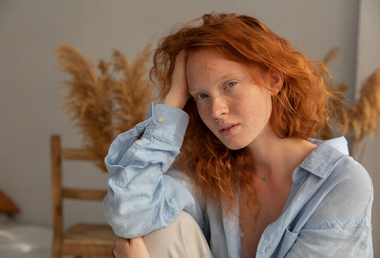
A natural focal point tends to be in well-lit areas of a photo and, typically, in the center. Pixomatic’s Linear blur enables you to challenge this ‘rule of thumb’. You can make a focal point of your own, even if the objects are diagonal or run through the entire frame. Shift the rotation slider and create a unique, diagonal focal point.

You do not have to comply with a photo’s composition when working with Linear blur. Basically, the objects do not have to be aligned in a certain direction for Linear blur to work. You are more than welcome to find interesting patterns to highlight in chaotic photographs. Another idea is to simply break the frame with a stripe of focus even if there are no significant objects in its way.


Objects that are positioned further from the camera tend to be faded and even blurred. Linear blur can help you add depth to a shot if your camera did not it clear enough. How? Well, this blur tool does not only create clear stripes across a photo. Maximize the size of the border and position it so that there is only one blur side above the photo. This way, you leave half of the image clear while blurring out the rest. The fading effect can show both distance and height depending on the angle of the original shot.


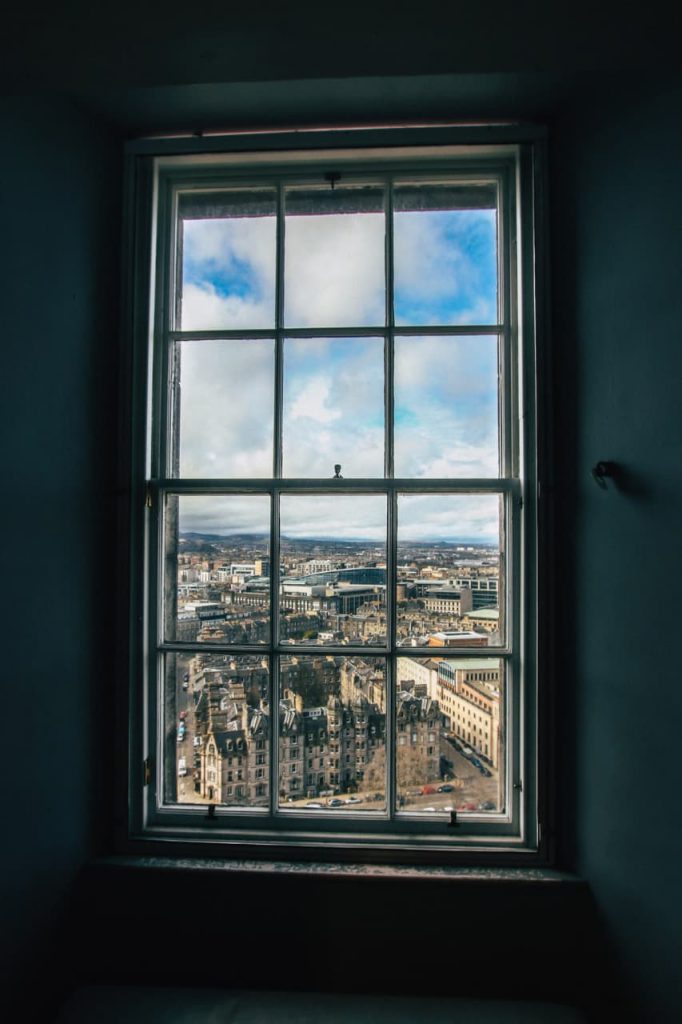
A blurred image is reminiscent of a fogged-up window from the difference in indoor/outdoor temperatures. It is easy to recreate this effect with an edit similar to the fading effect. Windows tend to condense from the bottom frame and up. Begin by maximizing the border size. Instead of blurring the top half, position the border to blur the bottom half of the image. This effect is effective on most images of windows.
If there are objects in the foreground the task gets a little trickier. Apply Linear blur to the lower part and then click on Erase in the blur tab to remove blur from other objects. Otherwise, the object will fall under the blur and the window will not look misty on its own.