Back
Back
 Pixomatic Team
Your visual communication strategy is vital when you are doing a presentation or creating infographics. You want your visuals to be eye-catching to keep your audience engaged. For this reason, focusing on visual elements is crucial.
You’ve certainly needed a PNG image once in your academic or professional career. Sometimes you do not find the right one, and in this situation, you have to be creative. Not only you can create double exposure images using Pixomatic, but you can also do something as simple as creating a PNG image online or using your smartphone.
Follow the steps below to learn how to make PNG pictures!
1. Create a cutout
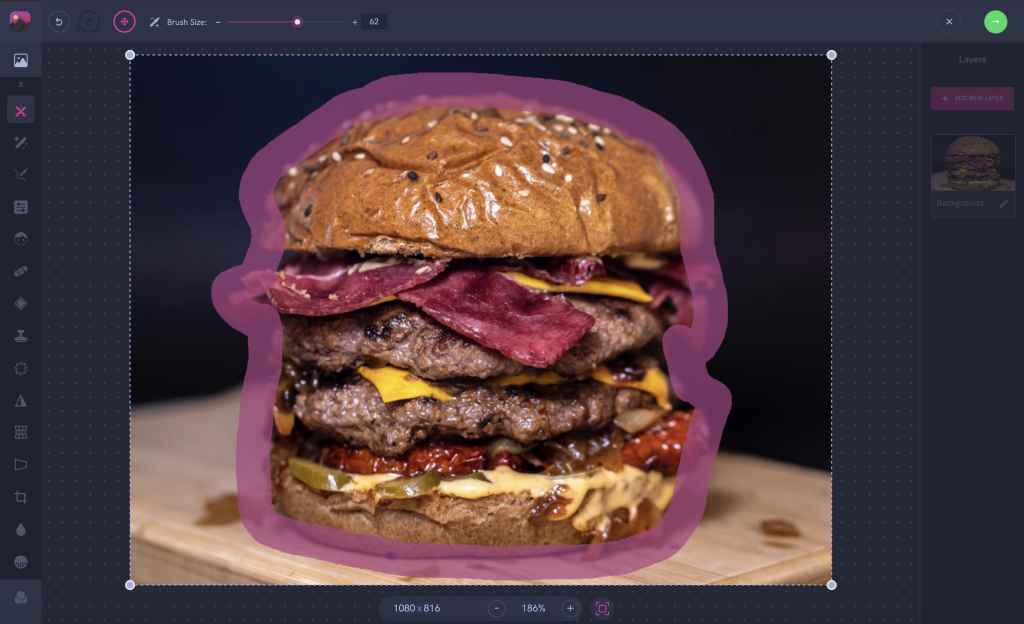
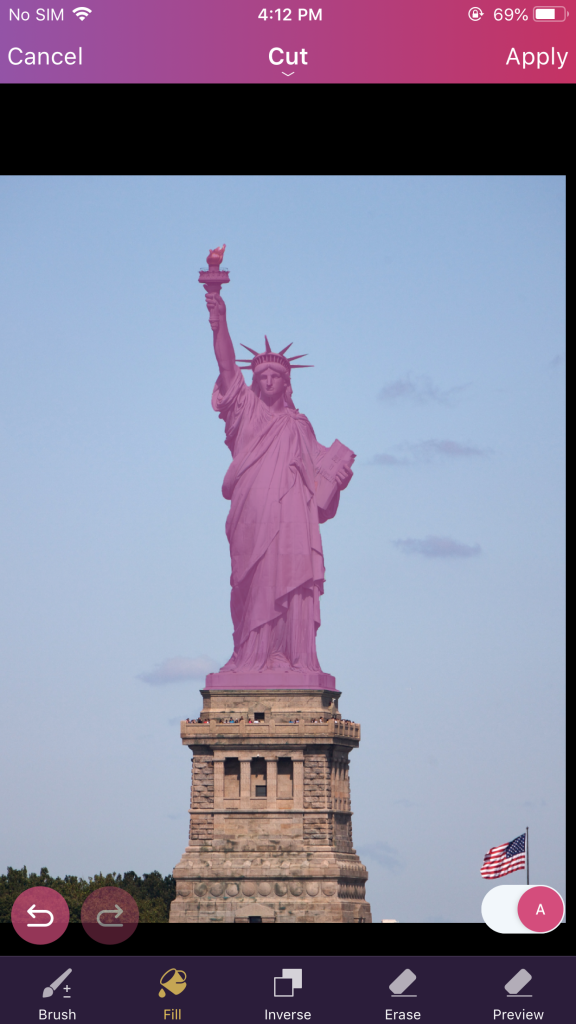
Select Cut in the left panel. Adjust the size of the brush by dragging the slider to the left or the right, and outline the item.
2. Adjust your cutout
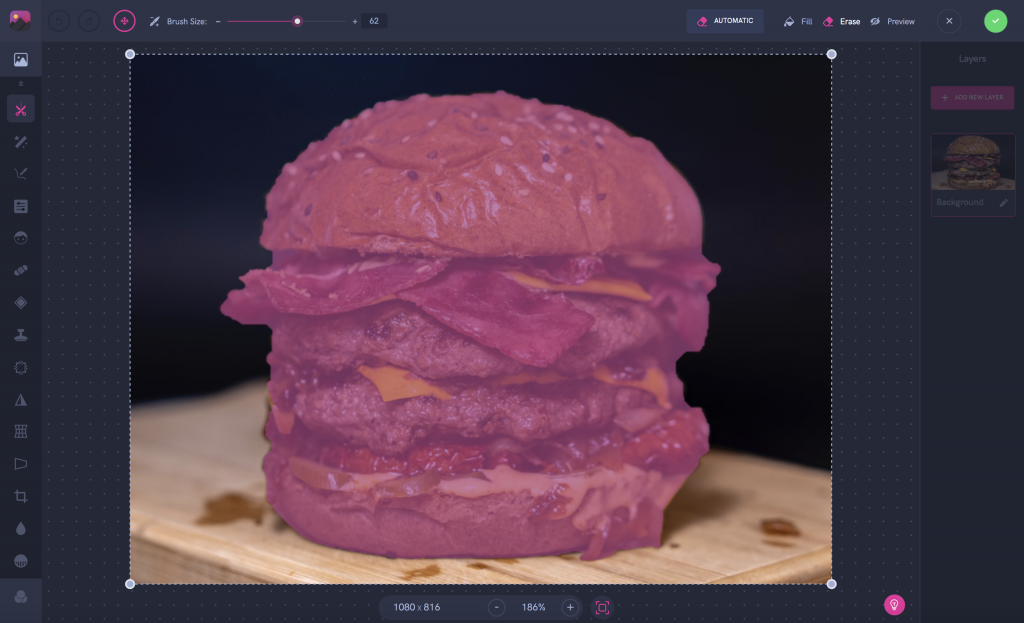
Now, preview the cutout. Click on Preview to see how the cutout will look like. If you did not trace the outline accurately, click on Fill or Erase to fill the missing parts or erase the parts that will not be included in the final edit. When you’re done, click on the green circle at the top right corner and save the cutout.
3. Save
Click on Reset Session in the top panel, find your PNG file in the cutout folder, and download it.
1. Create a cutout
Select Cut and adjust the size of the brush by dragging the slider to the left or right. Now, outline the item. Take your time while doing that. Zoom into the image to trace your outline more precisely. Click on Next.
Now, preview the cutout. Click on Preview to see how the cutout will look like. If you did not trace the outline accurately, click on Fill or Erase to fill the missing parts or erase the parts that will not be included in the final edit. When you’re done, hit Apply.
2. Set a transparent background
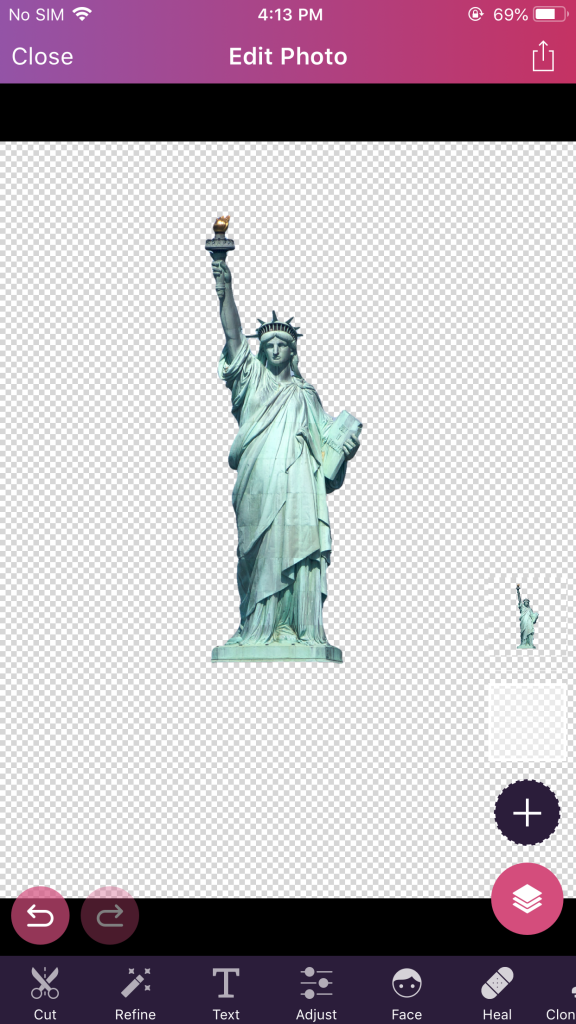
Select the background layer in the right panel. Now, click on the button on the left, then click on Transparent Layer. Your background is now transparent.
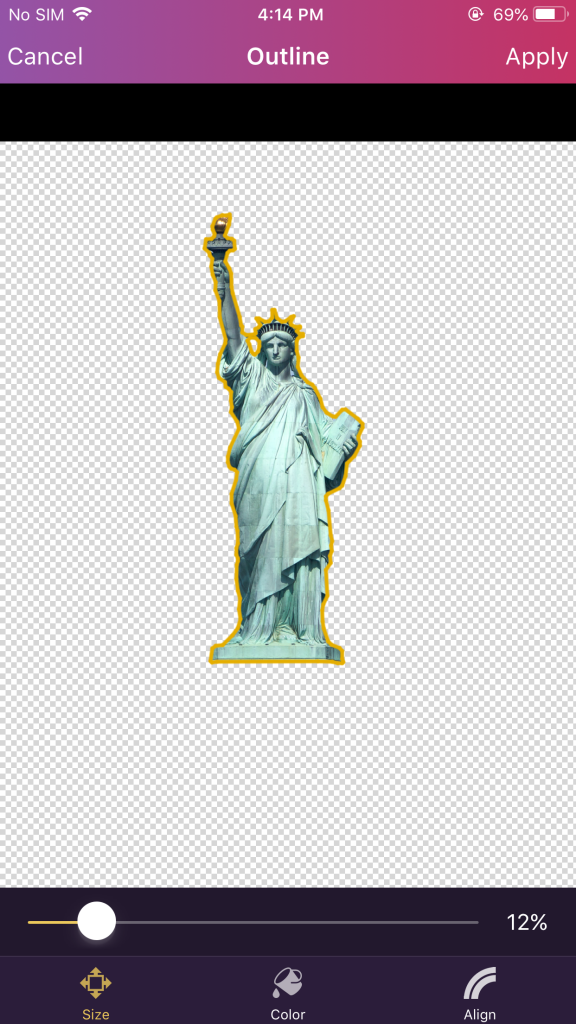
YouTubers tend to highlight items on their thumbnails. It’s easier than it looks! Click on Outline in the panel at the bottom. Adjust the thickness and the color of the outline by dragging the slider to the left or right.
Et voilà!

It's your turn to make a PNG file! Practice makes perfect, so you'll get the hang of it before you know it.