Back
Back
 Pixomatic Team
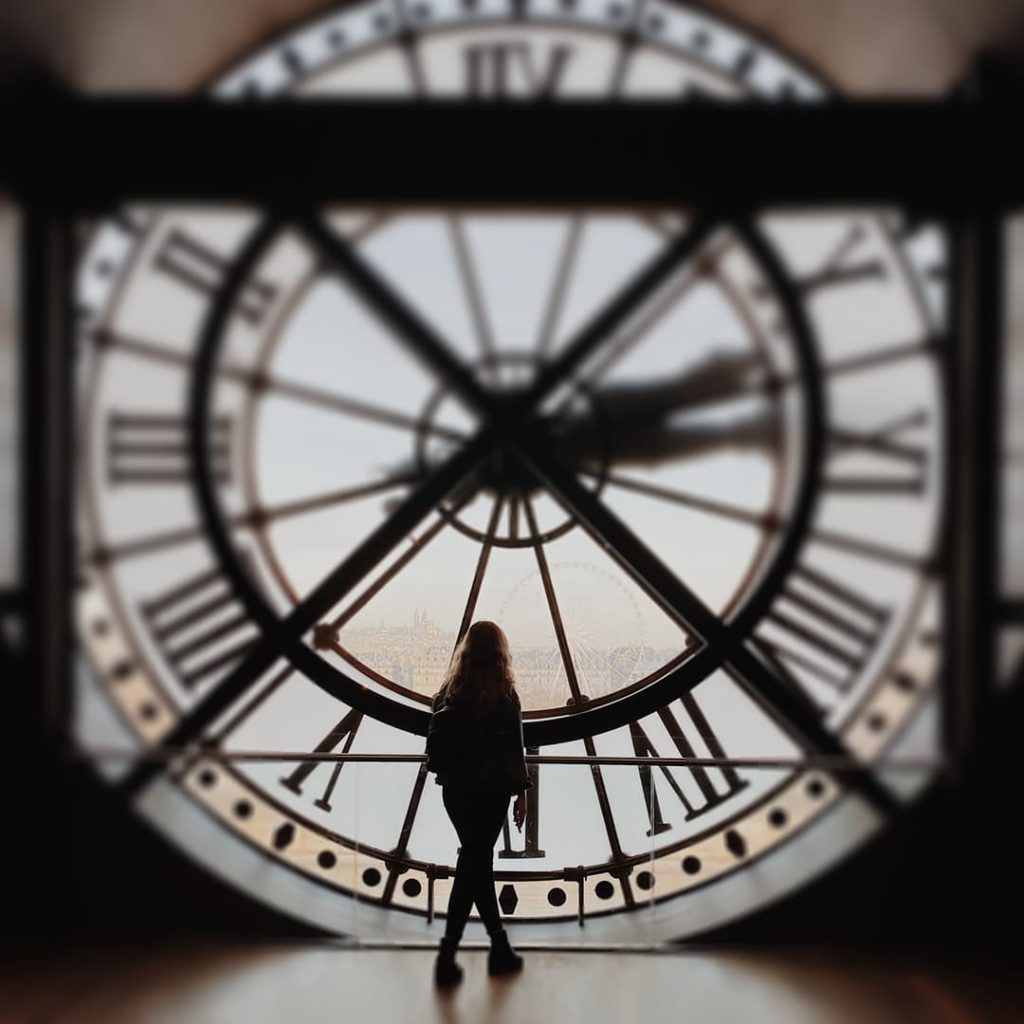
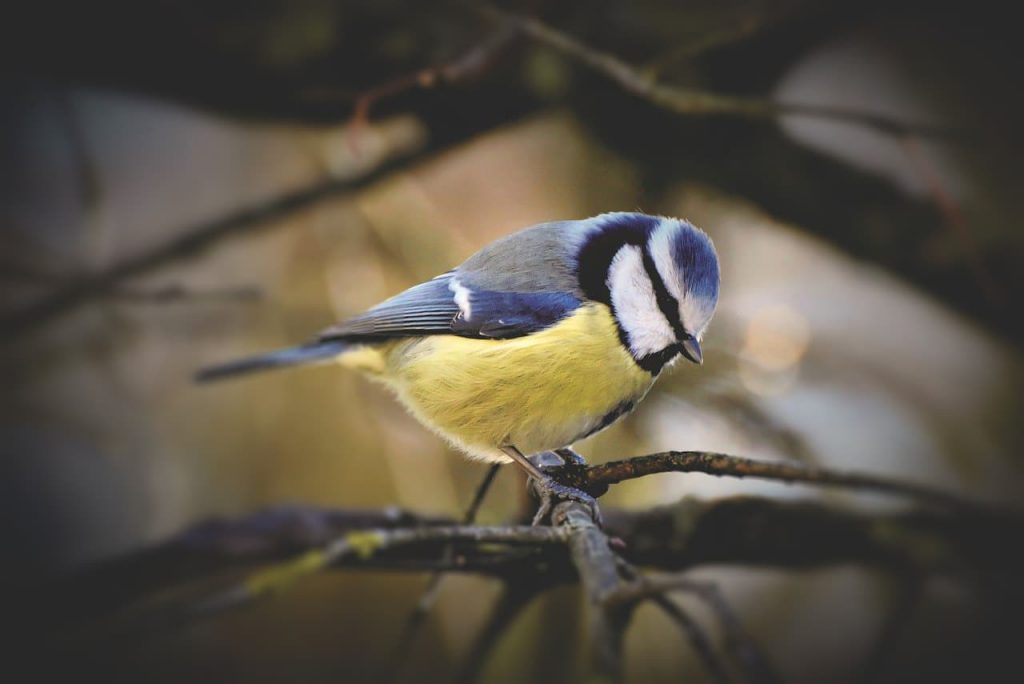
What is a Radial blur you ask? It is one of Pixomatic's blur tools that keeps a circular portion of the photo in focus while smoothing out everything around it. It is the quickest way to blur areas around an object. You can easily access this feature and add radial blur on photos online with Pixomatic’s desktop editor or mobile application. The outcome will give your photo a perspective and guide the viewer to the details you like best.
How does Radial blur differ from other Pixomatic blur tools? Firstly, it leaves a circular section of the photo in focus, unlike the plain Blur that smoothes the whole frame. You can consider it as a brush that does everything for you but only allows one section to be in focus, as opposed to the Manual option. Radial blur has slightly less control in terms of the intensity of the blur, but if you want to take time with the details then the Manual tool is your best bet. The Linear blur is great for keeping the focus on long objects like a focal strip, while Radial is best for a spotlight blur.
To start with, open Pixomatic’s photo editor and choose the photo you want to edit. You can practice applying radial blur on photos online from stock archives in Unsplash and Bing or go straight to your gallery. Apply Radial blur to virtually any photography style or theme. Clearly, you would need at least a part of the photo to be in good focus for better effect. If your image already has some hazy areas that is not a problem!
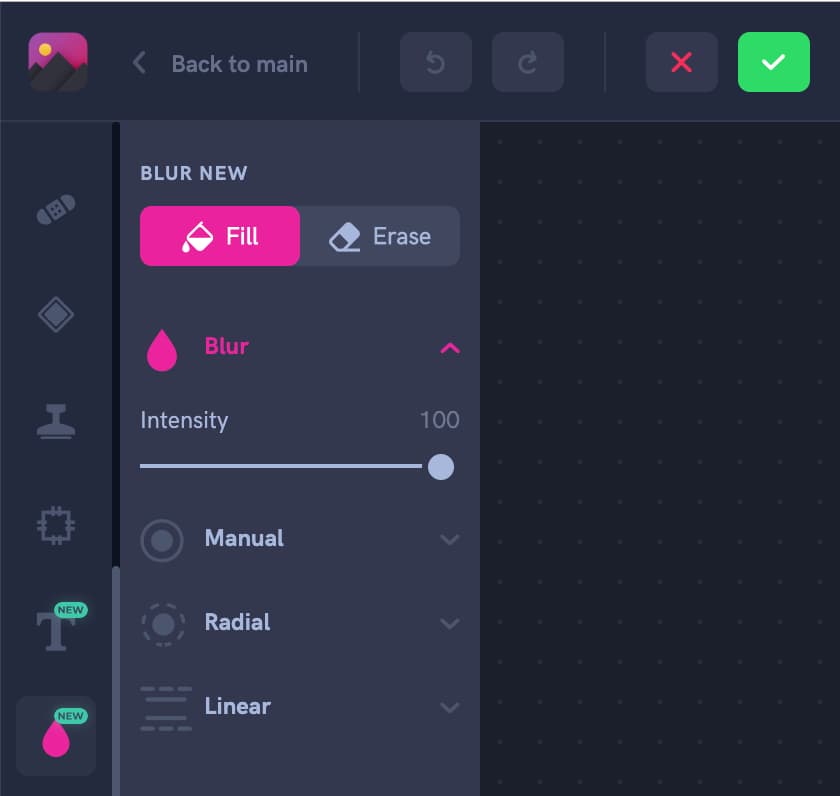
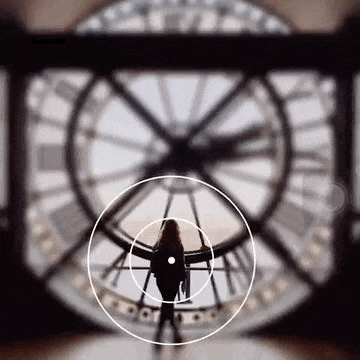
Then, scroll down the tool menu on the left and click on Blur. You will be directed to a tab with the four different blur effects. Select the Radial effect with a dotted circle icon. A circular border will appear on the photo. Consider it to be a brush that does all the work for you. All you need to do is decide where the blur should be applied and which area you want to remain in focus.

Find the object you want to keep in focus. To blur everything around it, drag the circular border so that the object falls in its center. Everything that is further from the object will gradually fade into a smooth blur. Find the object you want to keep in focus. To blur everything around it, drag the circular border so that the object falls in its center. Everything that is further from the object will gradually fade into a smooth blur.
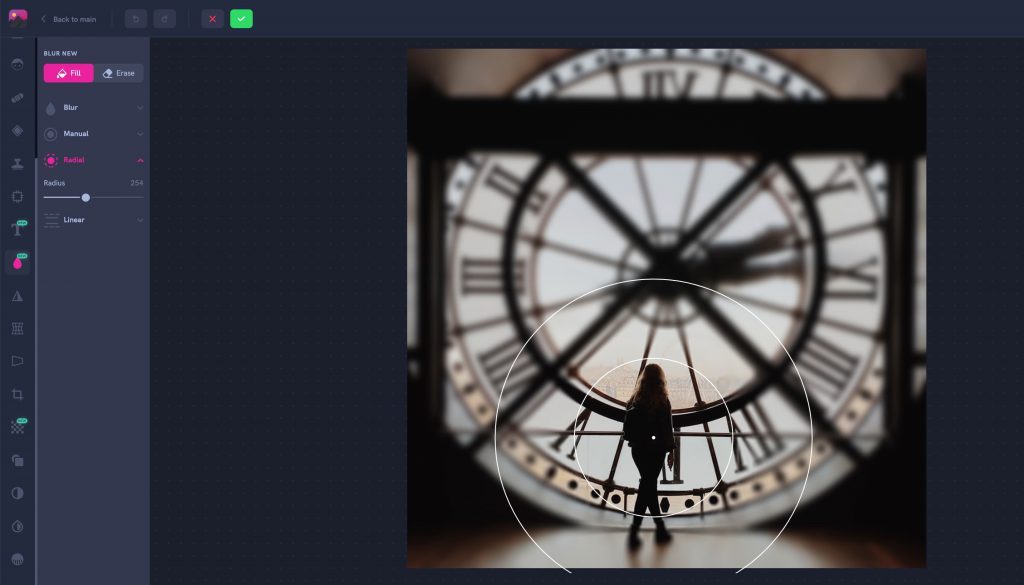
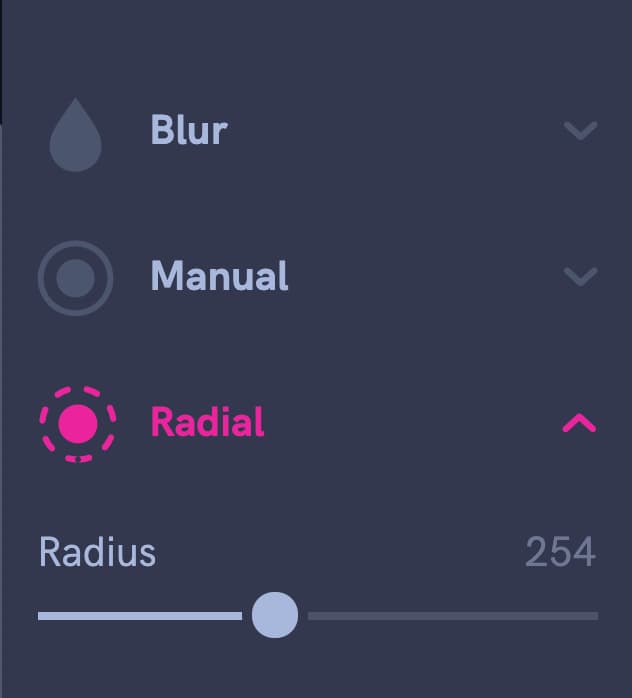
You can now adjust the size of the border to make sure only the object of your choice is left in focus. To do this, refer to the blur tab on the left and adjust the Radius slider to resize. Changing the radius size will also adjust the size of the blur border, where the image only starts to fade.
Pro tip: If you want a smoother effect it is best to keep a little space between the object and the border.
That’s all! A 4-step edit and your photo will look more professional in a matter of minutes. Pixomatic's Radial blur has a smooth finish with no sharp edges to worry about. The effect is not the same as a circular motion blur since it does not leave unnecessary smudges around the object. It goes easy on the eyes but still guides the viewer to the focal point.
To give the photo a third dimension and sense of distance, you can keep the focus on objects in the middle or top of the photo. All you need to do is adjust the focus radius size to fit the object and leave the rest blurred.

For the opposite effect, you can make objects seem closer to the camera. To achieve this simply make the focus radius larger than the object and place it at the bottom of the frame.

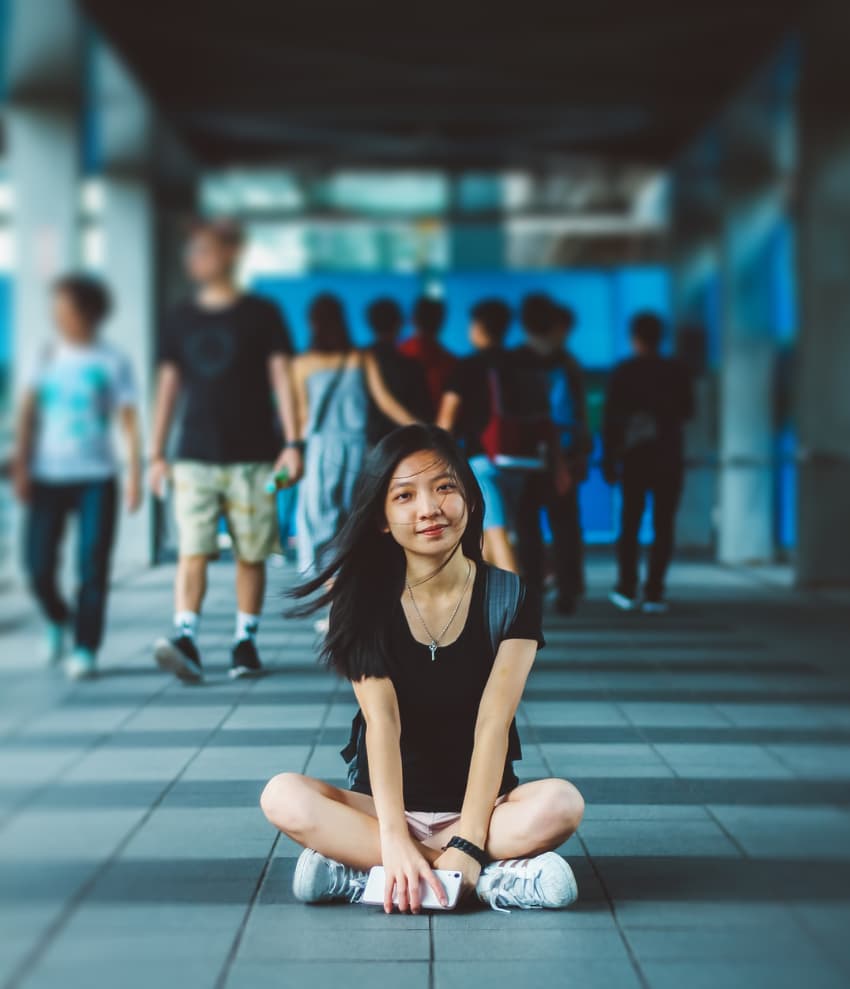
Do you ever get a photo taken on crowded streets? You can use Pixomatic’s Radial blur on photos that are crammed with objects to bring a person out of the background. The focus radius will turn into a spotlight that will make you stand out from the crowd.