Back
Back
 Pixomatic Team
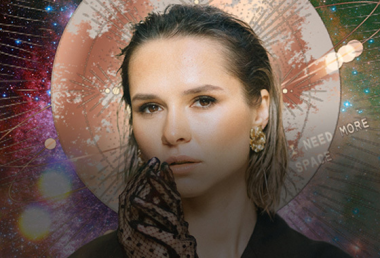
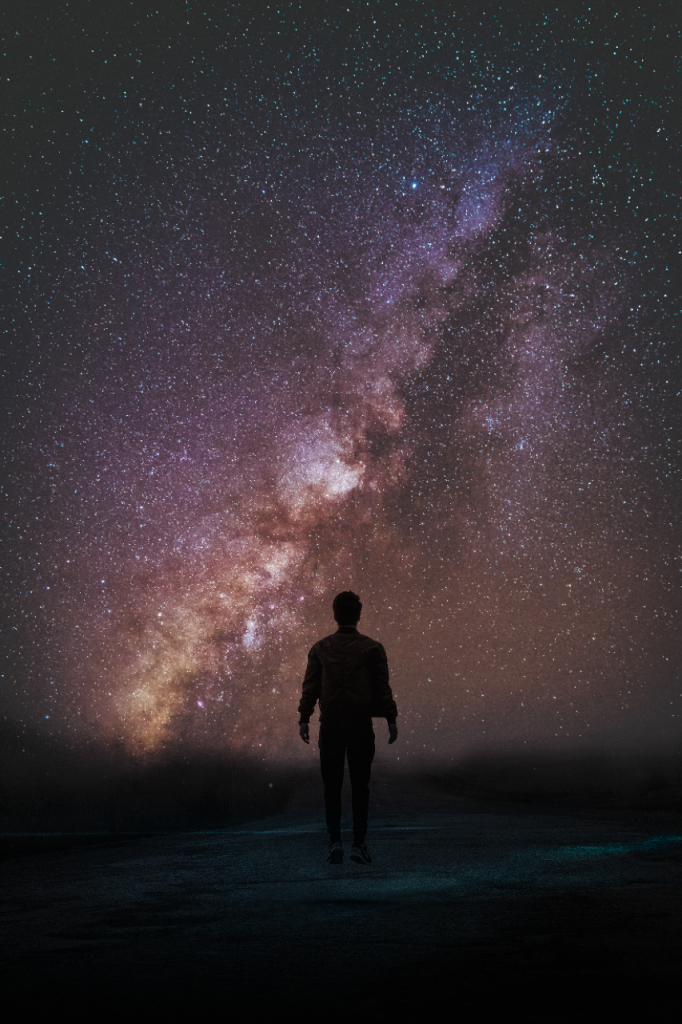
Astrophotography is the latest photography trend! It involves capturing shots of the night sky, and celestial objects and phenomena. This tutorial will teach you how to combine double exposure with astrophotography! All you need is a picture that includes a subject and the sky, an astrophotography image, and of course Pixomatic’s online web editor. If you do not have an account, what are you waiting for? Sign up now. Are you ready? Let’s go!
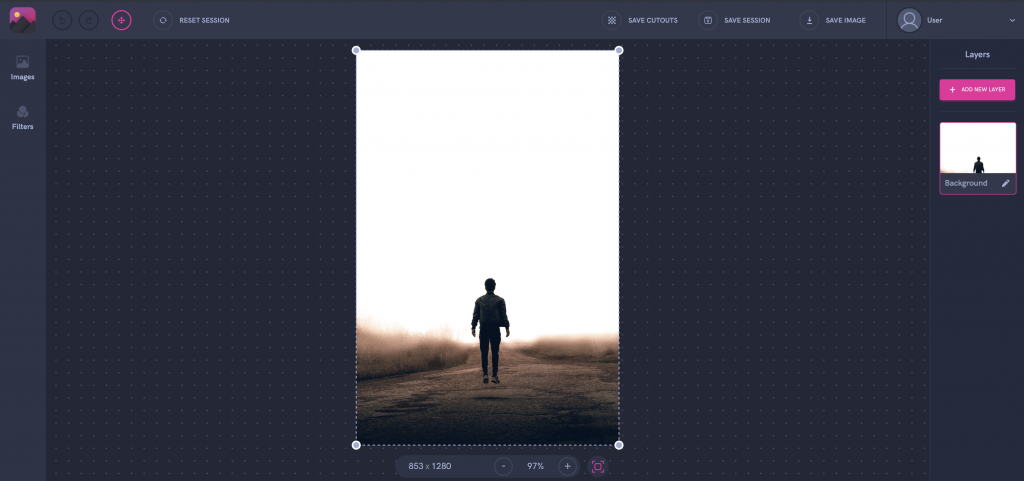
Choose a photo that contains a subject from your gallery or the integrated stock photo libraries.
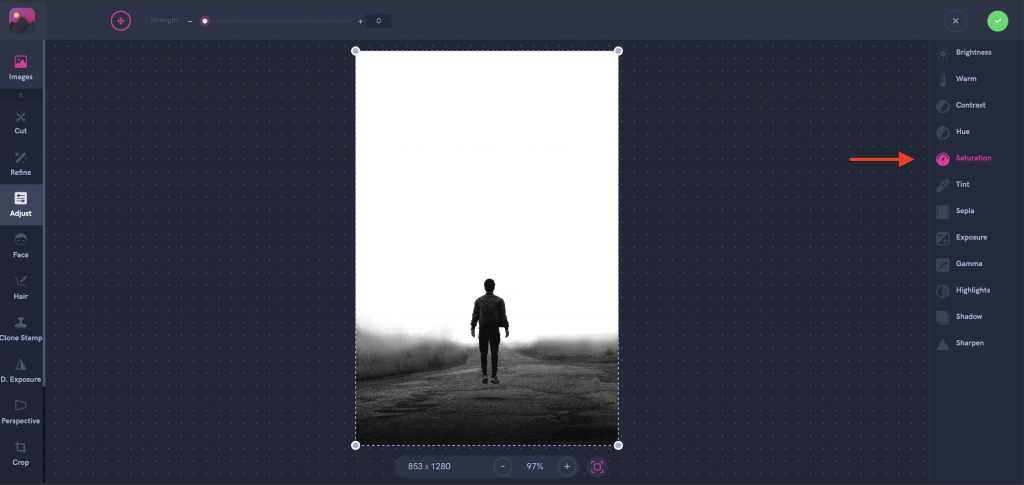
Click on Adjust in the left panel then tap on Saturation in the right panel. Decrease the saturation by dragging the slider to the left.
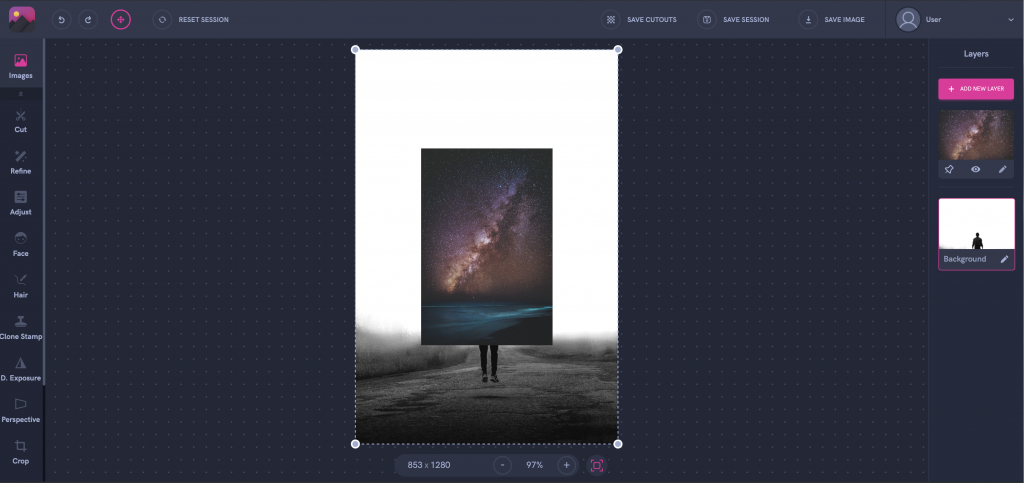
Adjust the size of your image and fit it over your background by dragging one of the corners upwards or downwards to resize it.
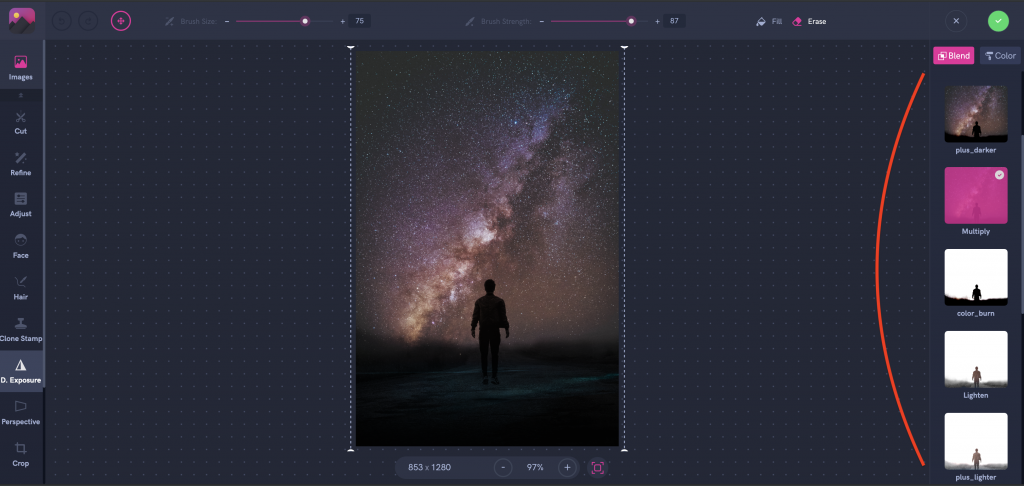
That’s the most exciting part! Click on Double Exposure in the left panel and select the blending mode in the right panel. I chose Multiply for this edit. Move and resize the second layer, then hit the apply button.

Click Save Session if you want to edit your work later, or hit Save Image to download your image.
We can’t wait to see what you create!