Back
Back
 Pixomatic Team
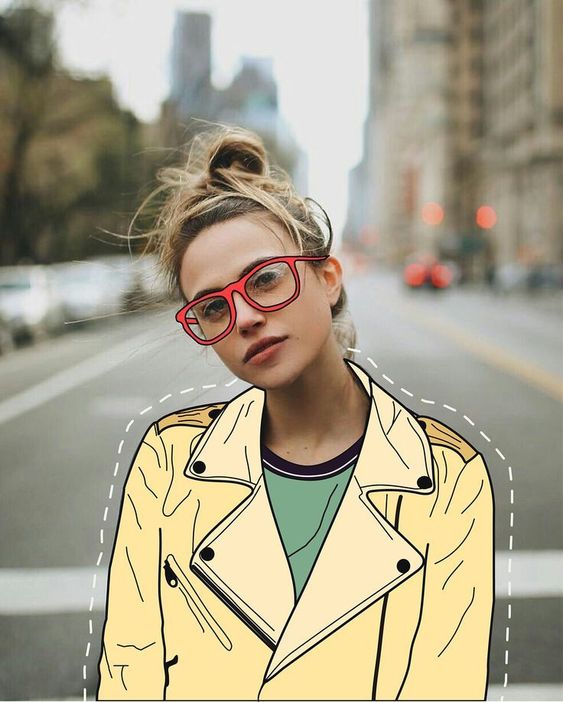
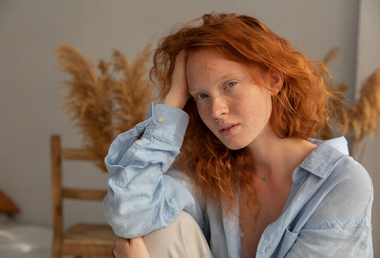
Drawing can be a relaxing hobby for just about anyone. Lately, drawing on your photos has been trending like crazy and whether or not you consider yourself artistically talented, you should give it a try. Today we’re playing around with Pixomatic’s latest desktop editor feature: the Draw tool. You can now use your mouse or digital sketchpad for limitless creations on your images. What’s a more fun first project than cartoonizing yourself by painting online? Here’s our creation:
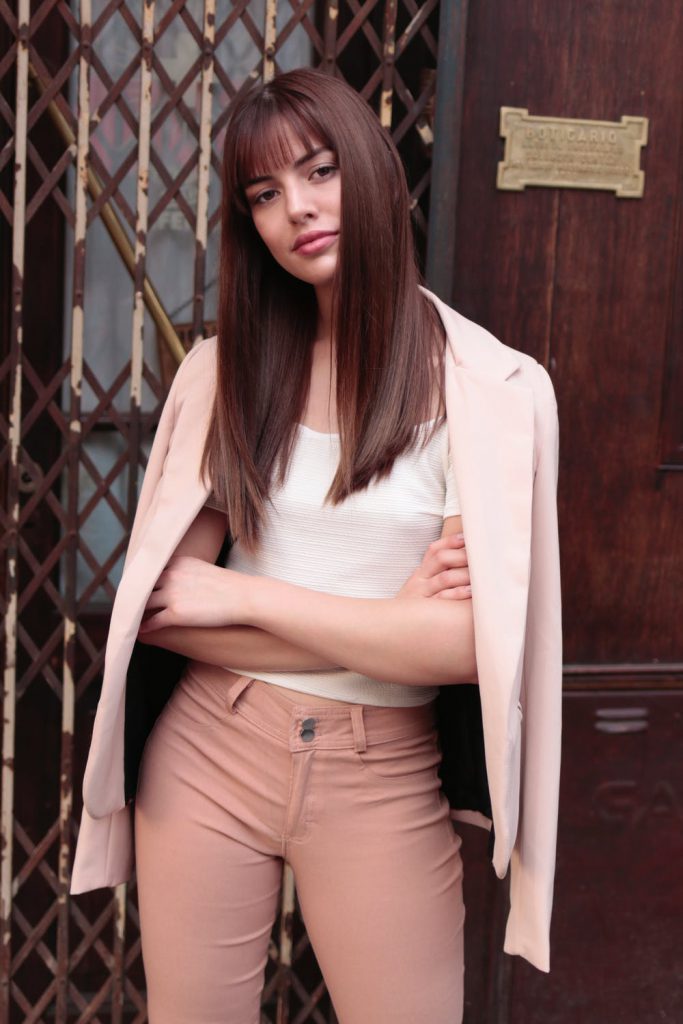
Like what you see? Then find a photo of yourself that you want to edit and follow along.
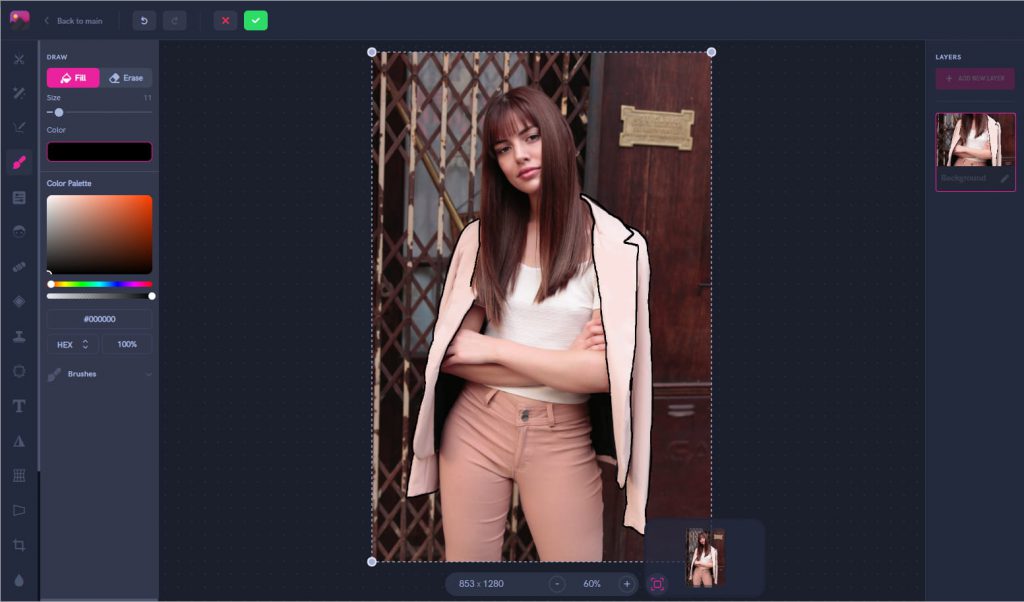
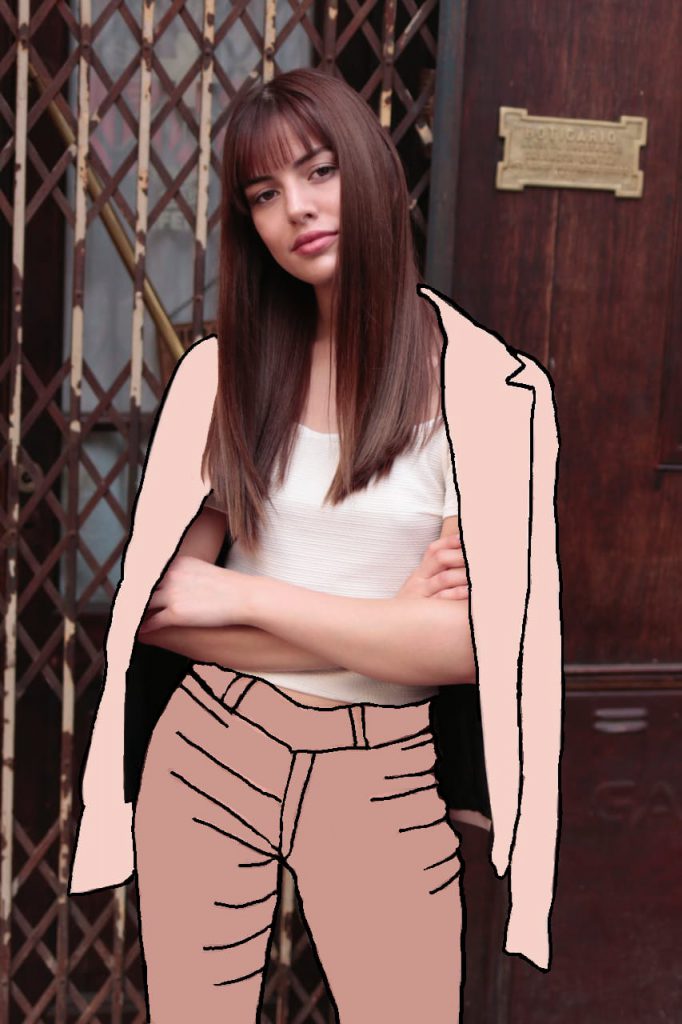
The phrase “draw inside the lines” is familiar to many of us from our childhood. First, we need to create those lines to know which sections to color in later. Select the Draw tool and set the brush to the smallest size. Then, set the color to black. Begin by outlining all around whatever we are going to cartoonize. In this image, it’s the jacket and pants. Don’t spend time outlining anything that’s not going to be colored in later.
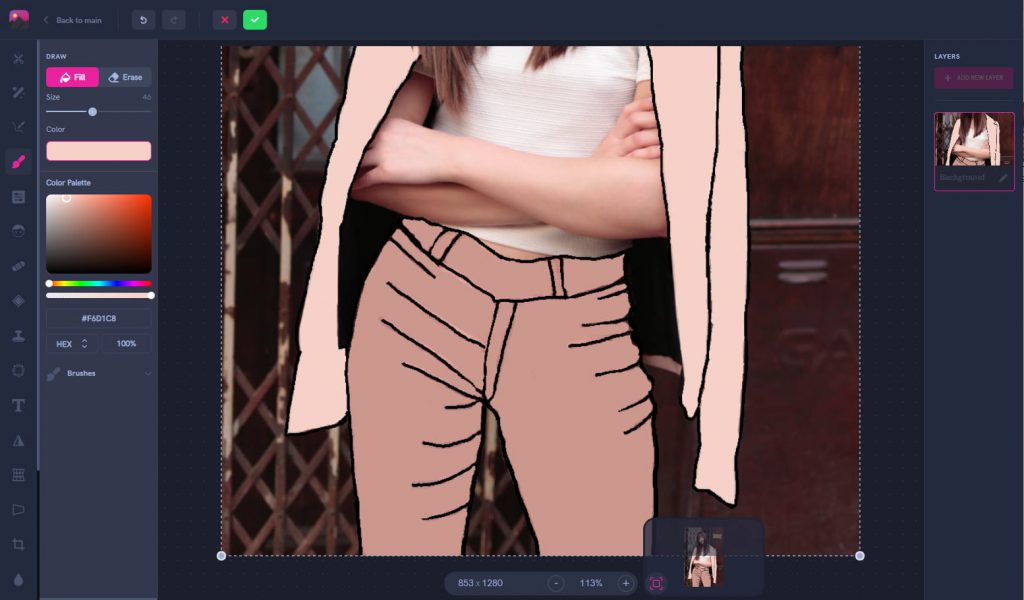
Now that you have your outlines, color inside with a solid texture brush using the Draw tool again. This is brush #1 on our online editor. Color creativity is completely in your hands. You can choose a color that is close to the original shade of the clothing, or go for a much brighter color. When you begin coloring, you will notice that even though the pants and jacket are solid colors, they still have darker and lighter sections. The best part is that you don’t have to worry about this when drawing. The entire effect of cartoonizing yourself means making the image much much simpler than it was. So don’t worry about shadows if you don’t want to use them.
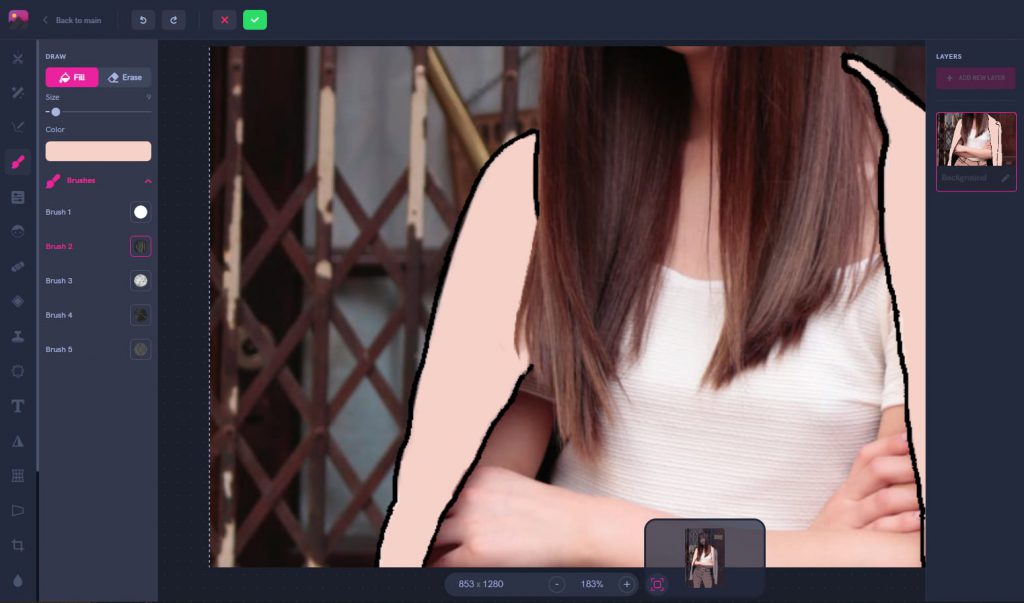
We all make mistakes, as long as we know how to correct them. In the beginning we outlined the coat and on the left side it touches the hair. After coloring in we noticed that the black outline looked too harsh. The best part is you don’t even need an eraser, it’s just more drawing. Take the same color of the jacket, but set on brush #2. This brush setting is lighter and not as solid as the first brush. It gives just enough strength to blend around the hair, without drawing harsh lines.
And with that we’re finished! If you want to cartoonize more parts of your photo instead of the two, then feel free to let your creativity roam.
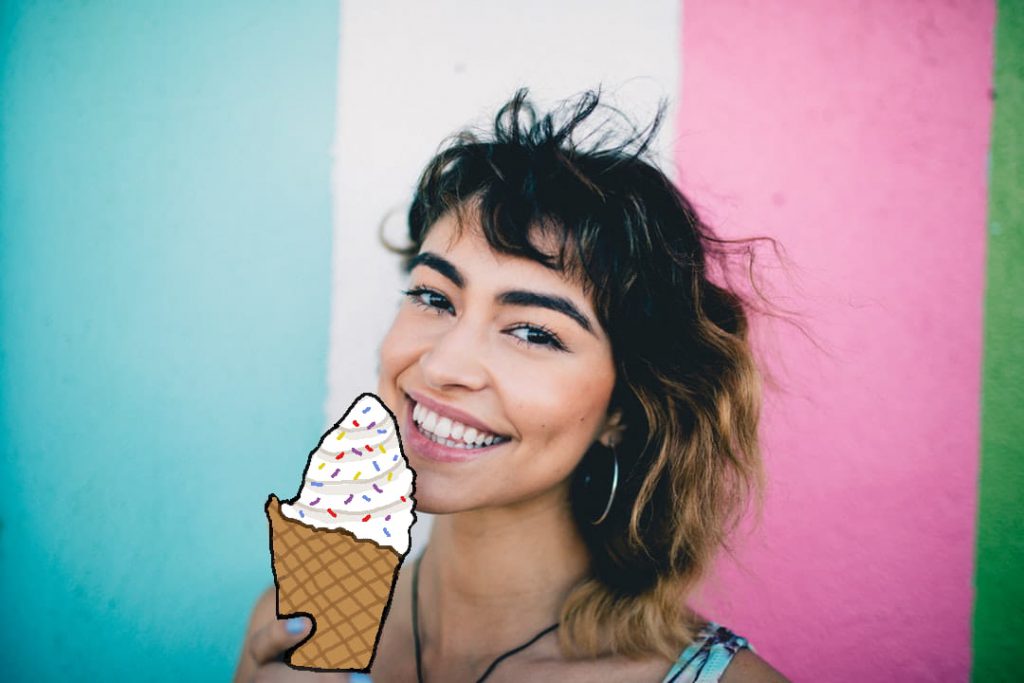
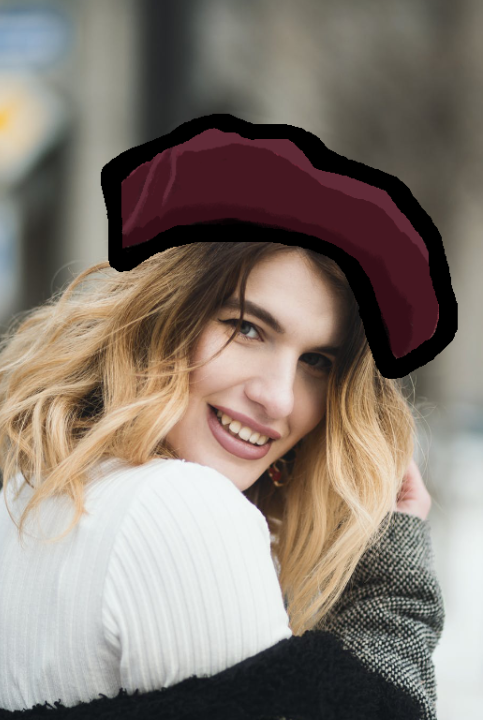
Don’t stop there, you can cartoonize smaller details of your photo like accessories or items. Add sprinkles to your ice cream that weren’t even there, why not? Before you move on to your next online drawing project, here’s a few pointers to keep in mind.
It’s important to consider how thick of a brush you use for the outlines. Thicker lines draw much more attention to what you’re outlining, such as the hat in the second image. It makes the hat look more like a large sticker that stands out of the photo. On the other hand, the image on the left is more natural with the thinner outlines. The main goal is to draw attention to the painted areas without it looking tacky.
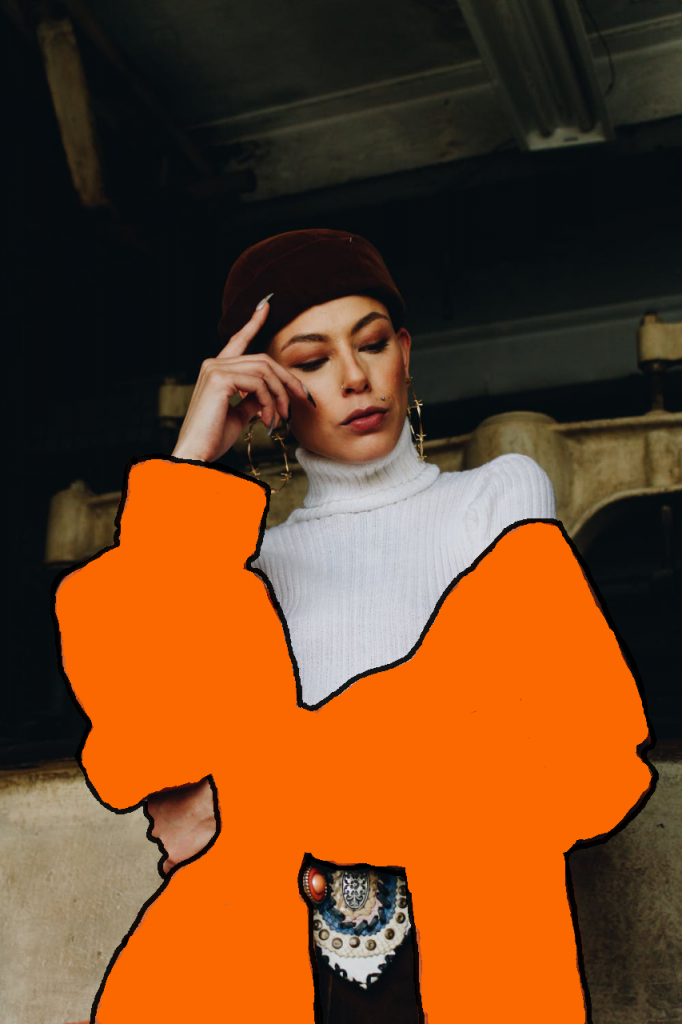
Even though you’re making 2D creations, avoid your drawing being too flat. While you don’t need to go crazy with the details, it’s better to add at least a few extra lines that will make the image look more complete. The drawing on the right is difficult to understand and makes the coat look like an orange shape. There aren’t many details to show that it’s a coat and part of her outfit. Just remember your favorite cartoon characters: they looked simple but never confusing. Use that as a guideline to know when your drawing needs a few more finishing touches.