Back
Back
 Pixomatic Team
In photography, double exposure involves combining two images into a single frame. This effect can easily boost your editing game and upgrade your Instagram feed and portfolio. This step-by-step tutorial will teach you how to create a double exposure effect easily. Pixomatic has a user-friendly interface, so you’ll get the hang of it quickly! Log into your Pixomatic account and let’s get started!
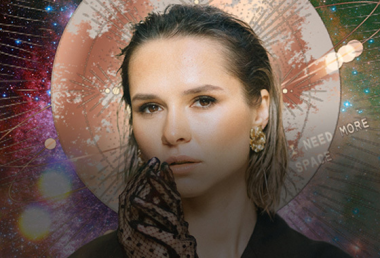
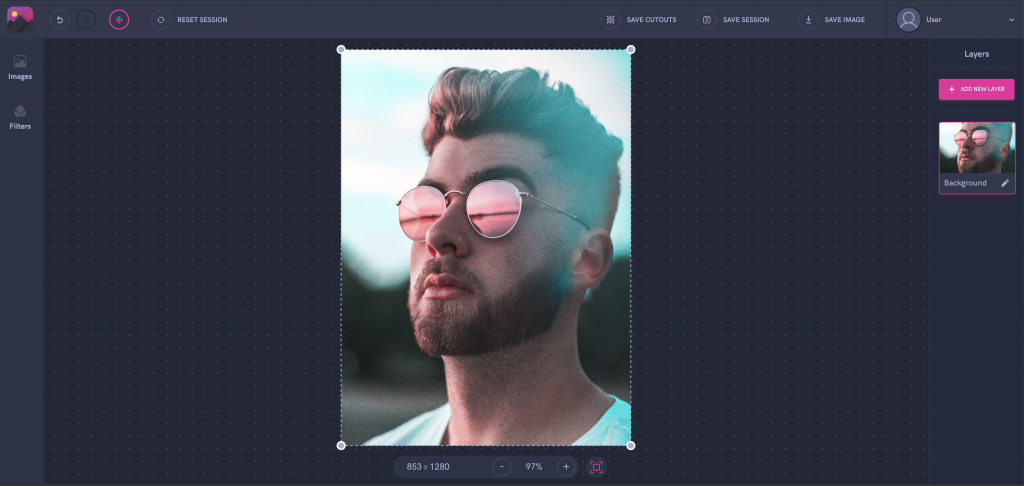
Choose a portrait from your gallery, or the integrated stock photo libraries.
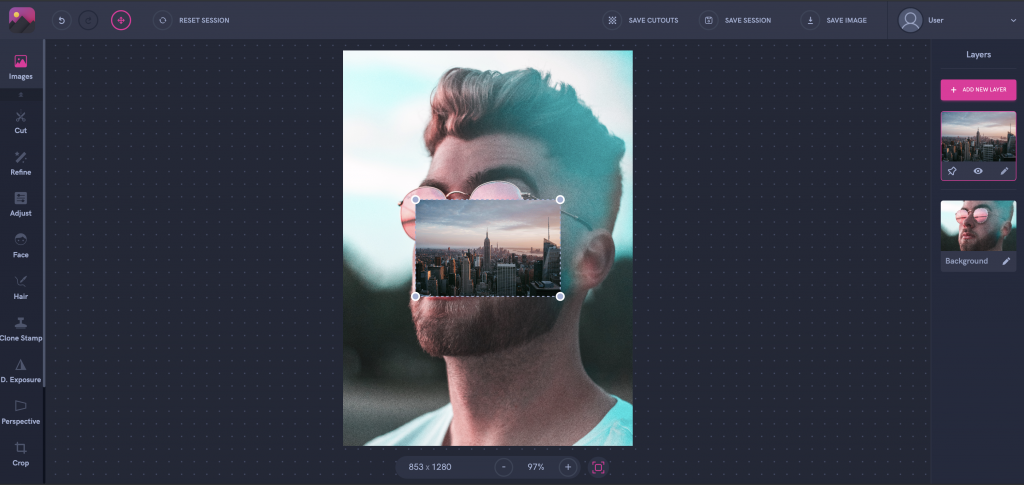
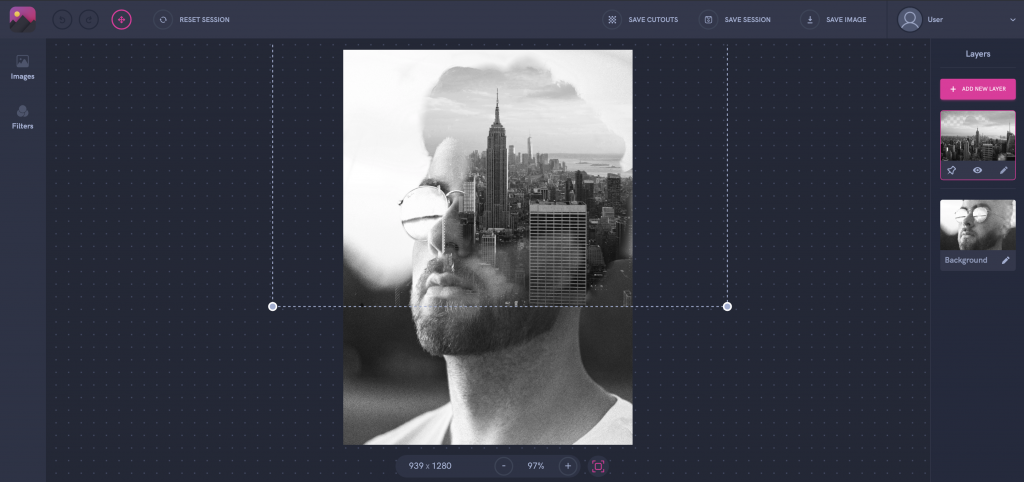
Select Add New Layer to add a second image. Upload an image of a skyline; it should preferably contain many shapes to make your final composition as vibrant as possible. You may upload your own photo or choose one from Pixomatic’s integrated stock photo libraries.
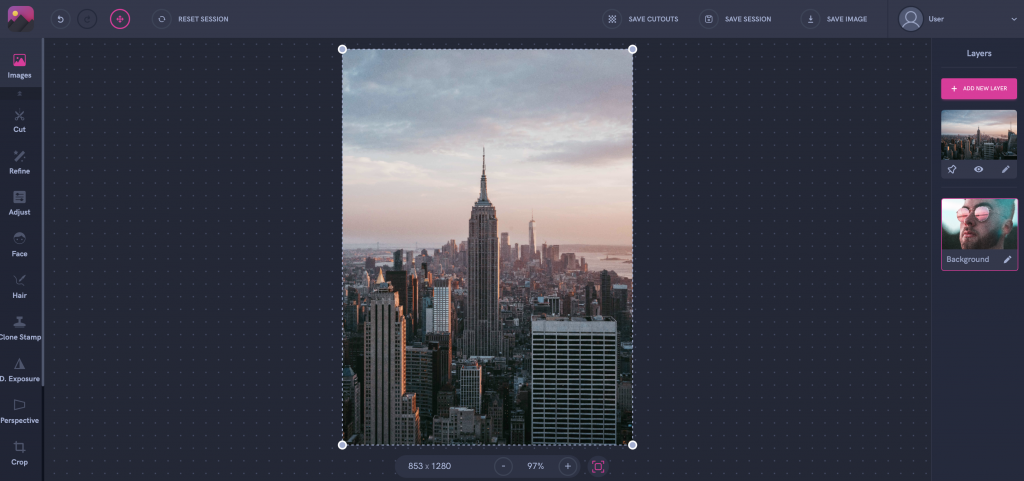
Adjust the size of your image and fit it over your background by dragging one of the corners upwards or downwards to resize it.
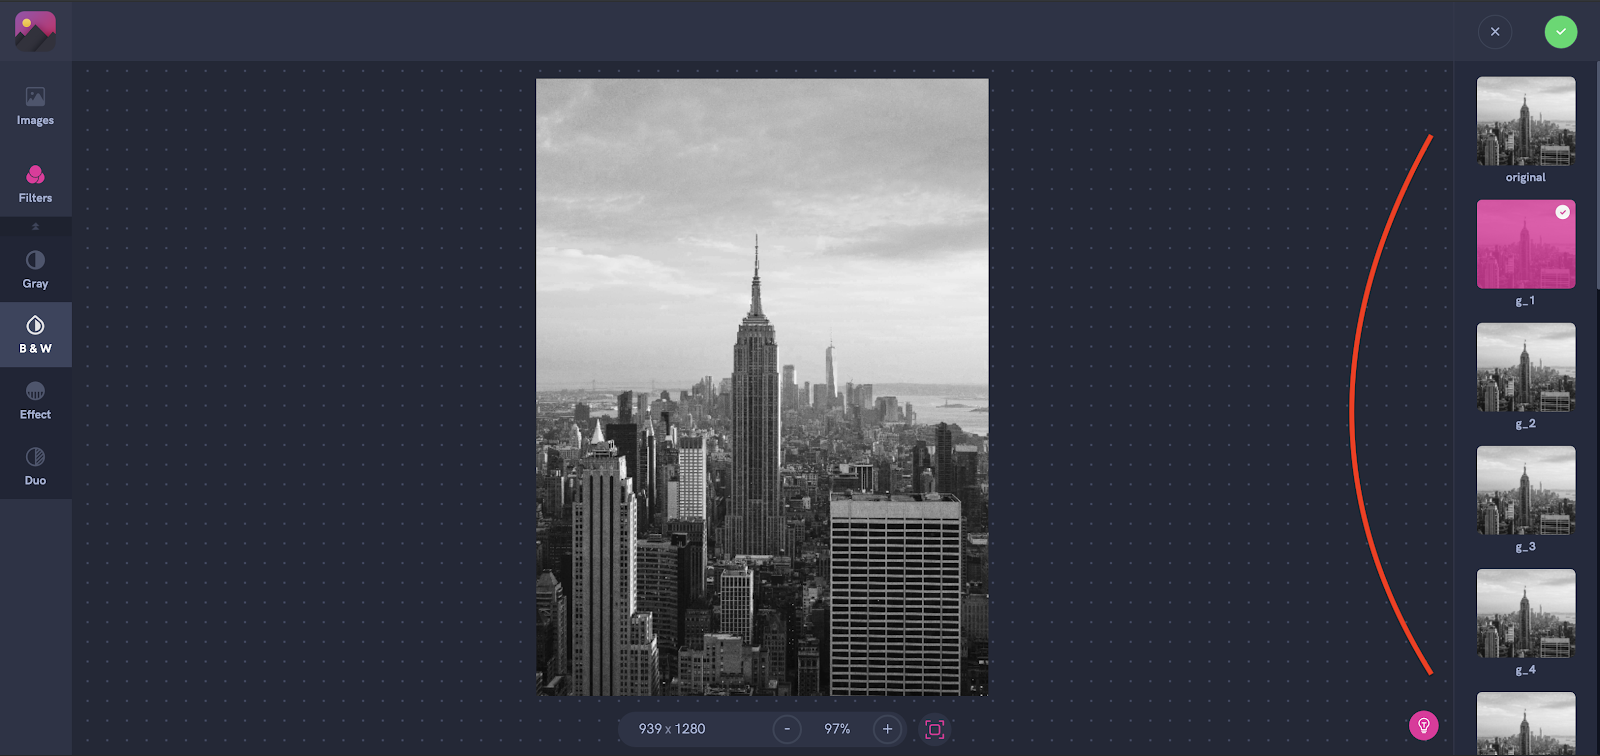
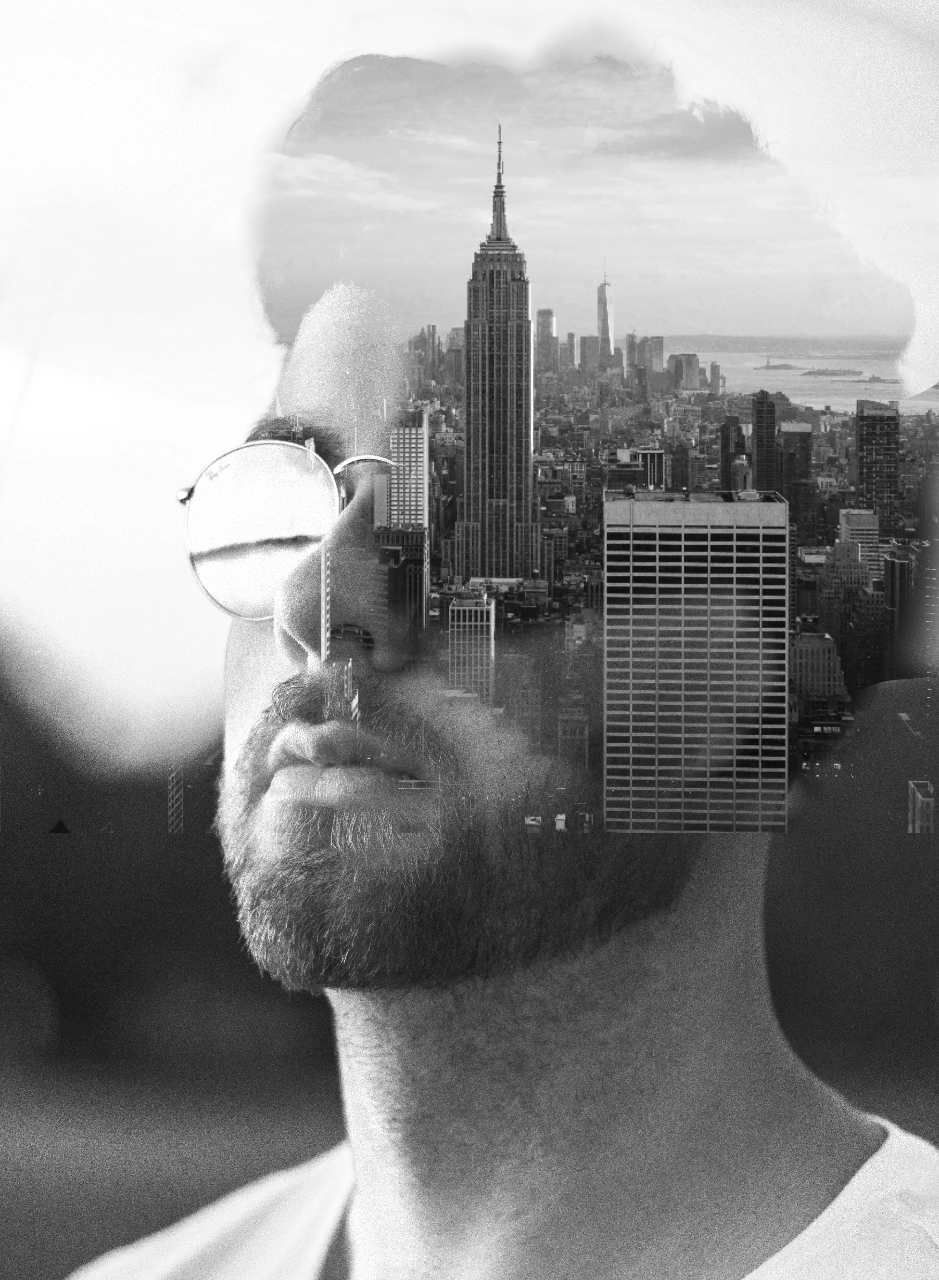
Click on Filters in the left panel then tap on BW. Next, choose your favorite filter and tap on the green circle at the top right corner. I chose the first one.
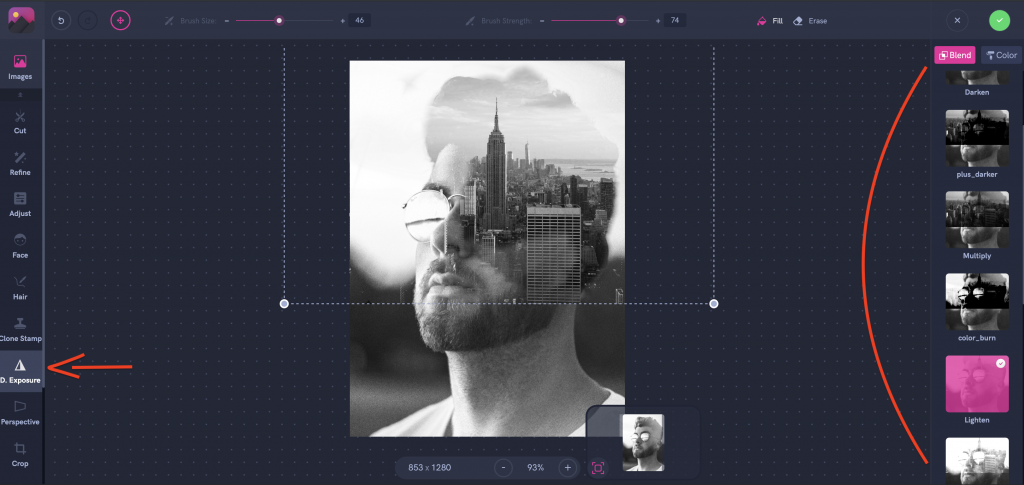
Now, click on Double Exposure in the left panel and select your preferred blending mode in the right panel. The most common mode for double exposure images is Lighten, but you’re free to choose whatever you like. Move and resize the second layer.
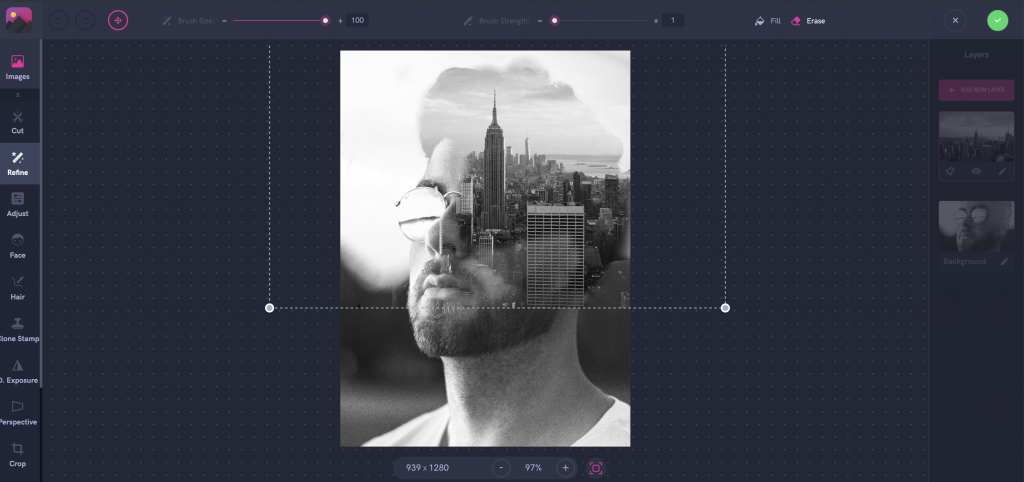
Select Erase in the top panel. Adjust the size and intensity of the brush. Make sure the intensity is soft so that the image looks as homogenous as possible. Go over the areas you would like to be removed. In this case, leave the bottom of the subject’s face and their neck and shoulders intact. When you are done, click Apply!
Click Save Session if you want to edit your work later, or hit Save Image to download your image.
We can’t wait to see what you create!