Back
Back
 Pixomatic Team
You’ve seen pixelated images in the news or video games, but what if we said you could include them in your creative photo edits? Using Pixomatic’s Mosaic tool to get a pixelated effect, we’re going to show you 3 unique photo edit styles you can achieve to “wow” everyone.
The first edit is inspired by TV static and a glitched effect. This edit is best done with the mobile editor on your smartphone or tablet. Choose a portrait image you want to work with, either your own or one from Pixomatic’s stock photos.
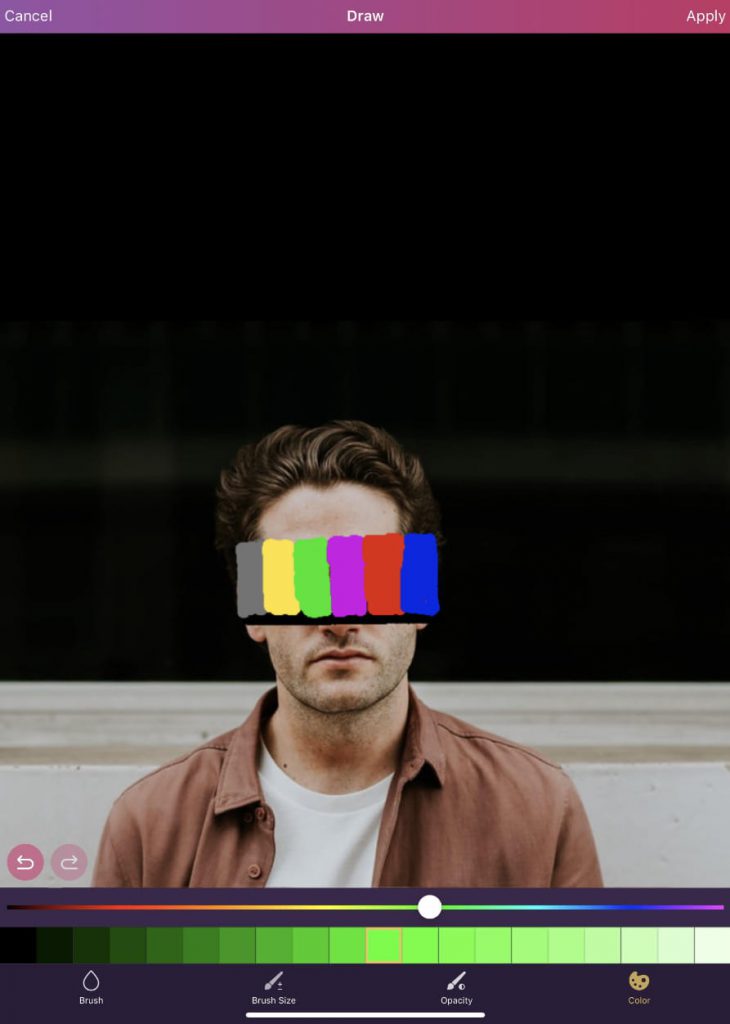
Once you’ve chosen the photo for your creation, select the Draw tool. Draw a black horizontal line across the face, this will be your base to add colors on. Use the image above as a guide to draw your rough lines. From left to right, draw thick lines in this order: grey, yellow, green, purple, red, and blue. Use the brightest shade available for each color to match the TV static style.
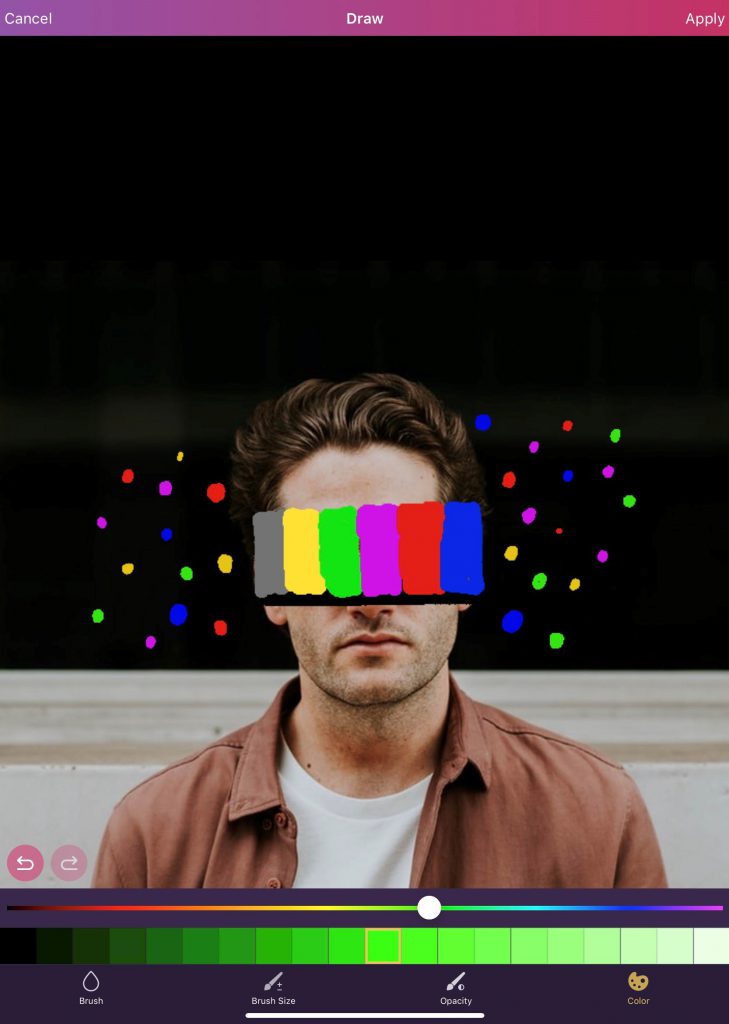
Afterward, taking the same colors, make a variation of small and big dots around each side of the face.
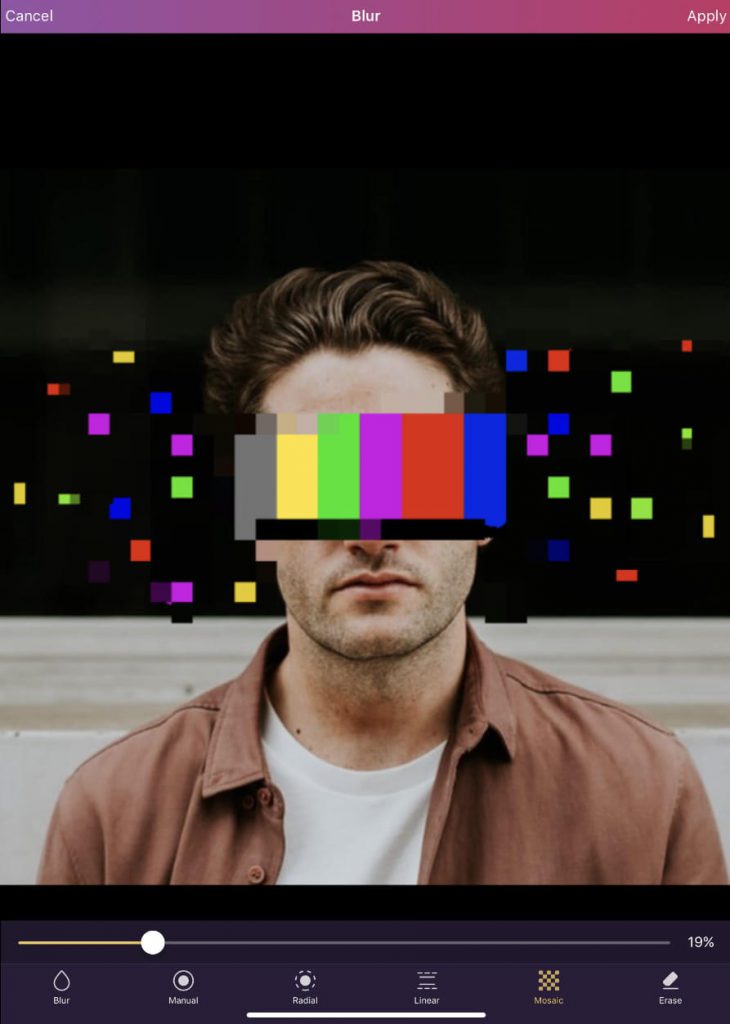
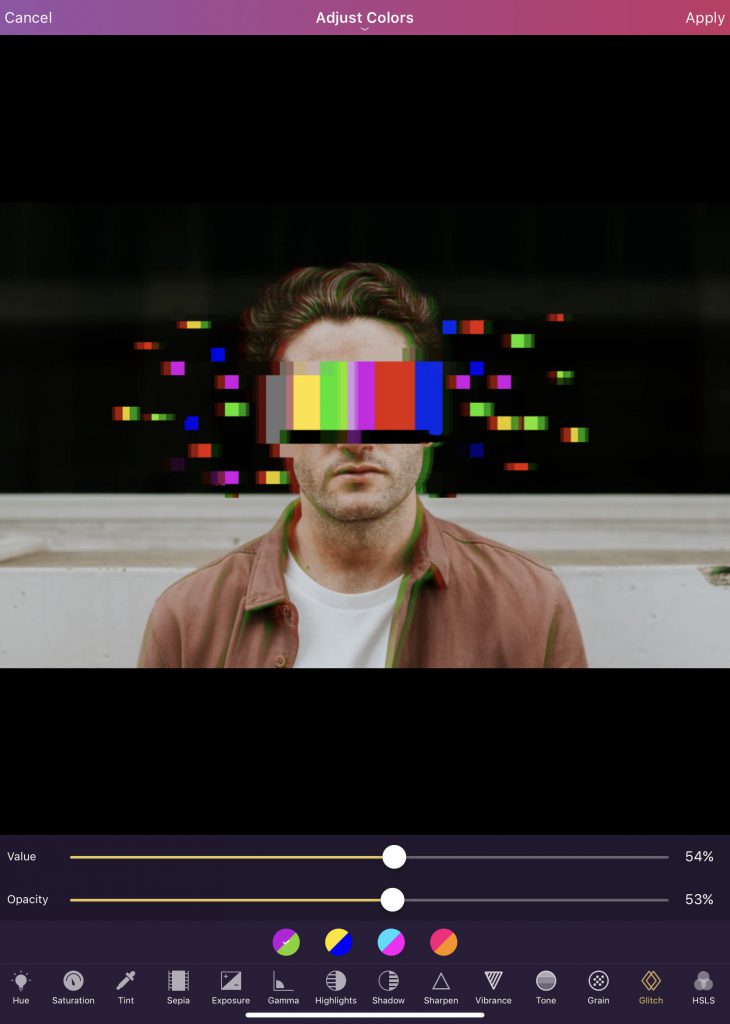
Next, use the Mosaic tool on all of the colorful parts that you drew. Use a larger density setting on the bigger lines, and a smaller setting on the dots. All that’s left is to add Glitch from the adjustments tool. If you can’t find this tool, make sure you are using the mobile editor.

And here’s the final result.
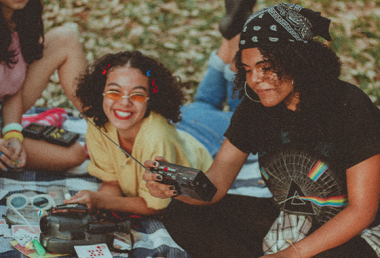
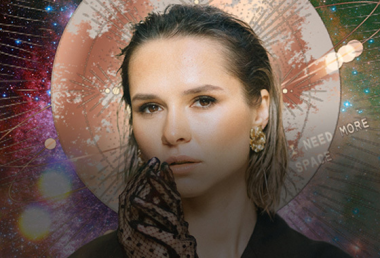
Our next edit is a drifting pixels edit which creates the illusion that part of an image is slowly separating into pixels.
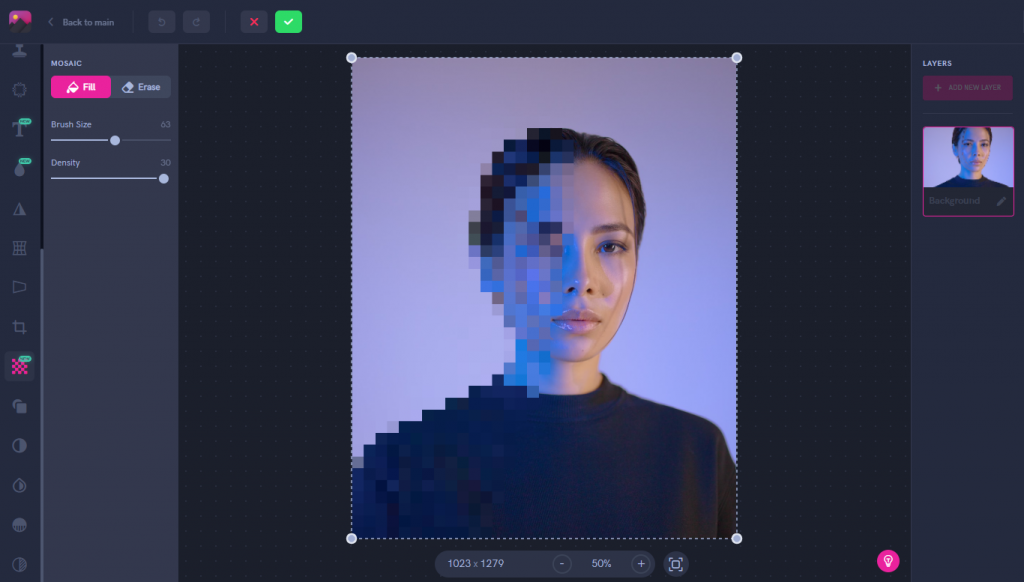
Select the image you want to edit: a single person or object is best to use the first time around so it’s easier. Then, use the Mosaic tool to pixelate only one side of the girl.
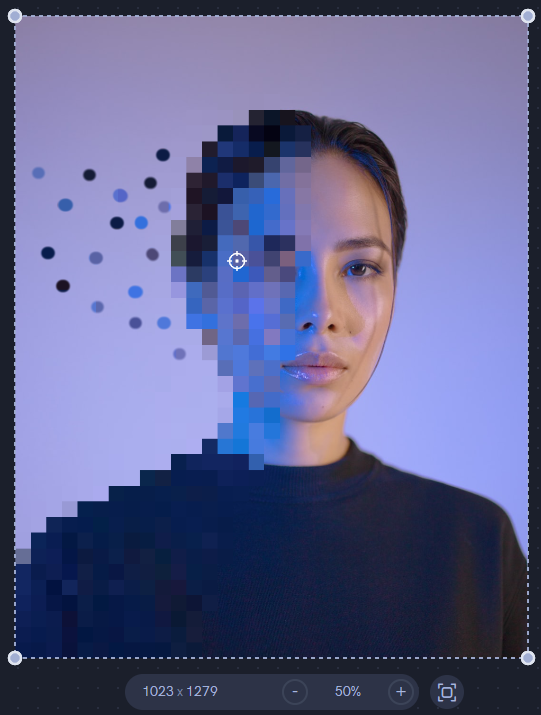
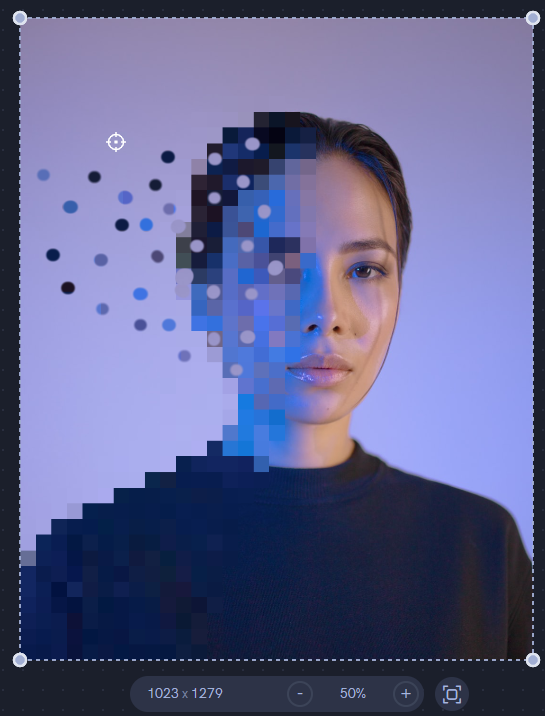
To create the drifting away effect, we’re going to use the Clone Stamp. Begin by cloning different parts of the already pixelated squares onto the clear background (on the left part of the photo). Do this until you have about 10-20 dots. Then, using the stamp again, clone the purple background onto parts of the pixelated face (see the image on the right). Doing this creates the illusion that the dots leaving the face left empty holes where they once were.
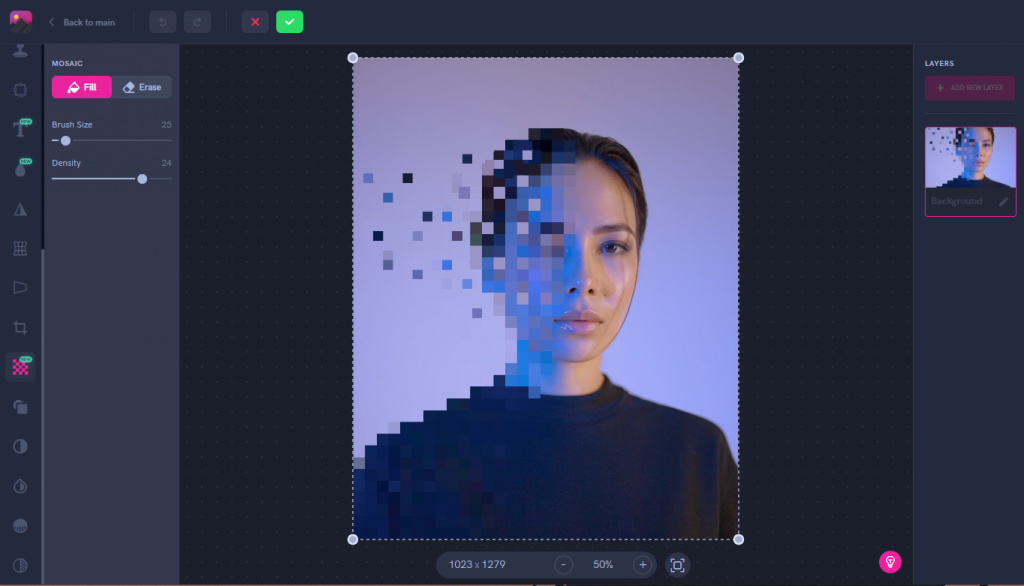
Use a Mosaic brush a final time to pixelate all the new dots that were created with the clone stamp. Adjust the density so the size matches with the previously pixelated squares.
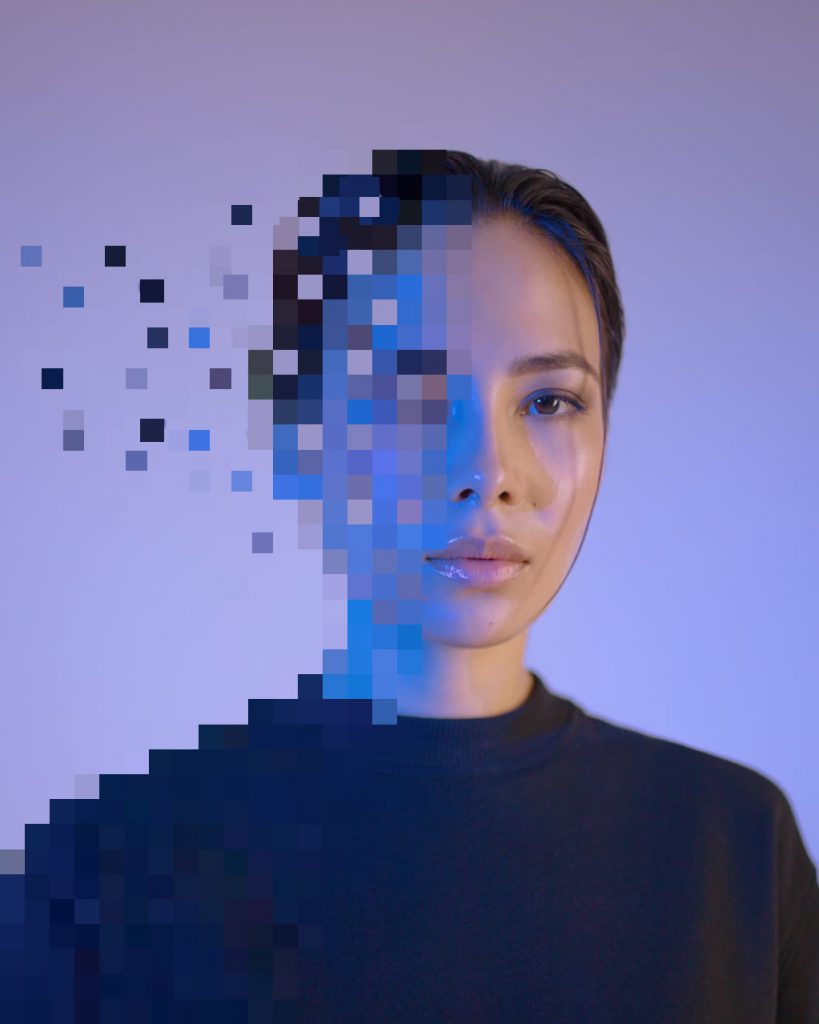
Now your pixelated drifing edit is ready!
If you haven’t been a fan of using text in your photo edits before, this will change your mind. Spice up your ordinary text by pixelating it. Choose your starting image and let’s get into our second creative edit.
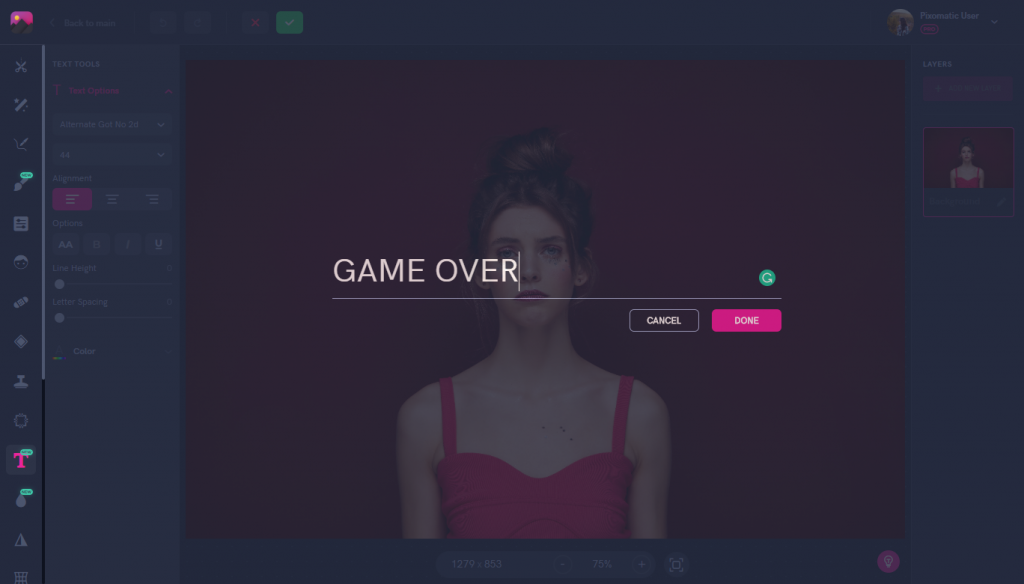
Using the Text tool, type out the text you want to use. For this edit, we’re writing “game over” in the font Alternate Got No 2d.
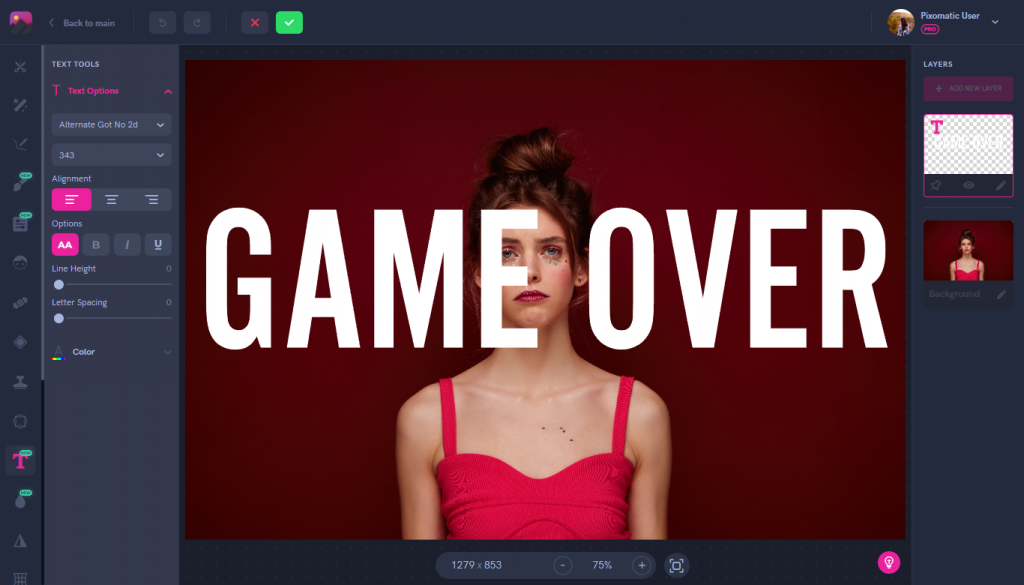
Enlarge the text and position it in the center of your photo.
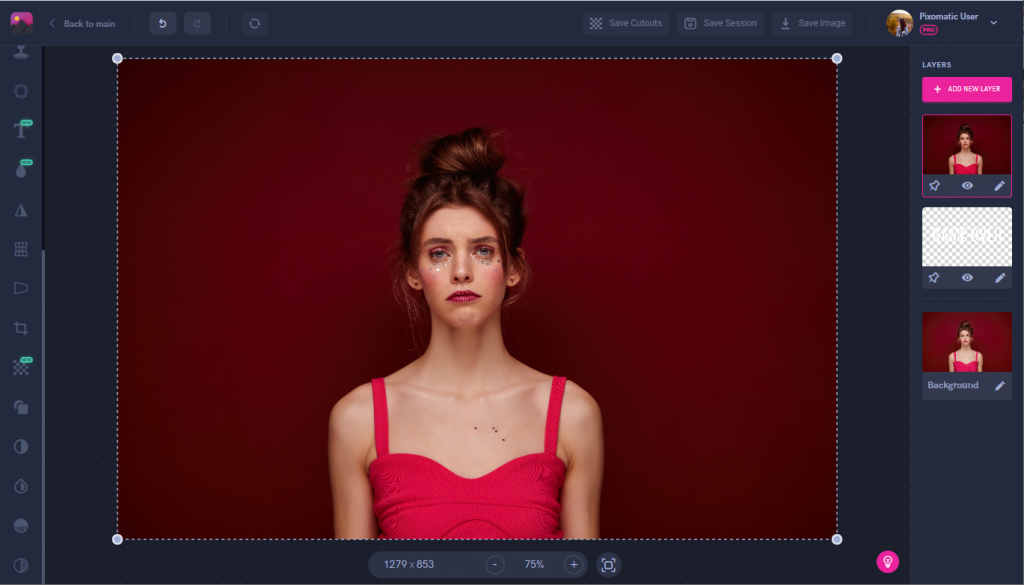
Now, duplicate your original image and layer it on top of the text to cover it.
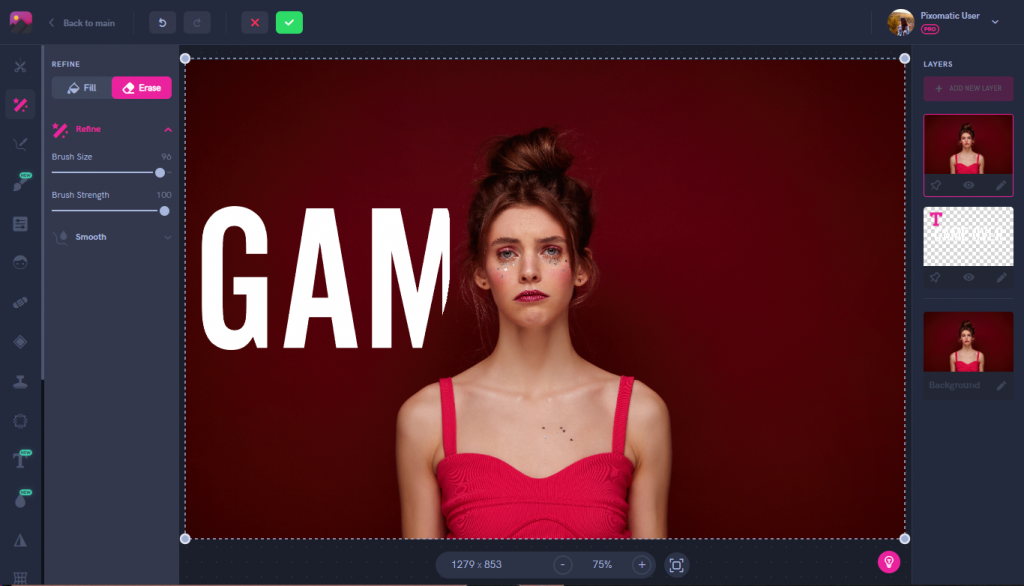
Using the Refine tool, begin erasing the parts of the top layer until the text is revealed. Don’t refine the text that covers the girl though, or else you won’t get the illusion that the text is behind her.
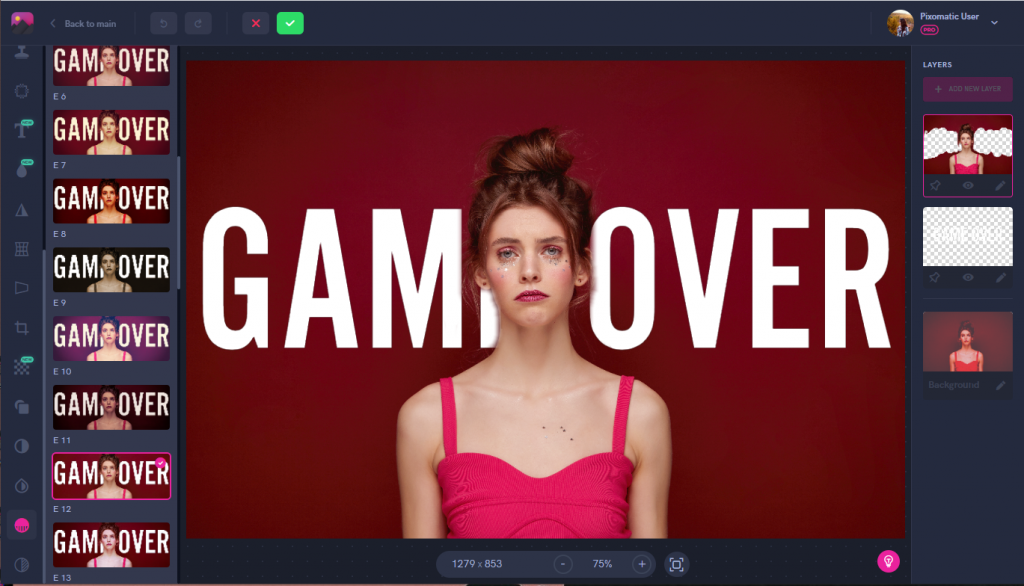
Next, add a filter effect to make the colors of the image pop, this will give it more of a video-game like look. We used the E12 effect for this photo.
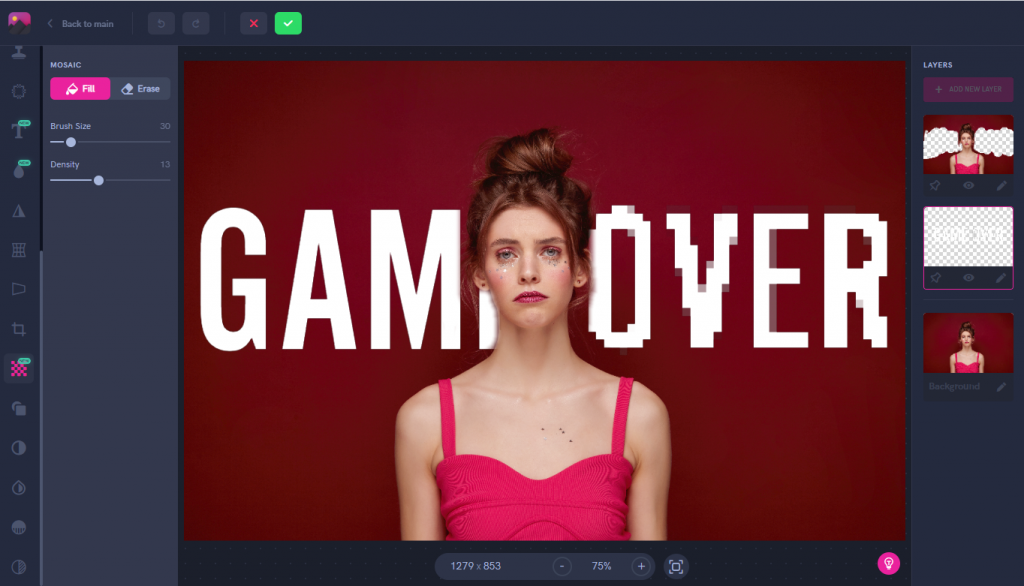
Now all that is left to do is select the Mosaic tool and begin pixelating the text layer. Adjust the density level to however you think looks best. Remember that the larger the density, the bigger the pixels will be, making the text blurry.
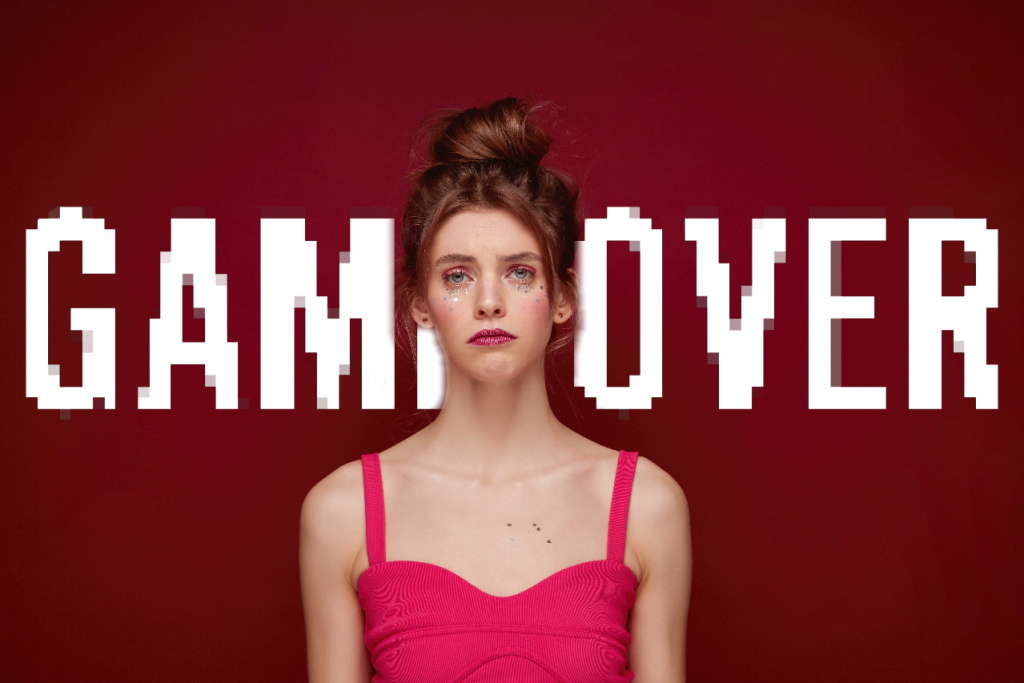
Let your imagination run free and you’ll find other humorous or aesthetic ways to include pixelated text in your edits.
Try these techniques on your own photos to surprise everyone with your creative editing skills.