Back
Back
 Pixomatic Team
Double exposure is the go-to effect when you want to set a certain mood to your image. This photo effect is popular across all social media platforms. This tutorial will teach you how to create a double exposure image to communicate a mood to your audience. Log into Pixomatic’s online web editor. If you do not have an account, sign up here. I know you’re excited to learn, so let’s jump right in!

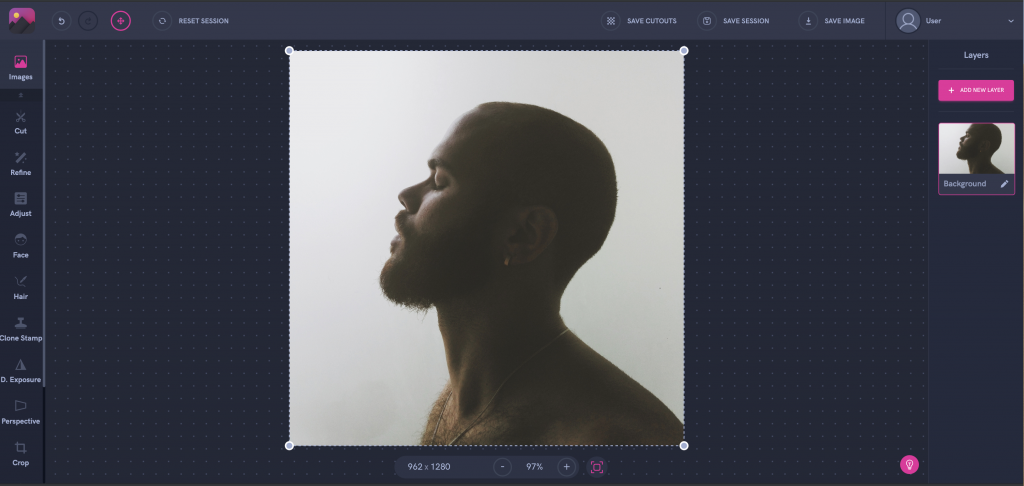
Choose a portrait from your gallery or from the integrated stock photo libraries.

Click on Filters in the left panel then tap on BW. Next, choose your favorite filter. I chose the first one.
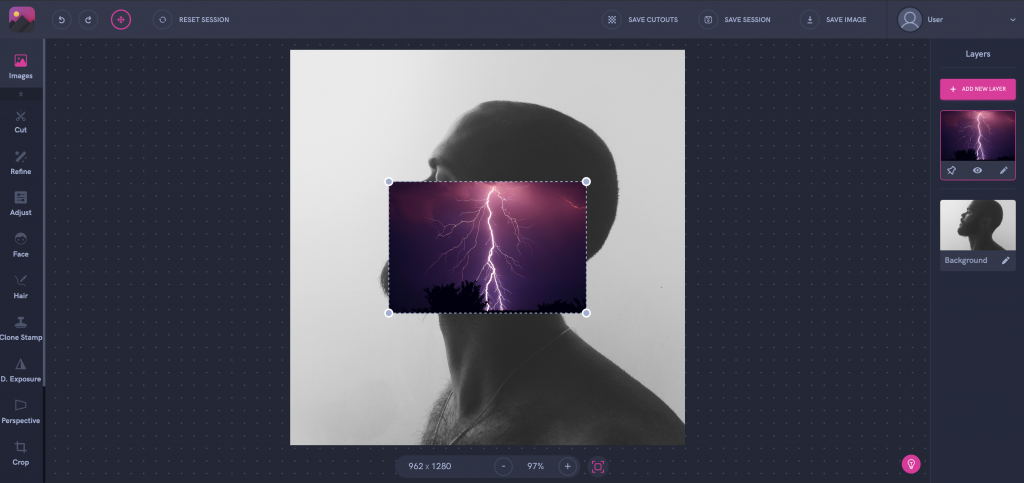
Select Add New Layer to add a second image. You may choose an image of a storm, thunder, the ocean, meaning any image that can set a mood. Select a photo from your gallery or the integrated stock photo libraries.
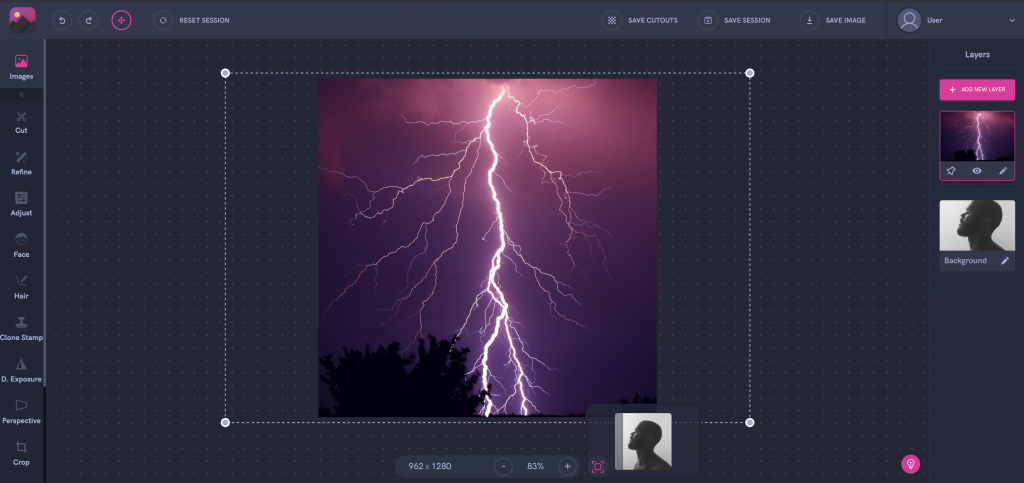
Adjust the size of your image and fit it over your background by dragging one of the corners upwards or downwards to resize it.
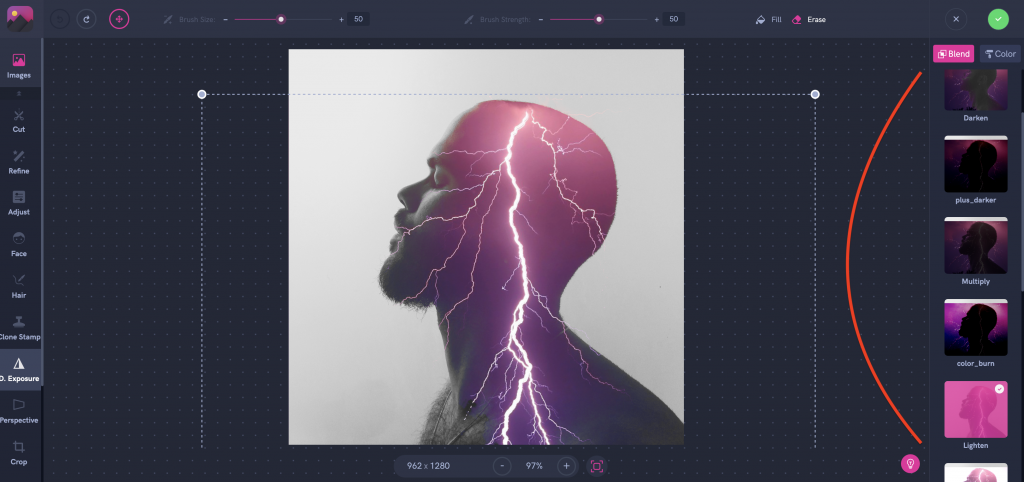
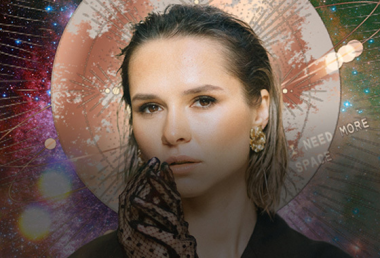
It’s time for some magic! Click on Double Exposure in the left panel and select the blending mode in the right panel. The most common mode for double exposure images is Lighten. We will choose that for this editing tutorial. Move and resize the second layer, then hit the apply button.
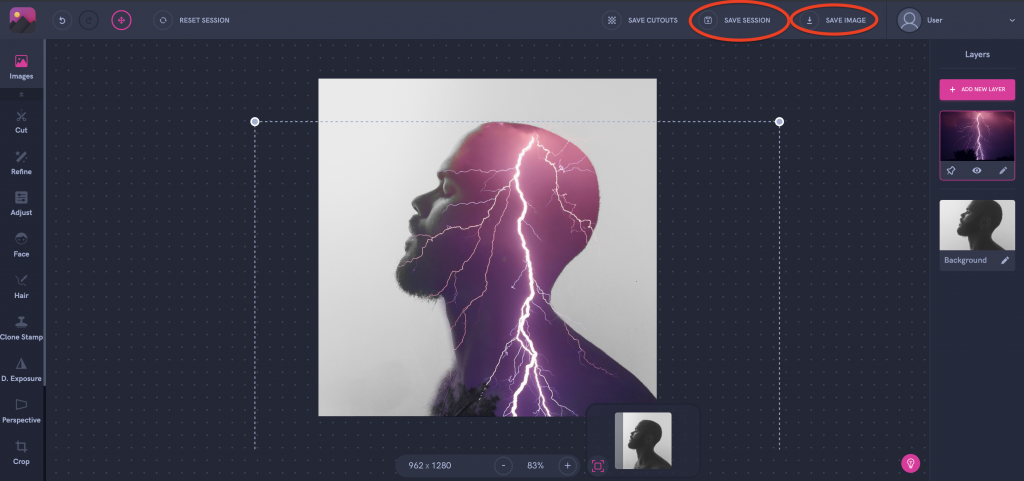
Click Save Session if you want to edit your work later, or hit Save Image to download your image.
It's your turn to try! Log in or sign up! We can't wait to see what you create!