Back
Back
 Pixomatic Team
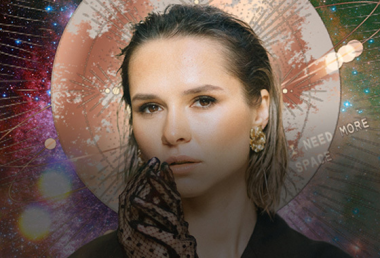
You’ve certainly seen this effect across social media platforms. Double exposure images have a wow factor that you can easily create with Pixomatic. This tutorial will guide you through the editing process. All you need is Pixomatic’s online web editor, a portrait, and an image of a landscape. Pixomatic’s user-friendly features will allow you to create a double exposure image easily, whether you’re a beginner or a professional photo editor. All you need to do is follow the steps below!
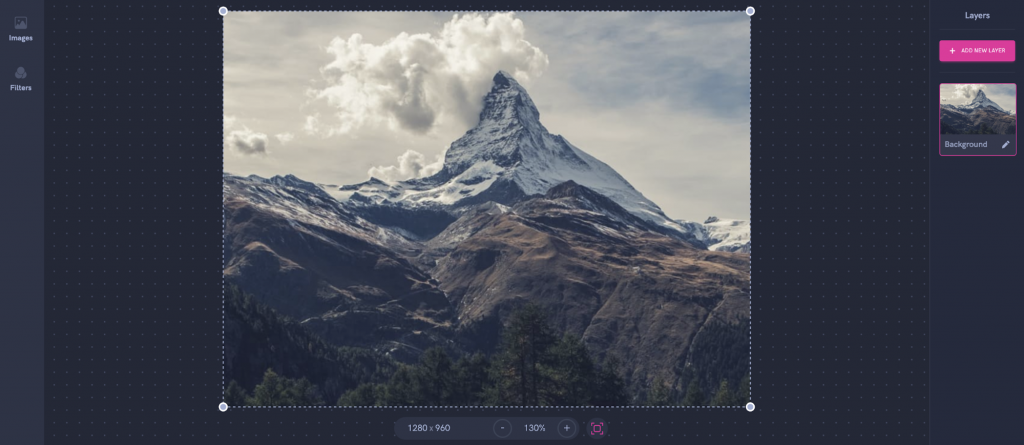
Choose an image of a landscape, preferably one that contains mountains, trees, or clouds to add colors and patterns to your image. You may choose a photo from your gallery or the integrated stock photo libraries.
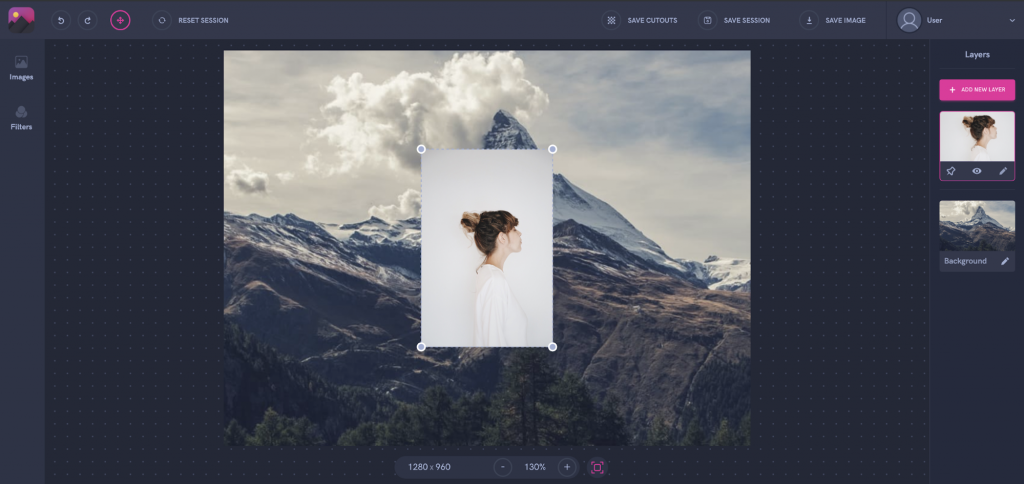
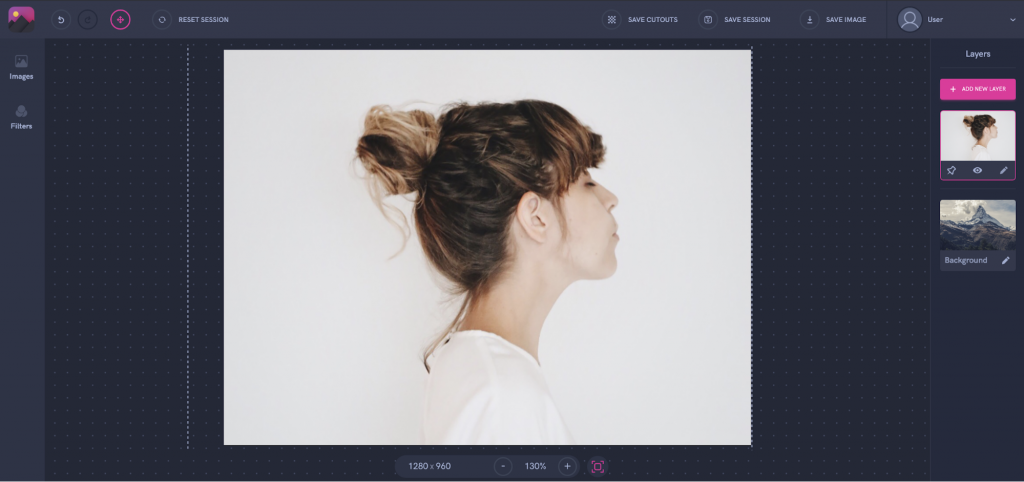
Select Add New Layer to add a second image. Upload a portrait of a person; the background should preferably be neutral. Profiles work amazingly with this type of effect. Alternatively, separate the subject from the background by using the Cut tool and choose a neutral background, preferably one with a light solid color. Click here to learn how to change the background. You may upload your own photo or choose one from Pixomatic’s integrated stock photo libraries.
Adjust the size of your image and fit it over your background by dragging one of the corners upwards or downwards to resize it.
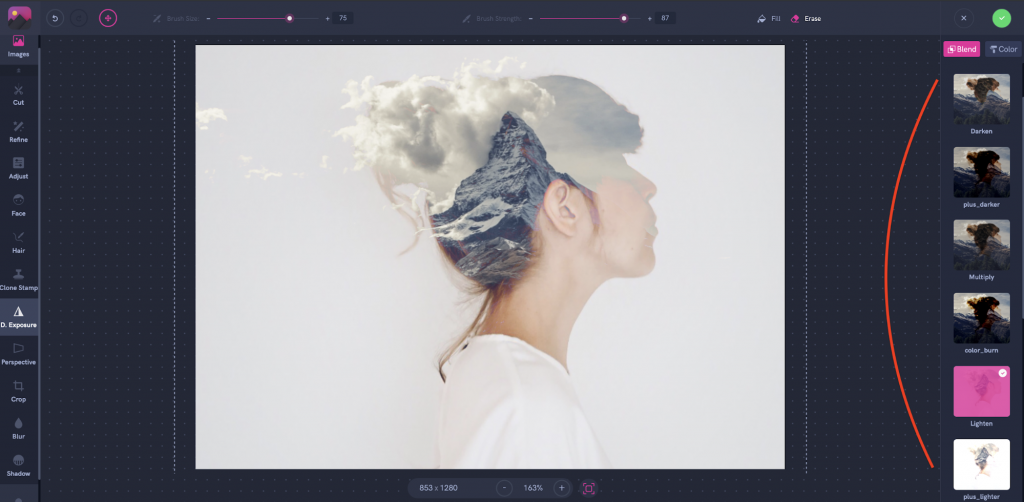
That’s the most exciting part! Click on Double Exposure in the left panel and select the blending mode in the right panel. The most common mode for double exposure images is Lighten. We will choose that for this editing tutorial. Make sure both images are overlaid perfectly. Move and resize the second layer, then hit the apply button.
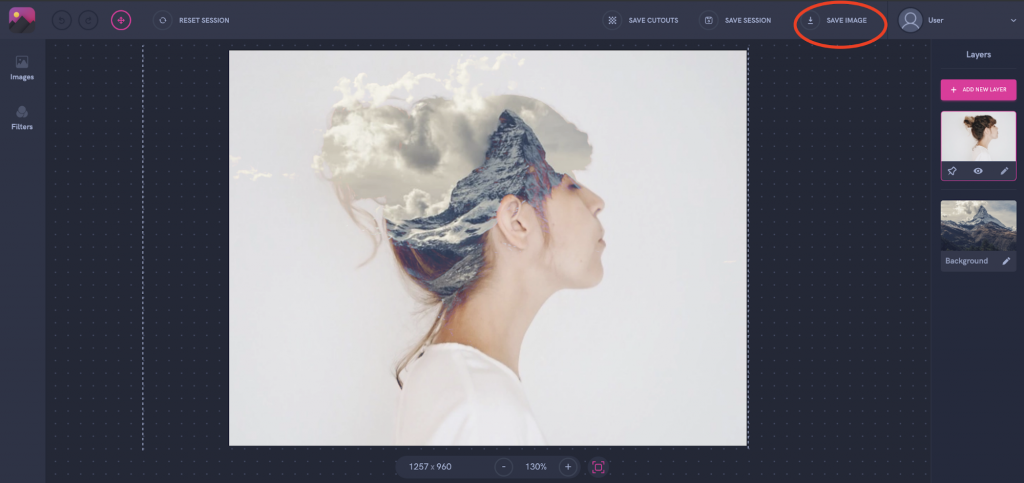
Tap on Save Image in the top panel. Next, click on Rest Session and start a new session using the image you just downloaded.
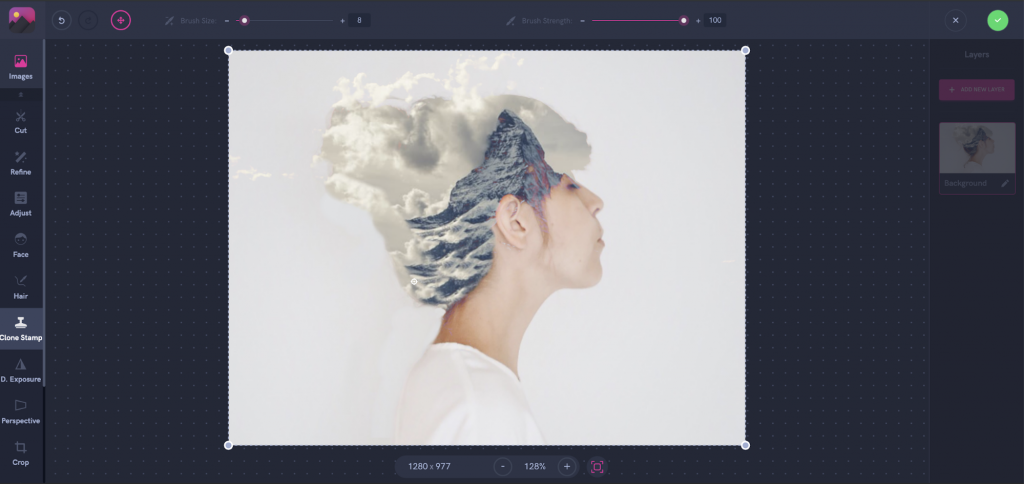
Select Clone Stamp in the left panel to remove parts on the image, and adjust the size and the strength of the brush by dragging the slider to the left or the right. Now, position the brush over the area you want to clone, then click to define the reference. Next, place the cursor over the area where you want to paint the cloned pixels and then start painting. The strokes need to be soft enough so that the borders of the retouched area blend in naturally with the surroundings.
As you can see, I hid the strands of hair that are falling on the subject’s shoulders.
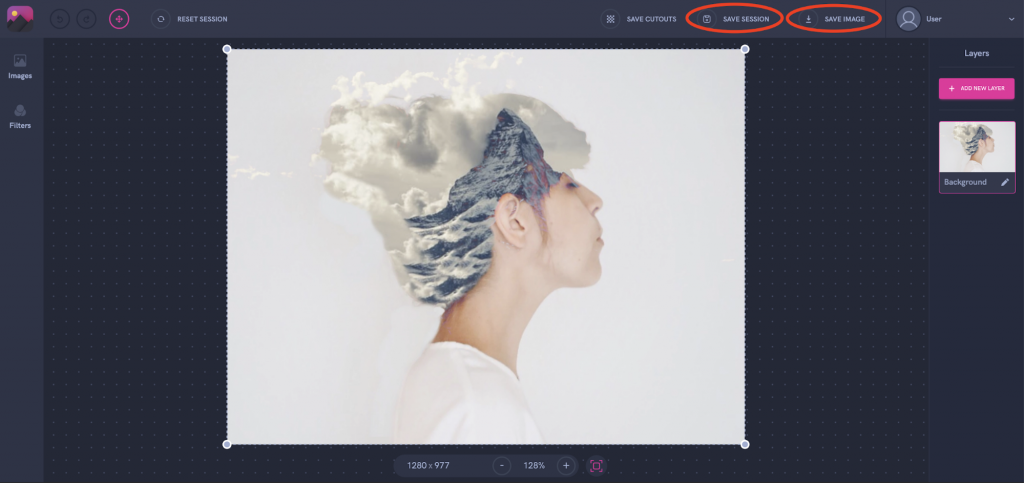
Click Save Session if you want to edit your work later, or hit Save Image to download your image.
You too can create this awesome edit! All you need is Pixomatic! If you do not have an account, what are you waiting for? Sign up. We can’t wait to see what you create!