Back
Back
 Pixomatic Team
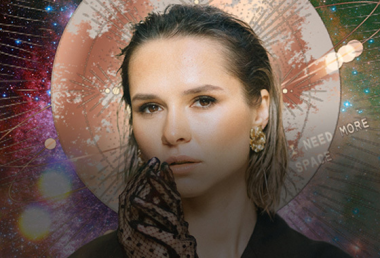
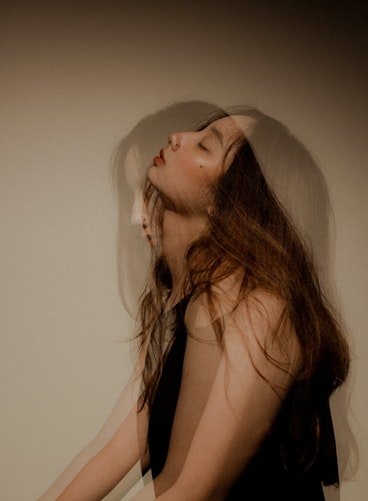
Double exposure photography is a technique that superimposes two separate exposures to create a single image. Some of the most fascinating double exposure images are composed of a portrait and a landscape photo. The technique lets your creative juices flow and allows you to create artistic compositions. It also evokes emotions to the viewers who will contemplate your work with a keen eye. The sky’s the limit with the double exposure effect.
Nowadays, the double exposure effect can be achieved with a DSLR camera by adjusting the settings and manually capturing both images.

Before shooting anything, think of what you want your final image to look like. This step will help you know what types of shots you need, and that will save you a tremendous amount of time. All you need is to figure out what your two images will look like. Do you need a portrait, a landscape photo, or perhaps a shot that contains colorful patterns? Take your time to figure it out: visualize your final image or look for some inspiration online.
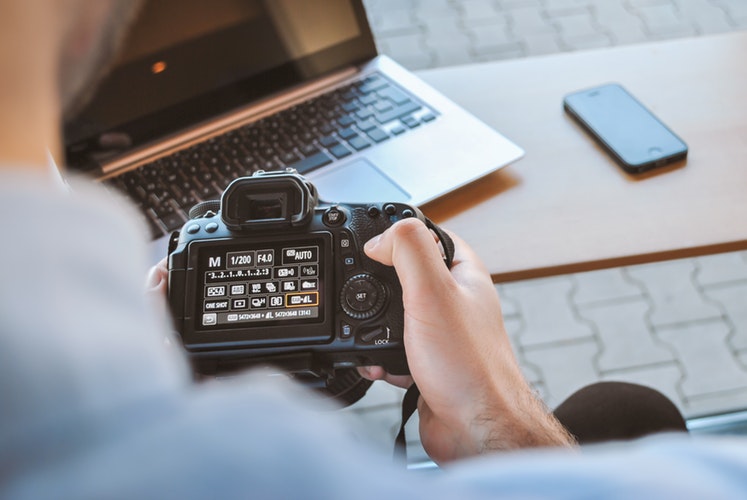
Disclaimer: Look at your manual to know how to find the multiple exposure feature on your camera. If you find manuals to be tricky, use Google.
Click on the style button, dig through the settings to find the multiple exposure mode, and select it. Now, select On: Func/Ctrl then choose a mode. You will then be asked to choose the number of exposures; select 2. Next, go to save source images, and tap on all images. If you want your camera to keep shooting exposures, go to continue mult-exp and click on continuously. On the other hand, if you want your camera to take only one double exposure shot, select one shot only.
Digital cameras offer four multiple exposure modes: additive, average, bright, and dark. You need to choose a mode, depending on what you want to achieve. Here’s what each mode does:
The additive setting adds the layer photo the base photo. This setting does not automatically correct the exposure of both images. To achieve a correct exposure, underexpose the images.
The average setting averages out the exposures of the layer photo and the base photo. Unlike the additive setting, you do not need to correct the exposure of the images you are working with.
This mode is perfect for dark scenes with bright objects layered on top. The Bright setting flattens out shadows and emphasizes bright areas without overexposing them.
As opposed to the bright mode, the dark mode emphasizes darkness and suppresses brightness. So, this setting superimposes the dark parts of each image.
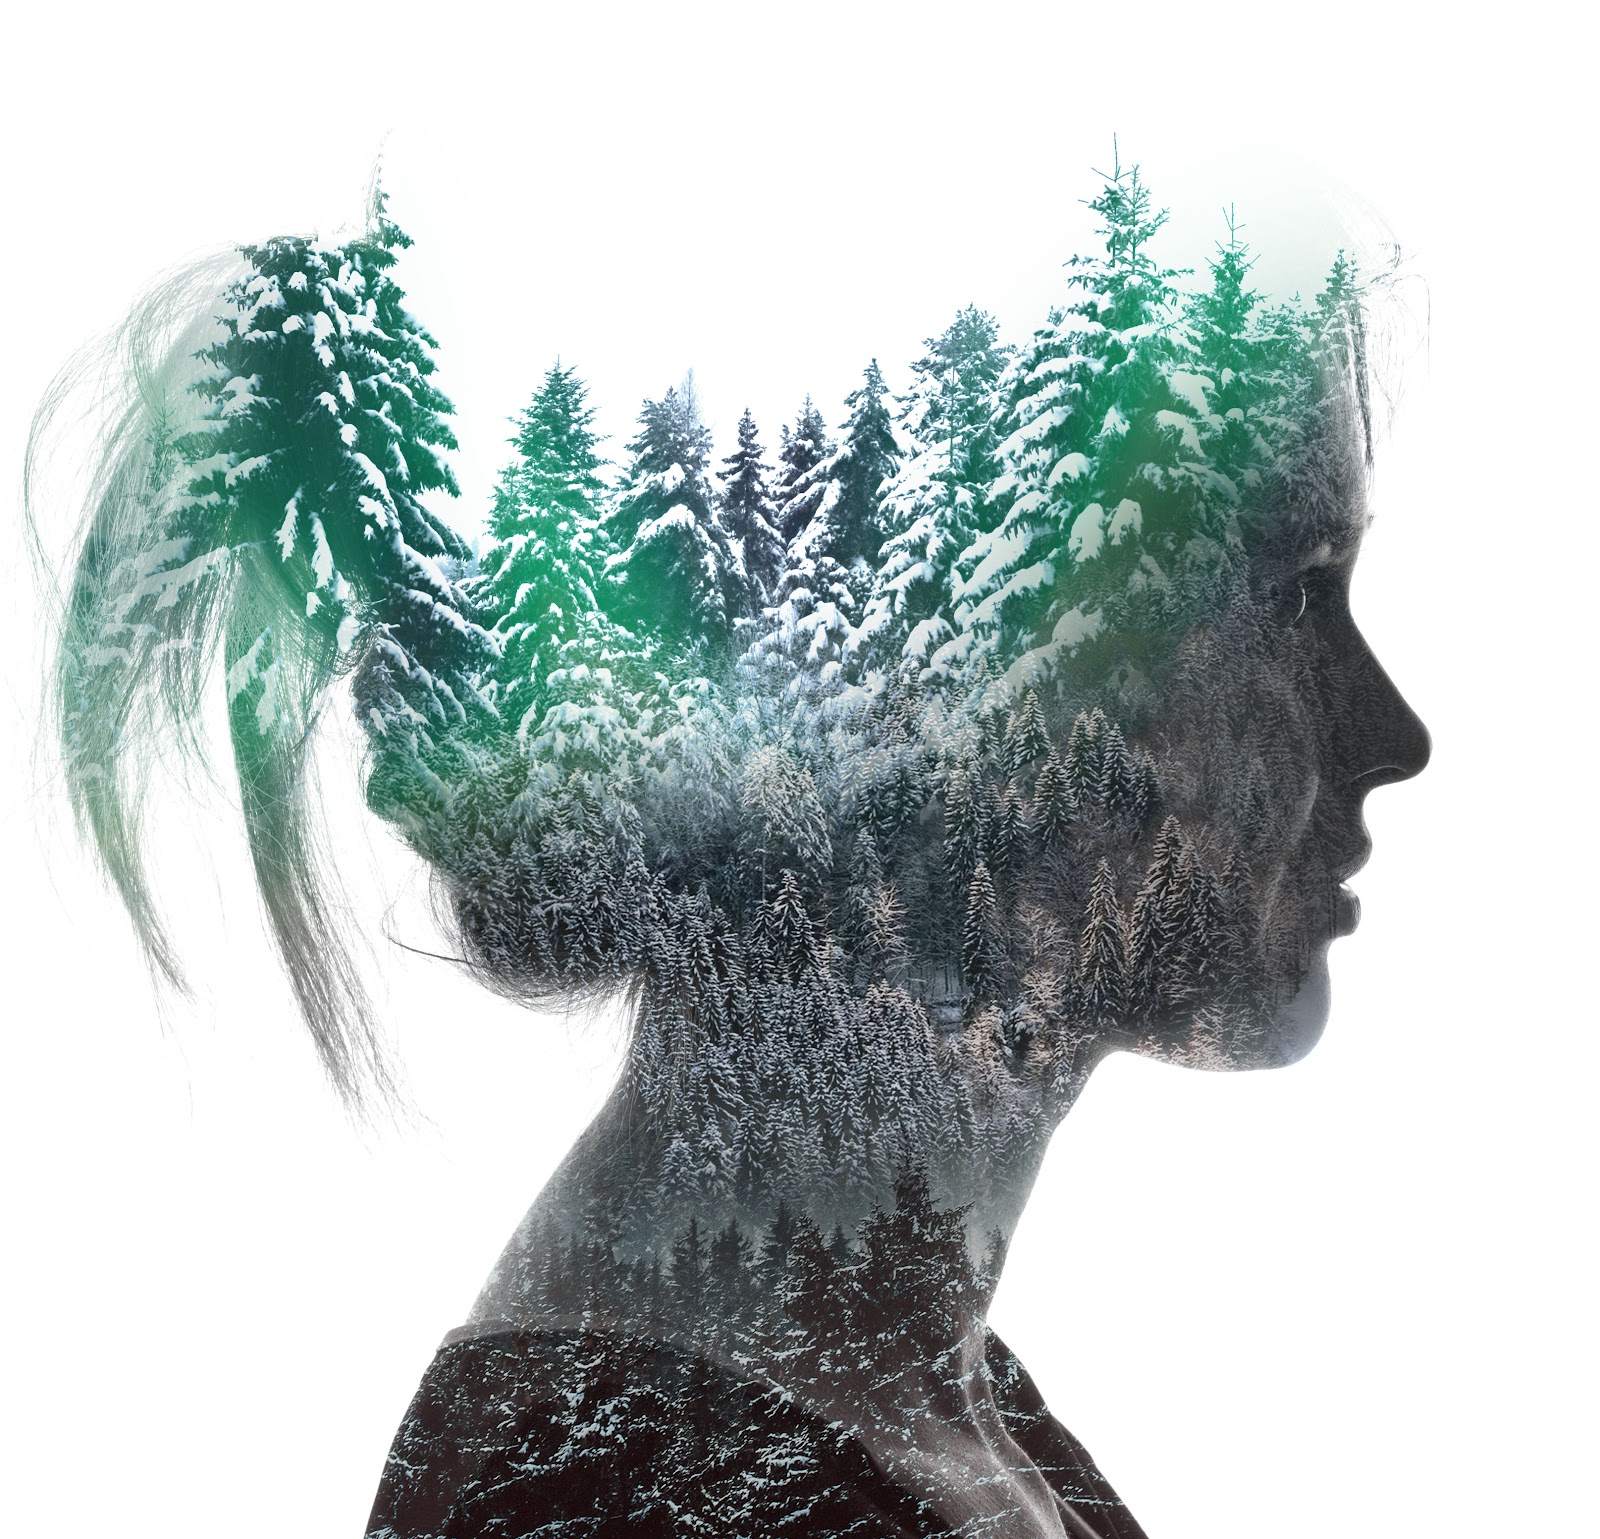
Your base photo (silhouette) can be anything - a person, a pet, or even a monument. Capture your shot. An icon appears every time you take a picture. It indicates that your camera is on double exposure mode. When you move your camera to take your second image, your base image will appear on your screen in a hazy way. This will allow you to see what your final image will look like. Take your time to see how your base photo fits with your layer photo. Move the camera around and explore all the possibilities. Also, make sure to adjust the camera angle, zoom, and exposure settings. When you are ready, shoot your second image. Your camera will automatically merge your base image with your layer image.
To get better results, shoot your silhouette against a clean white background. You can use a studio backdrop or the sky. If you are shooting outdoors, make sure the light is positioned behind your subject or object. As for the layer photo, make sure it contains colors, textures, and patterns. Try shooting foliage, clouds, and landscapes.
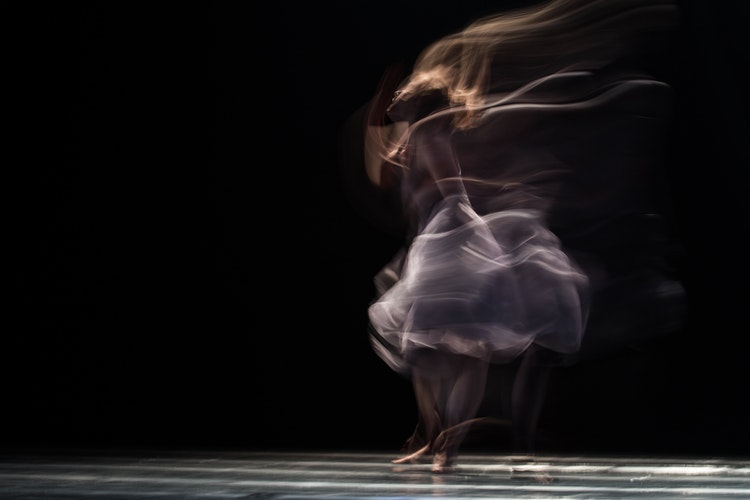
You can create a double exposure image by using a long shutter speed. The shutter speed is the length of time when the camera’s shutter is exposed to light. When it is exposed for a long time, it captures more light, hence more movement. Set a slow shutter speed to blur the motion and achieve a double exposure effect. You may try the following speeds: ⅛, ¼, or ½. Try different speeds to see what works for you.
As we previously mentioned, when the shutter speed is slow, it catches more light. So, you need to adjust the brightness to avoid overexposing the image by either decreasing the ISO or increasing the aperture. The ISO measures the sensitivity of the image sensor to light. The higher the ISO, the more sensitive it is to light and vice versa. The aperture, on the other hand, is a hole in a lens through which light enters a camera. A large aperture allows more light to pass, and vice versa. Understanding the relationship between the shutter speed, ISO, and aperture will help you achieve better results.
Once you adjust the exposure, have your subject or object move. The long shutter speed will allow the camera to capture as many movements as possible. You may ask your subject to tilt their head, shake their arms, or move around. The slow shutter speed will allow you to combine all the movements in one image.
You are now ready to take a double exposure using your digital camera. We can’t wait to see what you create!