Back
Back
 Pixomatic Team
Winter came and, for most of us, winter is already leaving. It’s the best time to do some spring cleaning, freshen our wardrobes, and get our social media feeds up to date as well. So let’s take a look at all the fun, bright, and trendy new posts you can plan for the upcoming month.
As always, each month has some nature or holiday inspired color palettes that you can channel into your photos or photo edits. There’s a little something for anyone to draw inspiration from.
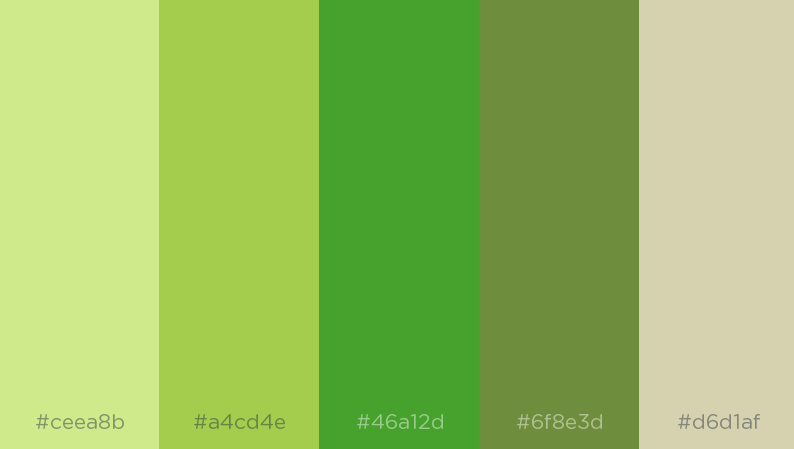
St. Patrick’s day is coming up on March 17th and it surely will be full of leprechauns, gold, and four leaf clovers. Even if you don’t celebrate the holiday, a color palette inspired by St. Patty’s day is still something you might love for a fresh new feed. If you end up with a green overload, just tie in some white, beige, or gold colors as well.
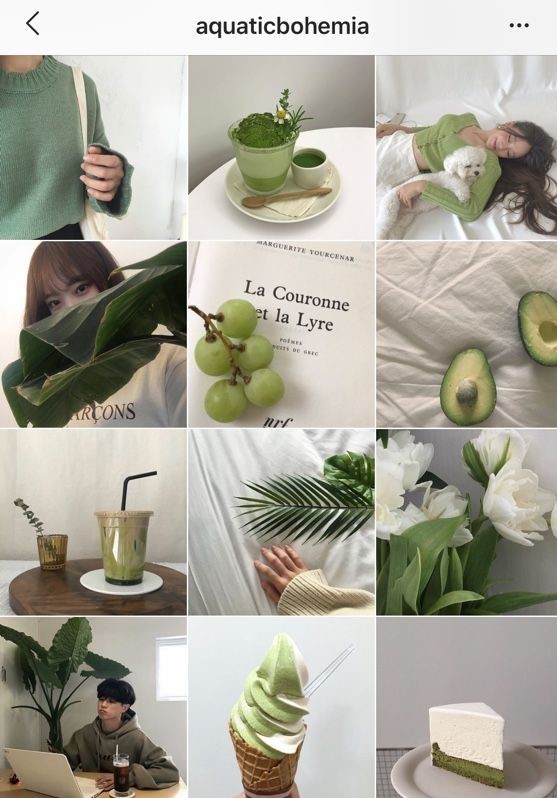
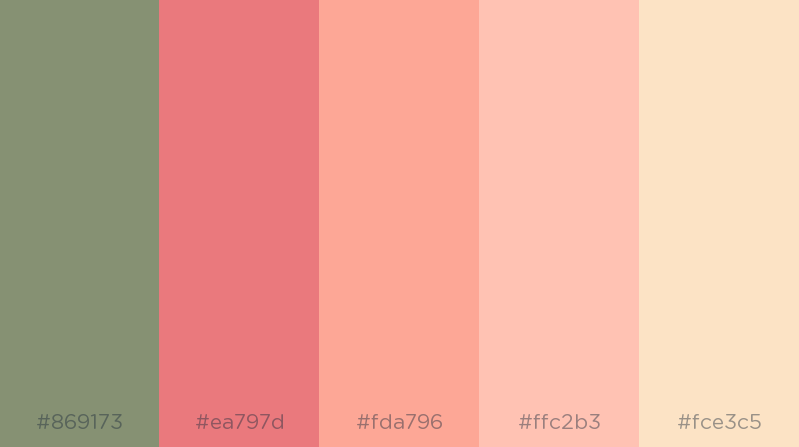
Looking for something a bit more subtle? You can add color but still keep it clean and simple. Try out some pastel natural tones like faded green, peach, and yellow. Depending on how simple you want it to be, add more white to your photos to balance out the colors. Here’s an Instagram feed that has just the right balance of color and simplicity:

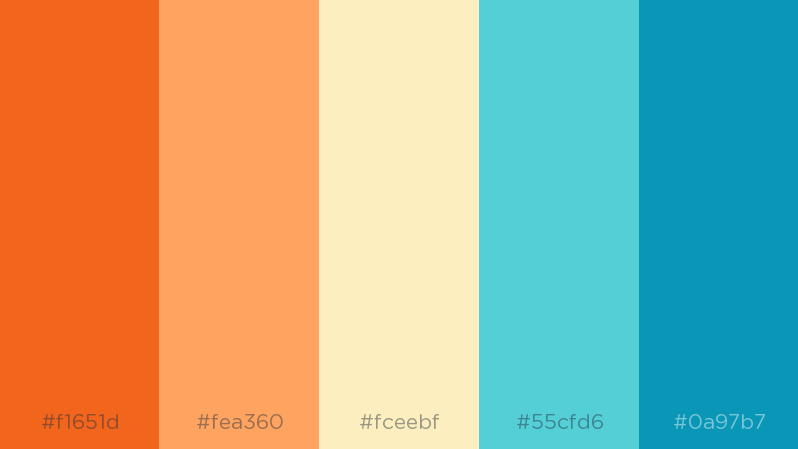
Are you a March baby? Then your birthstone is the beautiful Aquamarine. The light blue color resembles the clear skies or the sparkling oceans. Pair it with other shades of blue, orange, and tan to get a bright color scheme. This color palette will help you feel closer to the warm, summer months ahead. If you’re going somewhere tropical for spring break, you’ll surely see these colors all around you.

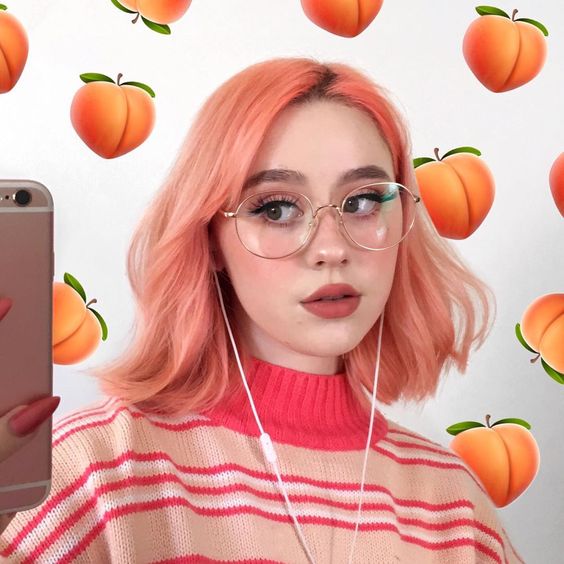
Stickers, emojis, overlays, or whatever else you want to call them. It doesn’t stop them from being a cool and trendy way to add a personal touch to your selfies. You can see photos like this throughout Pinterest, Instagram, and Snapchat. With the help of Pixomatic’s mobile editor, there are actually two ways you can do this.
After picking the photo you want to edit, open up the Text tool. Using your emoji keyboard, type out the emoji you want. Then, just duplicate this layer as many times as you want, putting it anywhere on your photo. Do this with the same emoji or a combination of many.
The next easy way to do this is through our Bing image search. Just search for the sticker you want to use and filter to png photos only. Place and duplicate as before. With this step, you can go beyond just emojis and find other stickers to put on your photos as well.

Submerge yourself into a bouquet of flowers as we step into springtime. If you’re a fan of florals, this is the perfect tutorial for you. But you can customize the edit by switching the florals with something else if they aren’t your cup of tea. Either way, this beautiful photo edit won’t even take 5 minutes.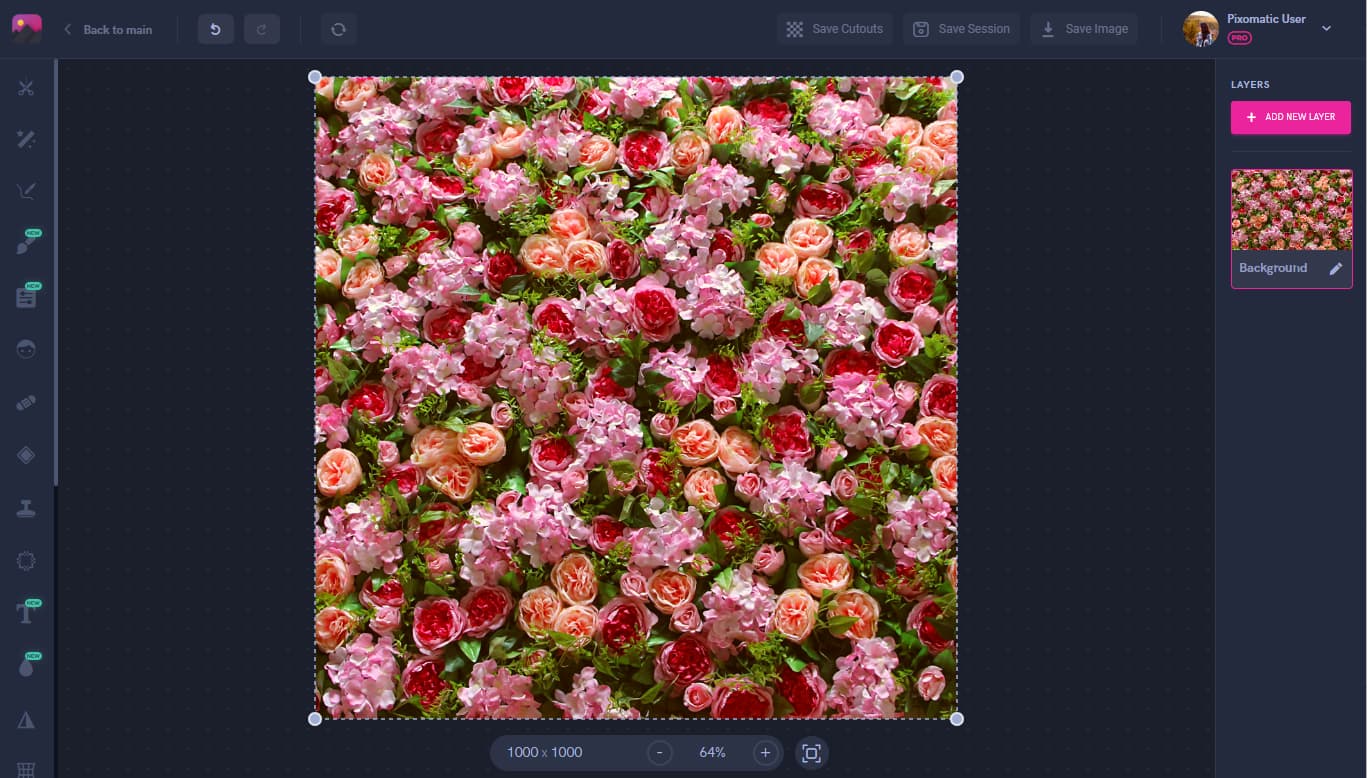
First off, pick your background. You can use the wide selection of stock photos from Pixabay and Unsplash right from inside the web editor. Your background image will determine the overall shape of your edit, so pick a vertical, square, or horizontal photo depending on the size you want.
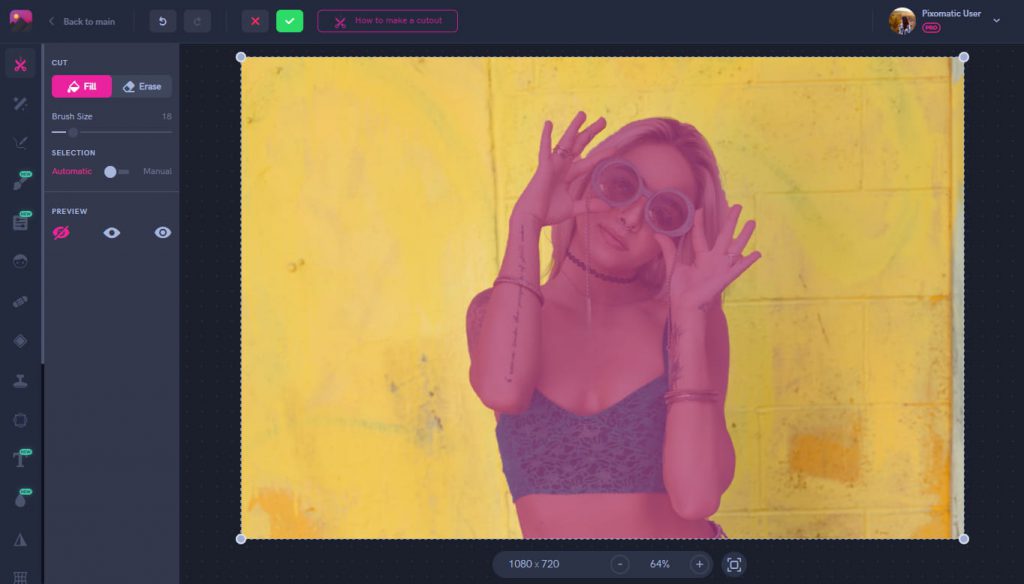
Pick out and then make a Cut out of yourself, or whoever is the main subject of the photo. You don’t need the background that comes with that photo nonetheless.
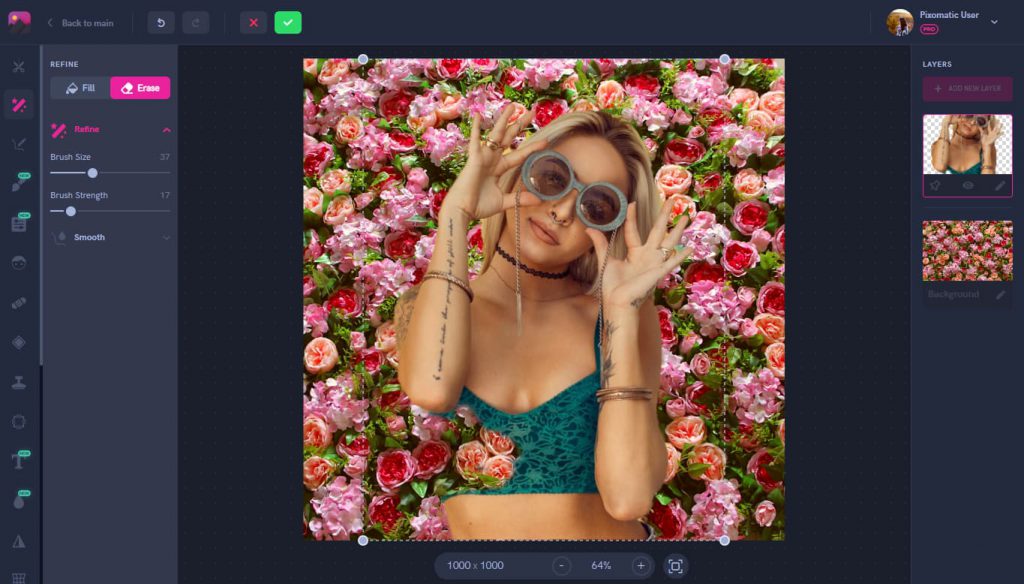
All that’s left to do is Refine the top layer so that the background begins to appear from underneath. Refine parts of visible clothing to make it identical with the floral background.
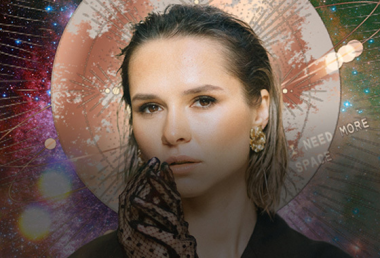
We have so many unique Pixomatic creators that we want to dedicate a monthly photo edit to you. If you make edits with Pixomatic make sure to tag us @pixomatic_app on Instagram and we just may feature you next month. This time, we’re looking at the works by Daniel Peters who’s been a Pixomatic user for several years already. His mind-blowing visual illusions make you look twice to understand what’s real and what’s not in the photo. We’re going to show you a tutorial of how to make a bitten apple photo edit inspired by Daniel’s photo editing style and we hope he approves of our efforts.
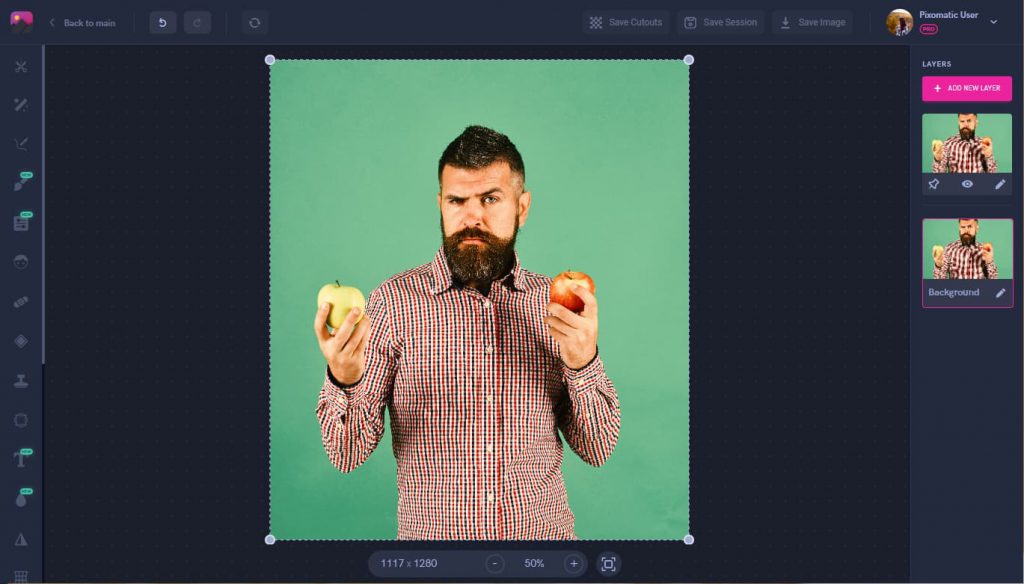
It’s fun when apples are incorporated into the image already so try to use a portrait of a person with apples. You can always do a quick search through Pixomatic’s stock images if you don’t have a photo on hand. Next, make sure you add the same photo twice to the editor and align them directly on top of each other. This is an important step for this edit so make sure you have two layers visible on the right tab.
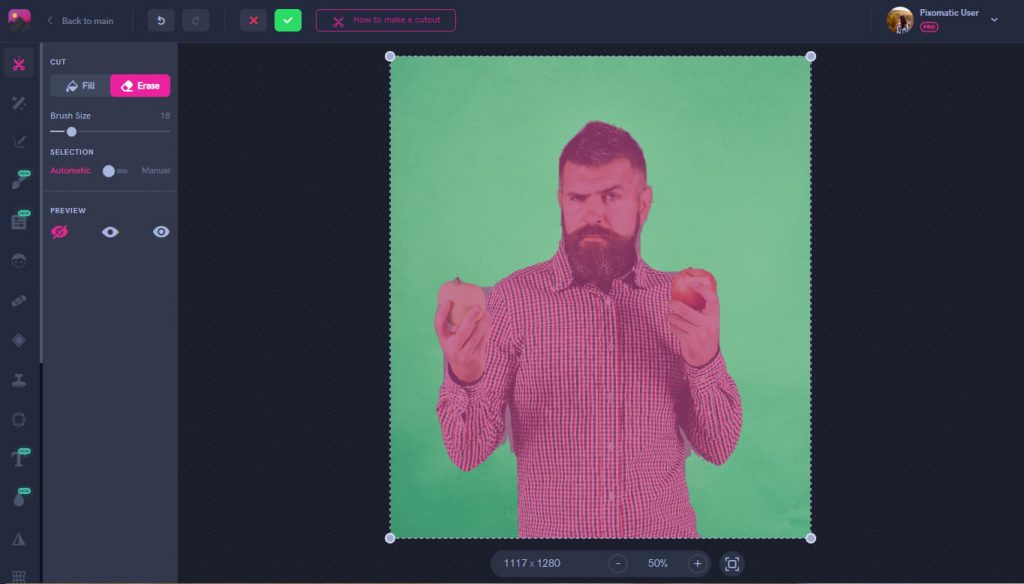
Using the Cut tool on the top image layer, make a cutout of the man, separating him from the background.
Now, you should have two photo layers: one is the background image that you haven’t touched and the top layer is the cutout that we just made in the previous step. Next, use the eye icon to hide the top layer so that you’re only working with the background. Use the Magic Brush to erase the man completely, leaving only the green background. This works best with solid backgrounds. Once this step is complete, click the eye icon to show the top layer again. At this point, you should only have the green background and the cutout layer on top.
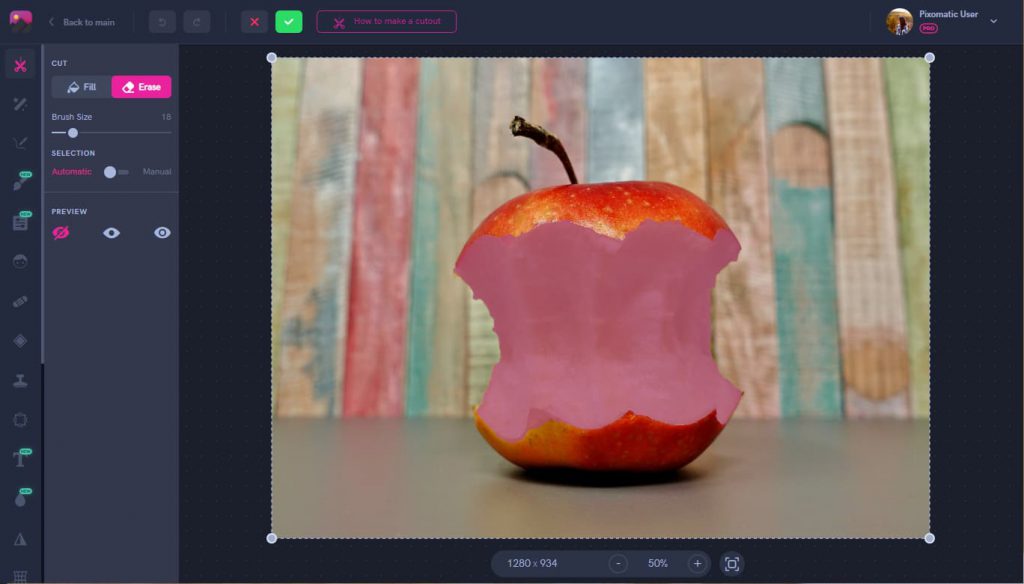
Easily find a stock image of a bitten apple either through the editor or through your personal gallery. Using the Cut tool once again, make a cut out along only the bitten white parts of the apple. You don’t need the outer layer of the apple.
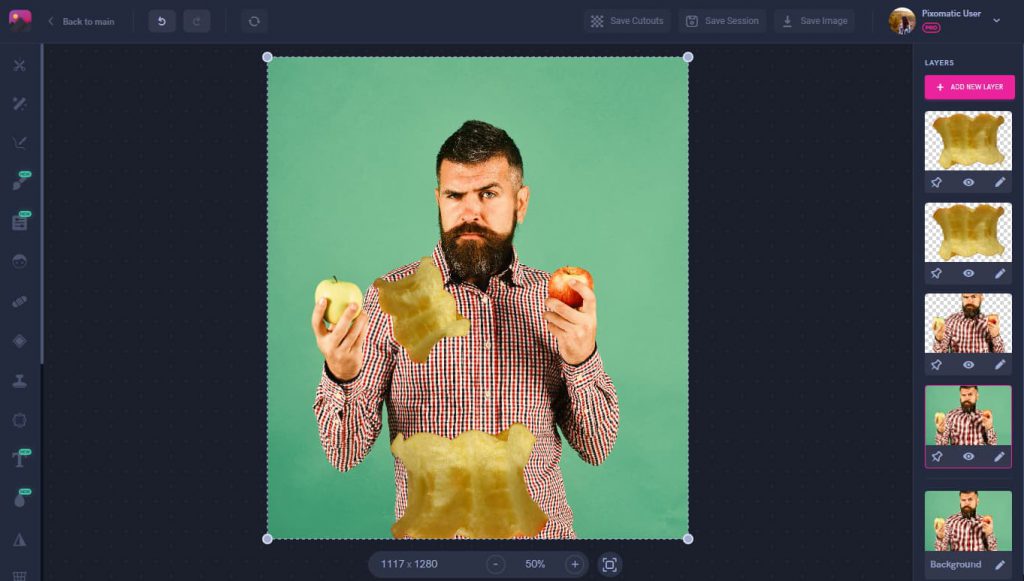
Next, duplicate the apple cut out that you just made depending on how many bites you want to use for the edit. We used three apple bites for this edit but you could do more or less. You don’t need a new apple for each bite illusion, just duplicating the same piece will do. Place them around where you want them to be on the subject.
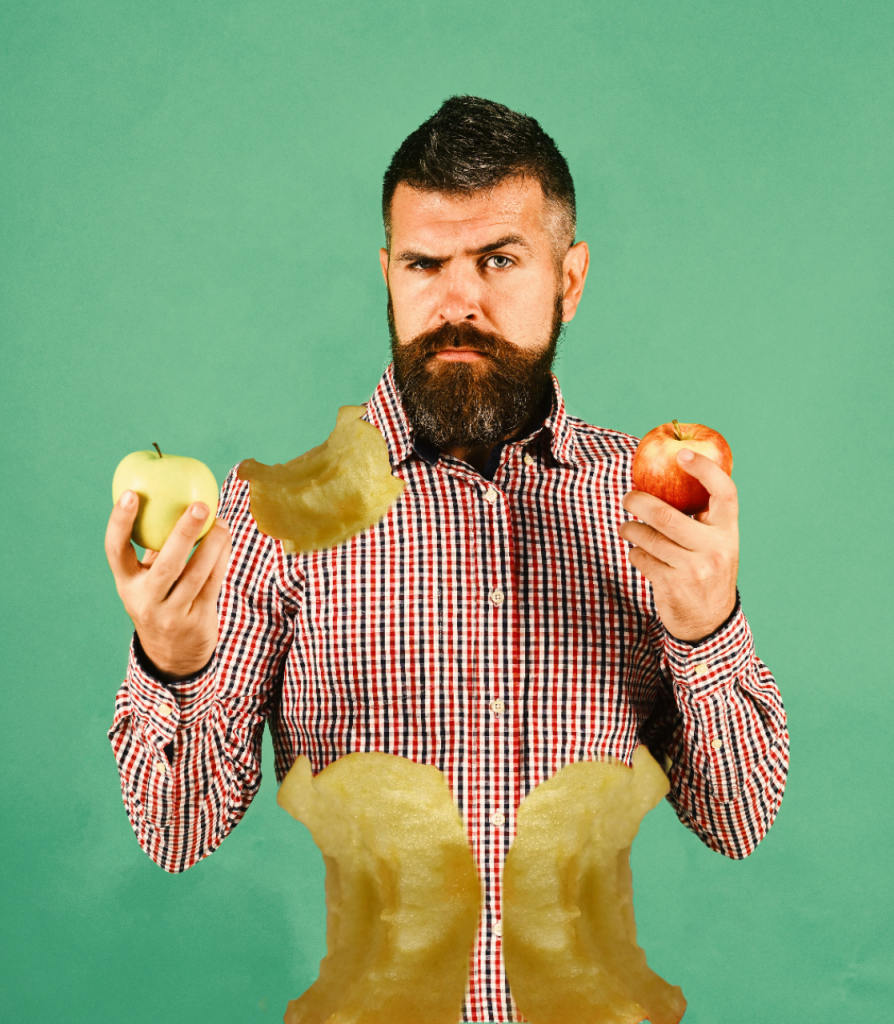
We’re almost done, all that’s left is to use the Refine tool to bring everything together. Erase the parts of the apple bite that you don’t need anymore and parts of the clothing or body that’s supposed to be bitten.
And that's it! Make sure to follow him @peta1104_ to see the rest of his gallery.
As always, we'll see you back next month with tutorials, trends, and more!