Back
Back
 Pixomatic Team
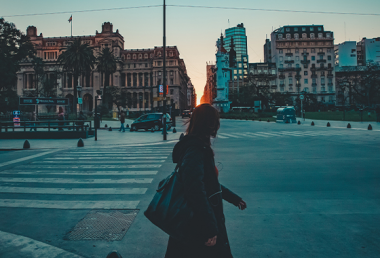
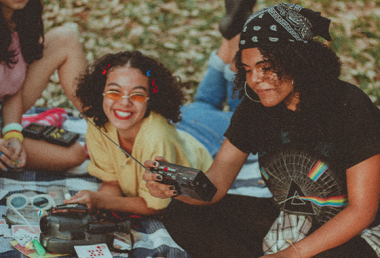
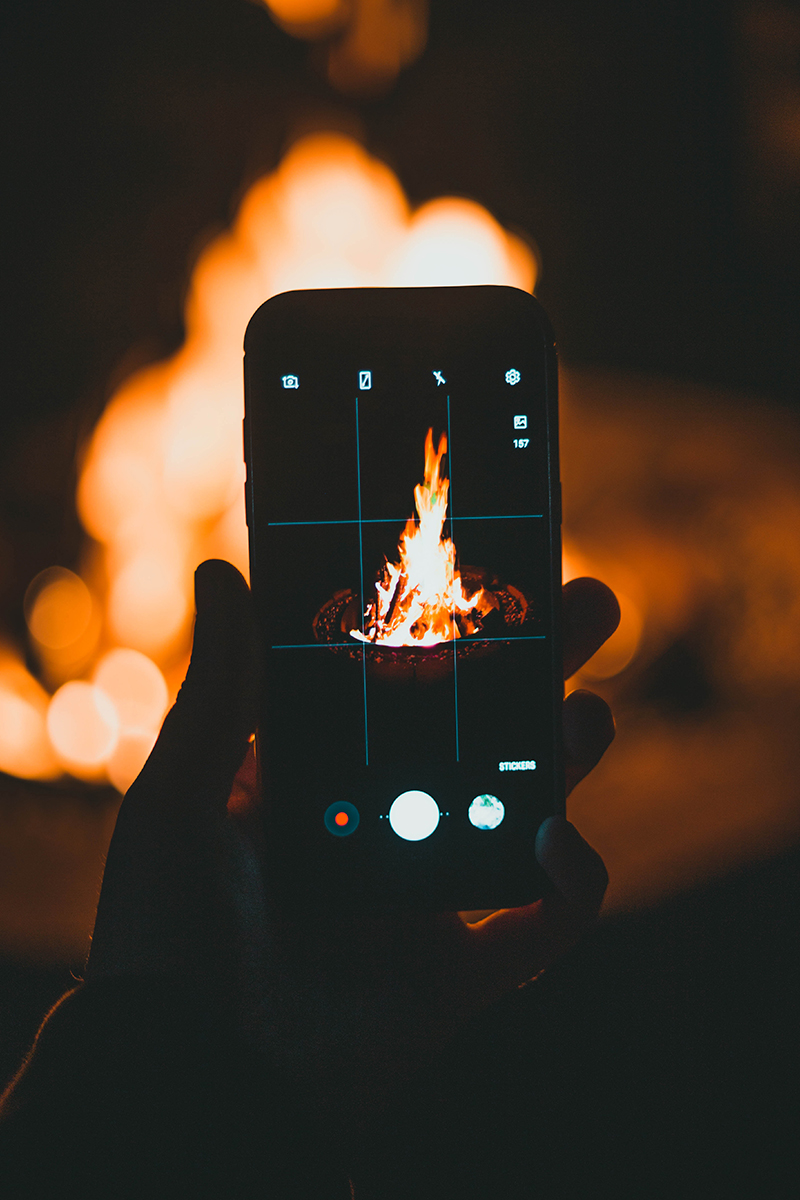
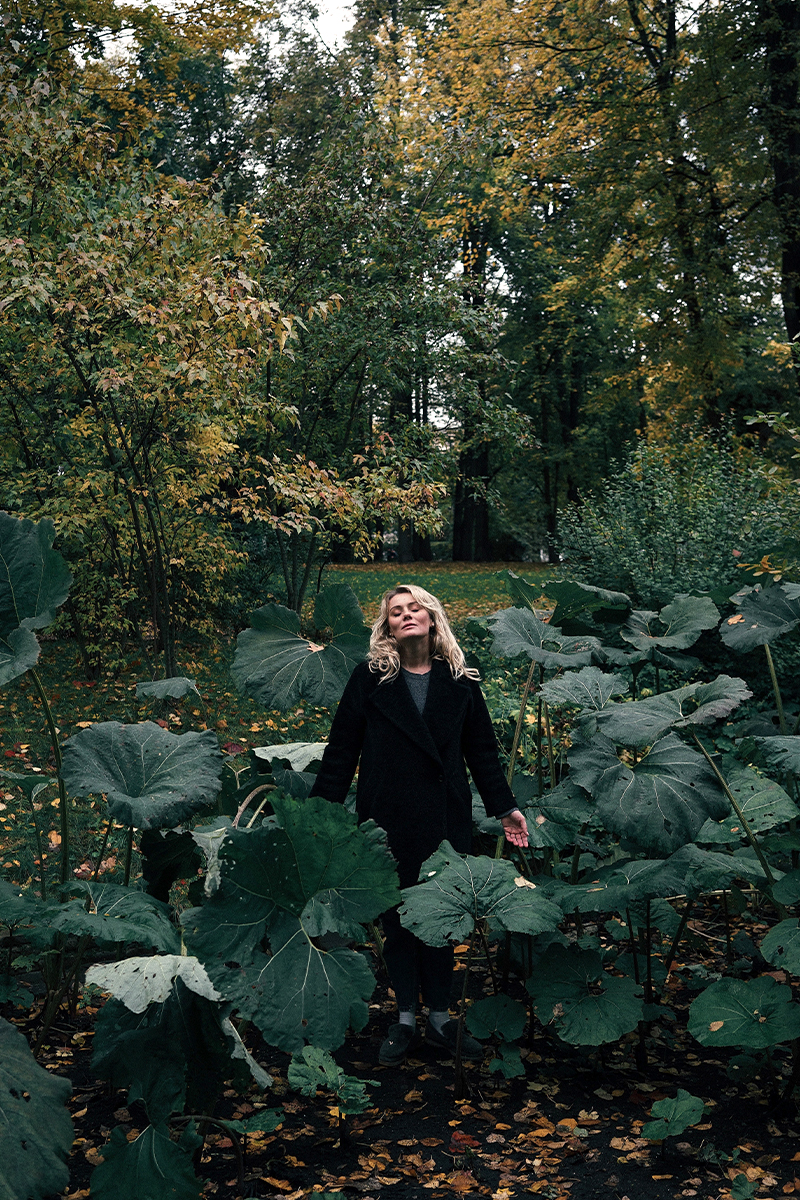
Low-light photography is something every photographer encounters at some point in their career. The desire to capture important moments from their lives inevitably challenges photographers to shoot in dark or dim conditions – be that evening walks in the city, late-night parties, or just a cozy evening with candles at home.
And let’s face it, taking pictures in a dark environment often comes with low-quality shots that are blurry, grainy, or just dark. Nevertheless, there are tons of really well-made photos that have been taken in dark conditions. Wondering how that’s possible? Read on to go deeper into low-light photography techniques and how to adjust camera settings for epic photos.
First things first, do you know what determines the darkness or lightness of a photo you’re taking? The answer is exposure, or the amount of brightness a camera’s sensor perceives. To control it, you need to control the three variables that impact a picture’s exposure: ISO, shutter speed, and aperture. These are settings that make up the exposure triangle. Go into manual mode, and play around with them to see how they can change a photo.
ISO qualifies the sensor’s sensitivity to light. The lower the ISO settings are, the less sensitive the sensor is, meaning it doesn’t get enough illumination. Therefore, a higher ISO makes shooting in dark conditions more accessible. We’ll touch on this more in detail later on in the article.
Shutter speed is the time between when your shutter opens and closes. Basically, the camera’s shutter is closed until you trigger it when you take a picture. When the shutter is open, it allows light to shine into the sensor.
Aperture is the size of the lens opening through which light gets into the camera.
Now that you know the basics, let’s dive into some exciting tricks on how to take nice shots in a dark environment.
Letting more lumosity into the camera’s sensor can result in better low-light images. But there’s a trick to it! As you increase the ISO, the ‘noise’ or blurriness in the image increases. So, you should find the right brightness balance for your camera sensor so you don’t end up with really grainy shots. Try setting the ISO to 800 and work from there. To check if there’s excessive noise in the photo, zoom in and see if it’s really too much.
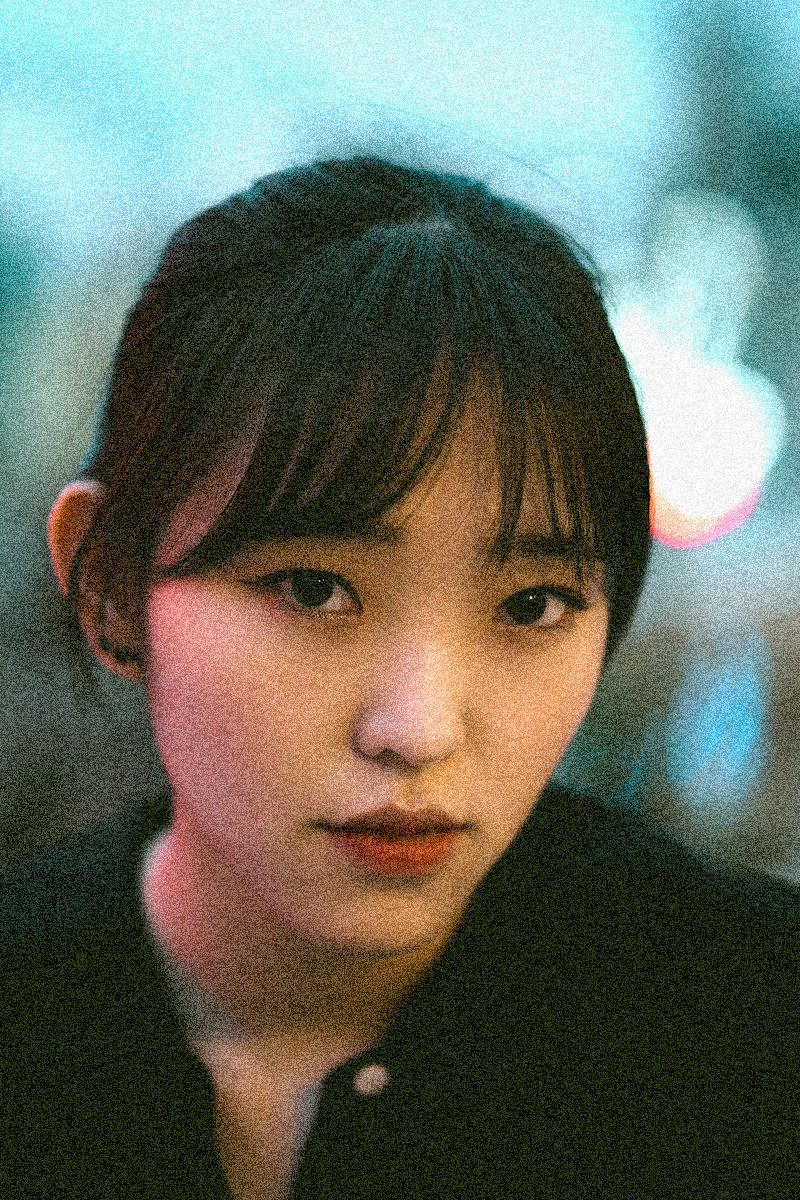
Important: Remember that absolute perfection doesn’t exist and resist getting too nitty-gritty when fiddling with the ISO for low-light conditions. Make sure that the image looks OK even if there’s a little noise. You’ll be able to reduce it during the post-processing.
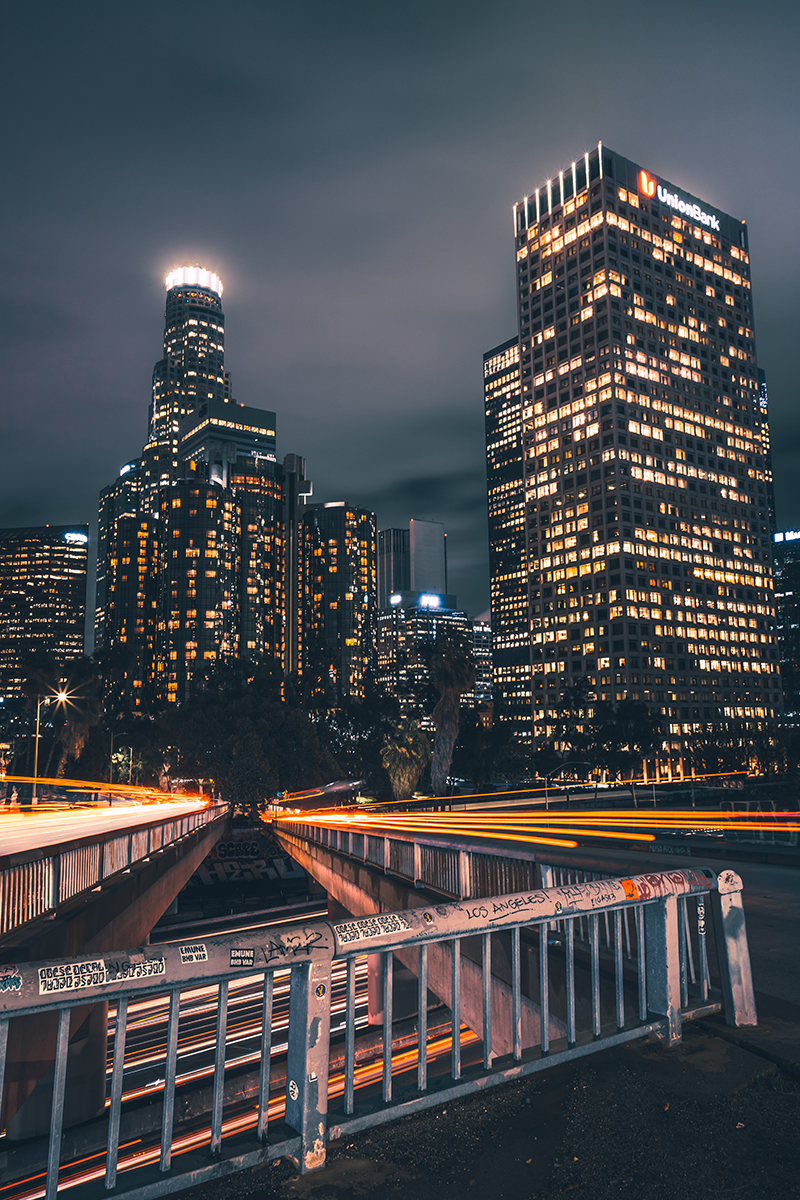
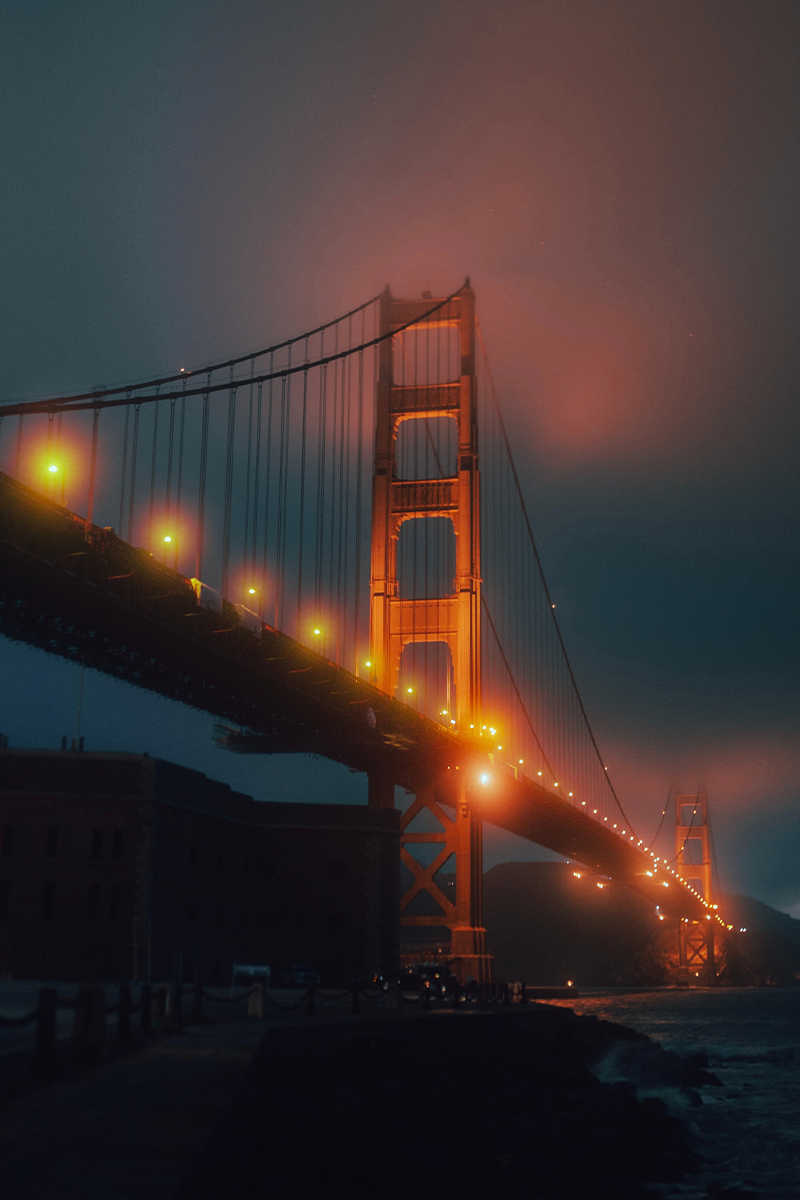
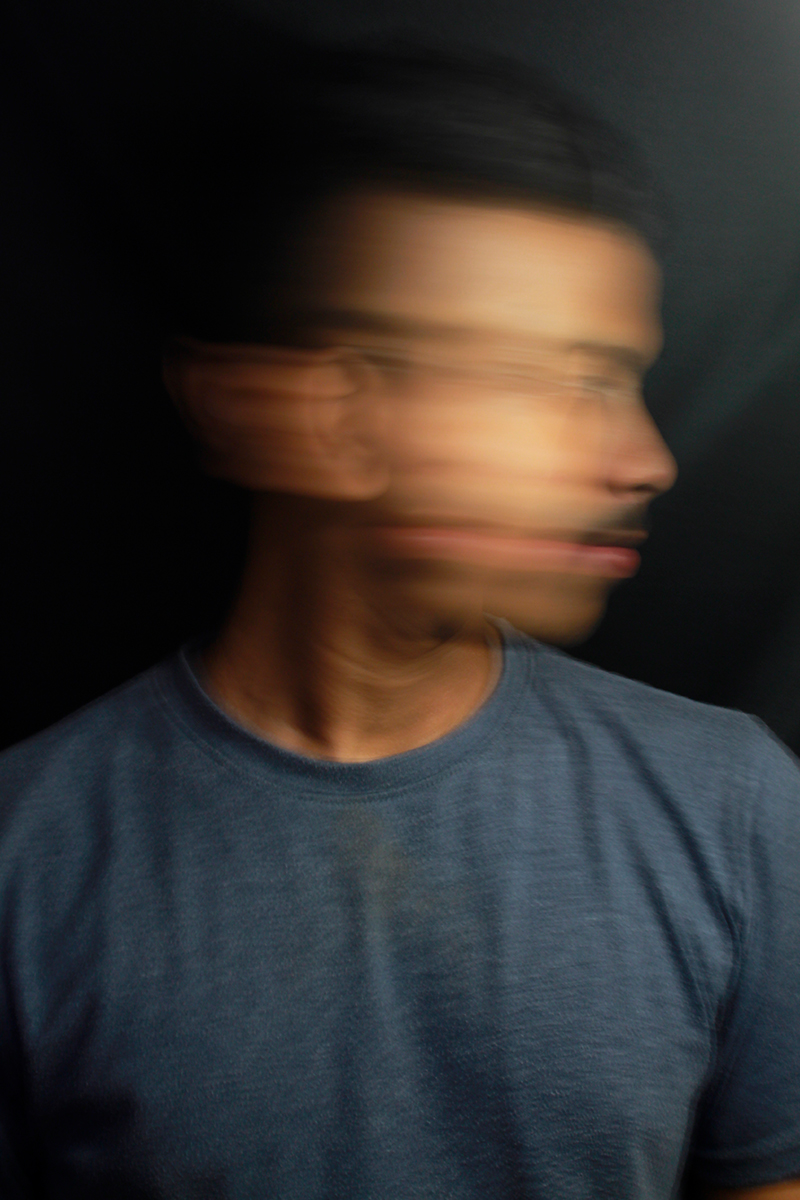
The same rule works here: shooting in the dark requires allowing more brightness through to the lens. Another way you can achieve this is by setting a lower shutter speed. The longer the shutter stays open, the clearer the image you’ll get. Note that a more extended shutter opening creates a bigger chance of blurriness due to movement. The camera and its subjects need to stay still – which is why a tripod can help when shooting dark scenes.
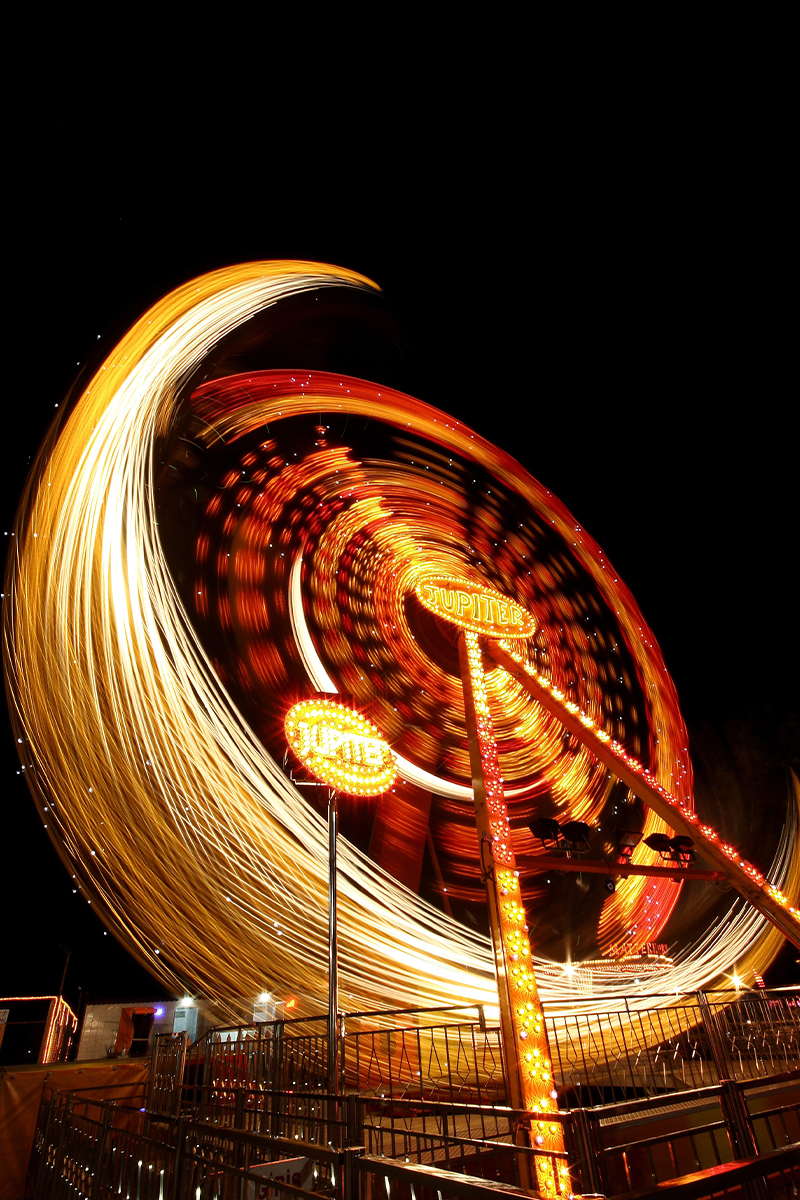
Recommendation: Set the shutter speed to the lowest possible point (or at a max of 1/125 of a second if you don’t have a solid surface) for a sharp picture. Use a tripod or your knee to prevent photo blur.
To allow more light into the camera’s sensor, you need to adjust the aperture according to the conditions of your environment. The aperture is a hole in the camera’s lens that works like the pupil of your eye. In a poorly lit environment, you need a wider aperture to maximize how much light your camera captures.
Be aware: The aperture is measured in f-stops. Smaller numbers like f/2.8 represent a wider aperture, while larger ones like f/5.6 represent a narrower aperture.
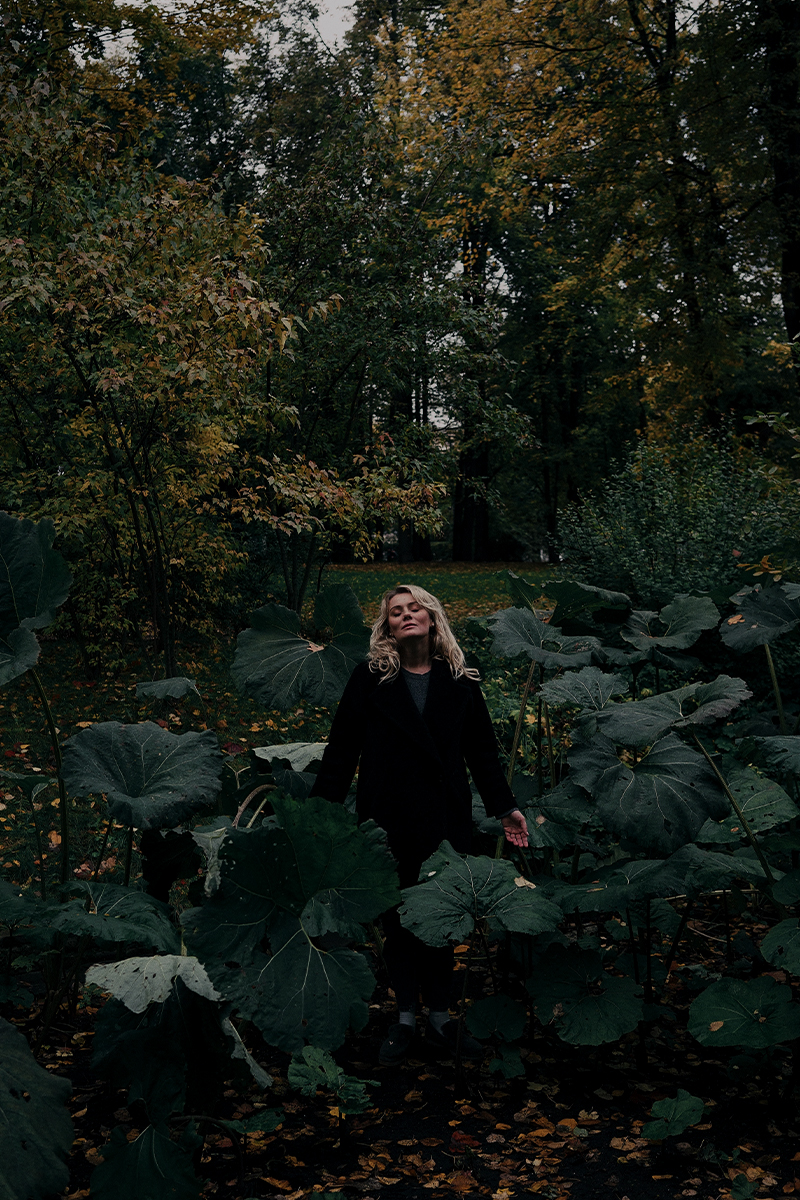
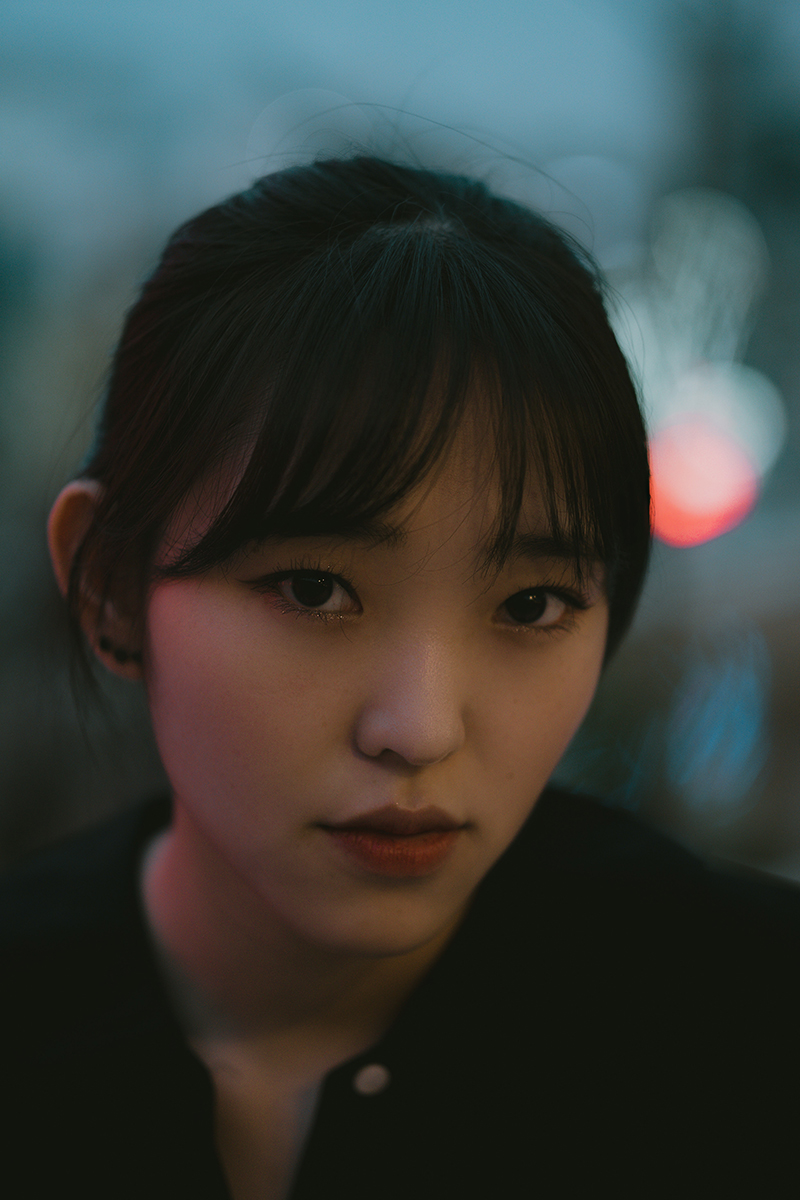
Even though white balance is not part of the exposure triangle, it can still do magic in giving you better-quality pictures. It’s obvious that photos taken in dim conditions can lack some color. Think about shots you’ve taken in the dark. Have they looked yellowish or bluish? That’s why white balance matters: well-set, it makes your camera adjust to the illumination conditions and render colors more accurately – even in dark scenes!
When you know what settings affect your pictures’ exposure, you’ll be able to make better sense of how to take nice low-light shots and what low-light photography settings you need to adjust. Remember that it takes a lot of practice to become a pro in each craft, and with practice you’ll get a better grasp of taking photos in the dark. That’s how your photography skills improve over time. And don’t forget post-processing – editing tools can help polish up your shots, too.
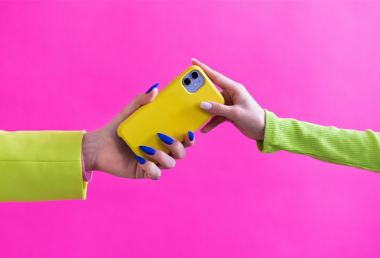
For easy post-processing, and to create great photo designs, we recommend you use the Pixomatic app!