Back
Back
 Pixomatic Team
If you’re a movie buff and an aesthetic enthusiast like me, you must certainly know about cinema aesthetics. There are many accounts on Instagram and Twitter that regularly post aesthetically pleasing movie scenes. The combination of the written and visual content of these images transport me to an alternate reality where things are different, in a better way.
Some of these scenes are not from movies, like Sarah Bahbah’s work. Her photo series that gained international acclaim consists of captioning photos with subtitles, making them look like scenes from foreign movies.
I tried recreating this visual style with the combination of free stock photos and Pixomatic, and the results turned out exactly the way I envisioned them. This blog post will guide you through the steps you need to take to create aesthetically movie scenes that exist only in your mind.
Here we go!
The stock libraries that I use the most are Unsplash and Pixabay. There you can find millions of high-quality images that you can use for free.
Most stock photos look like they are staged. So, you have to browse the libraries thoroughly to find images that look like they are straight out of a movie.
The ideal photos would have a nice composition, especially color-wise, and carry the potential to tell a story. Don’t choose an image just because it looks good; pick one that is visually pleasing and can be paired with a caption very well.
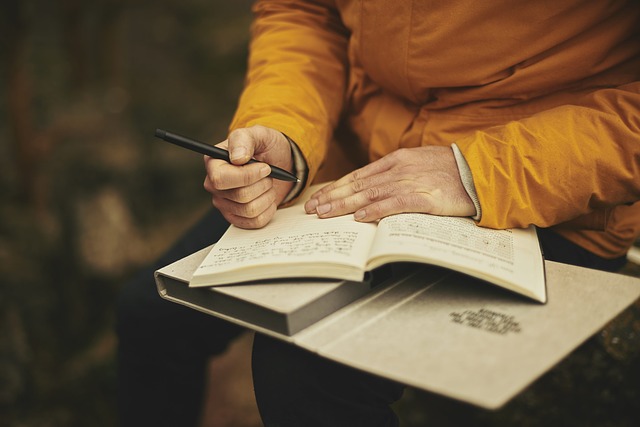
My creative writing professor repeatedly told the class that, unlike prose, every sentence and every word of a poem counts. Since you will be writing captions, you need to express your idea in a few words. Make them count. So, instead of coming up with a generic phrase that could be easily found on social media, take time to think of a phrase that the reader will remember.
Let this be an exercise for you to wake up your inner writer. Grab a pen and a piece of paper or open a text editor, and write whatever comes to your mind. Writing is also a stress-relieving exercise, pretty much like drawing.
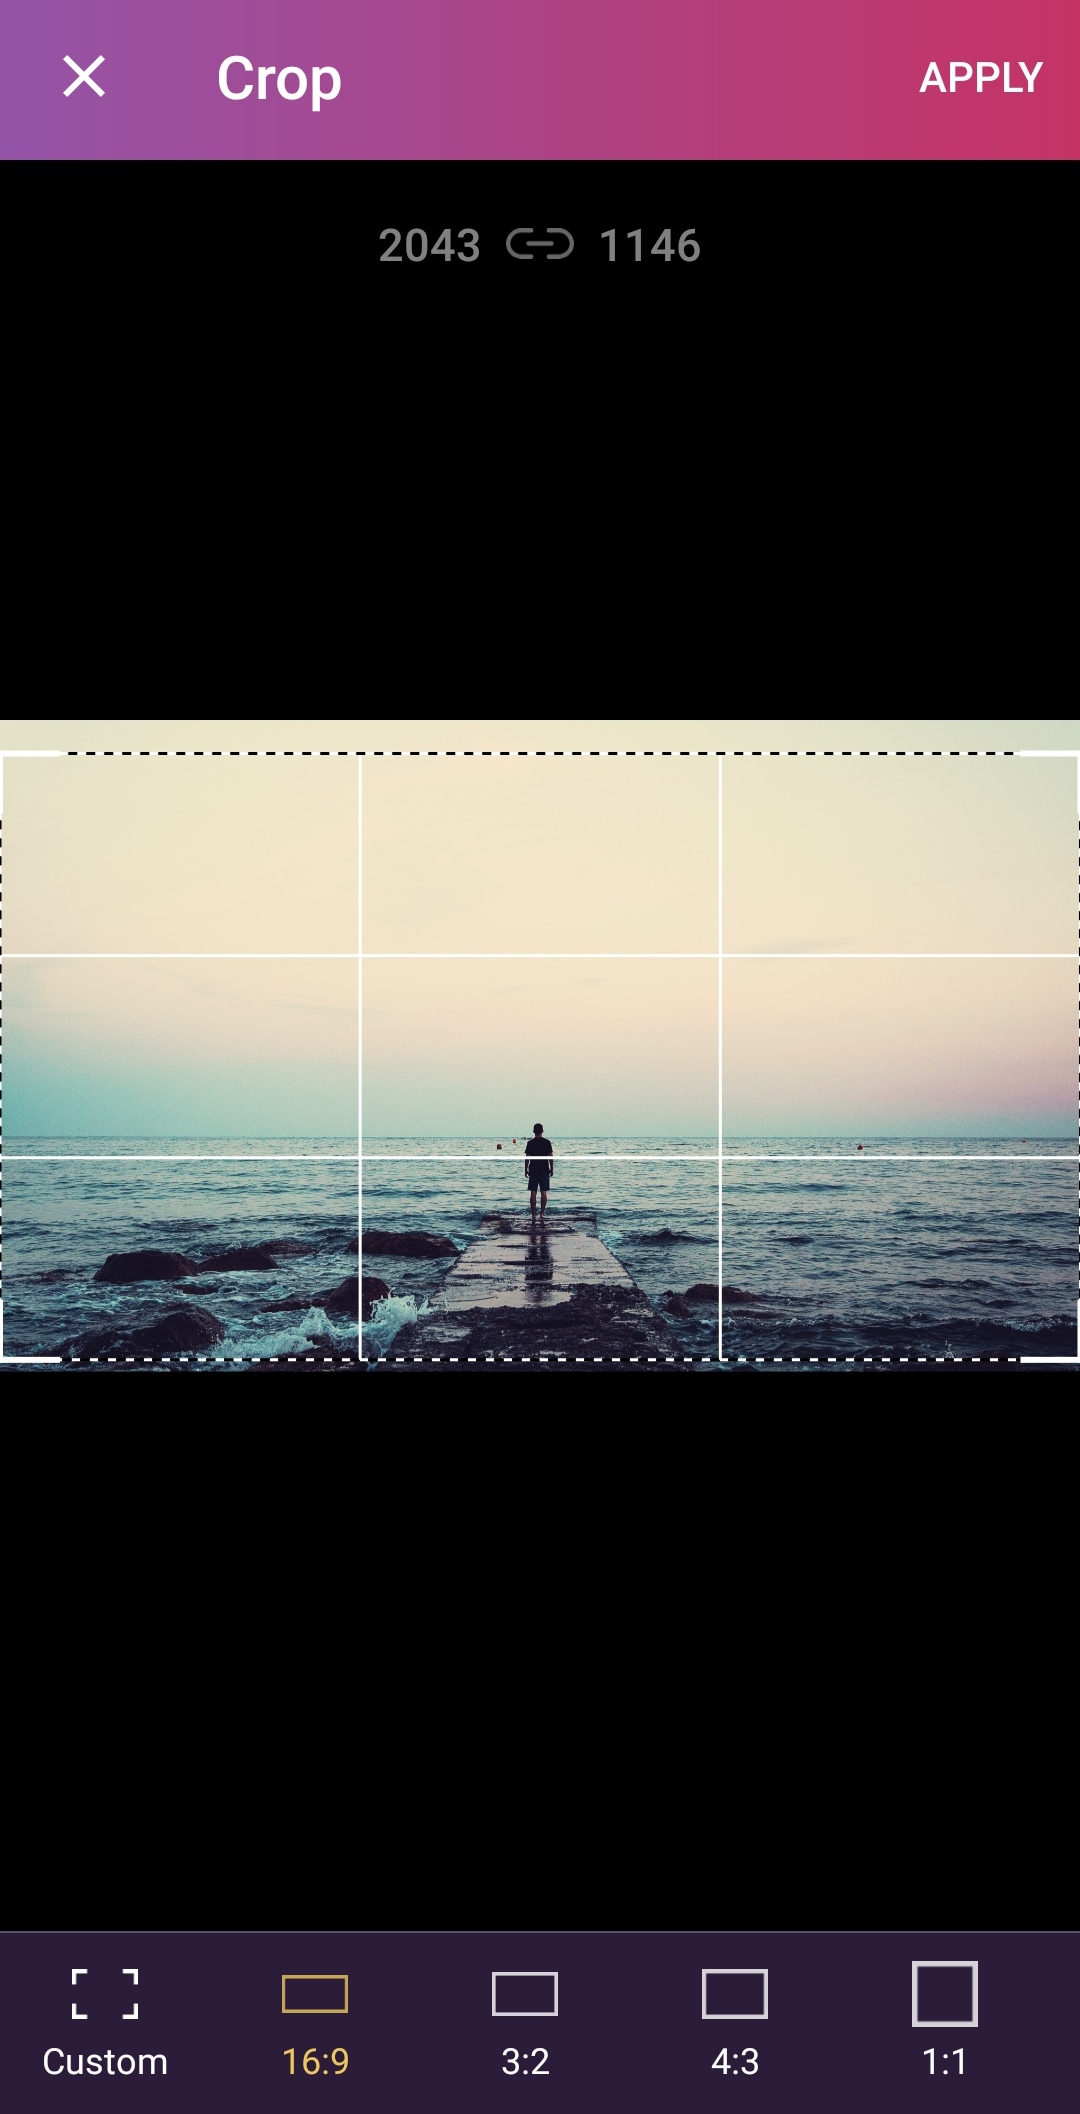
The aspect ratio refers to the proportional relationship between the width and the height of a photo. You need to choose the aspect ratio carefully to do justice to your art.
With Pixomatic, you can crop your images to the following aspect ratios: 1:1, 4:3, 3:4, 16:9, 9:16, 2:3, and 3:2. In the case of cinematic scenes, the 16:9 aspect ratio works well.
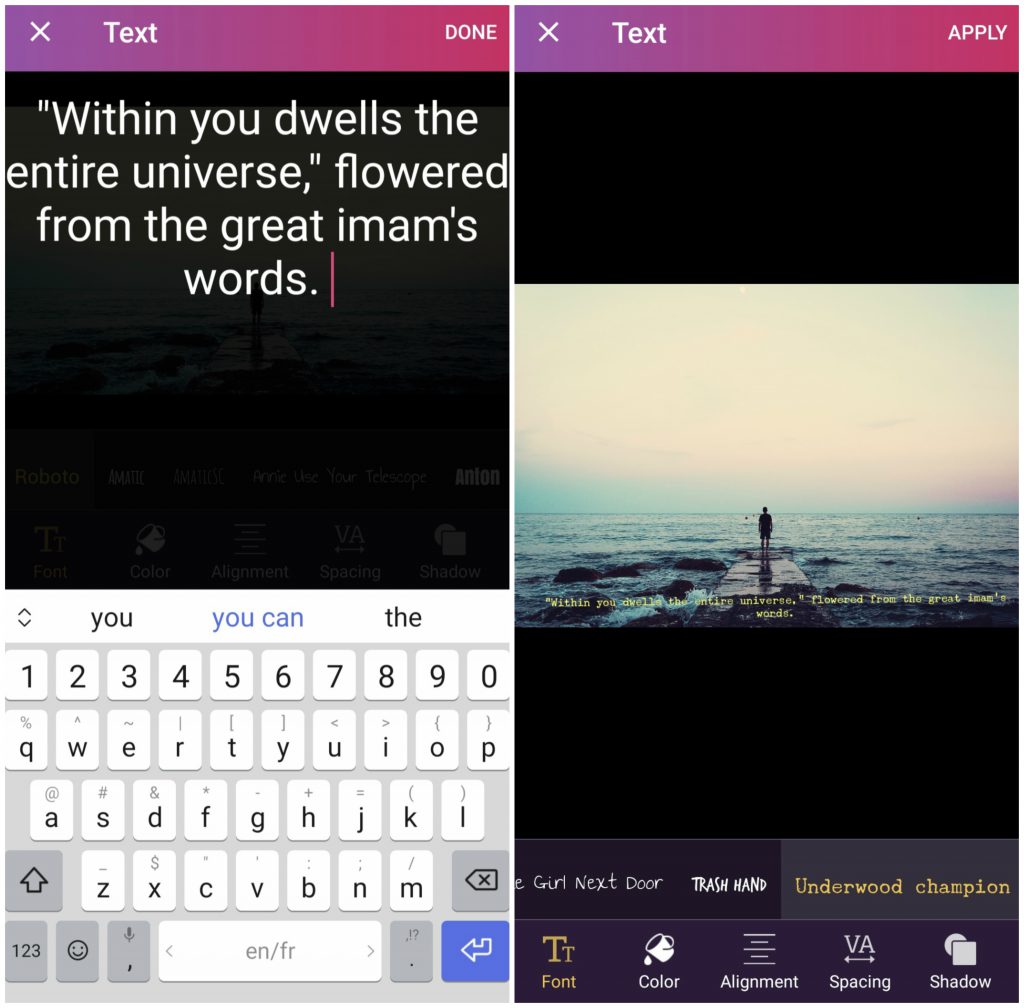
Now that you have written a caption and cropped your image to the right aspect ratio, you need to add the text to your composition. Click on the text tool, type your sentence, then hit Done in the top right corner. Adjust the size of the text, and choose your preferred font and color.
Pixomatic offers many cool text features: for instance, you can add a shadow to your text. However, you do not want to go crazy with the formatting. Stick with a simple font and a calm color. I used the font Underwood Champion and the color yellow. I could've used white, but it wouldn't have been clear to the reader.
Captioning images is a new way of keeping a journal. If notebooks are not your cup of tea, try documenting your thoughts by breathing life into stock photos!
Check out the other edits that I created!
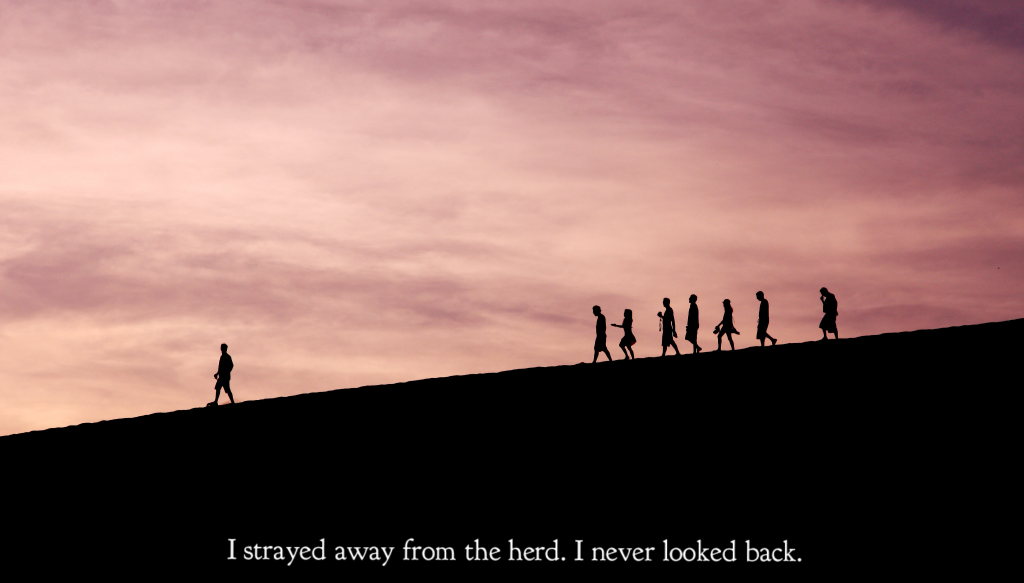
I used the font Goudy Bookletter 1991 for this edit.
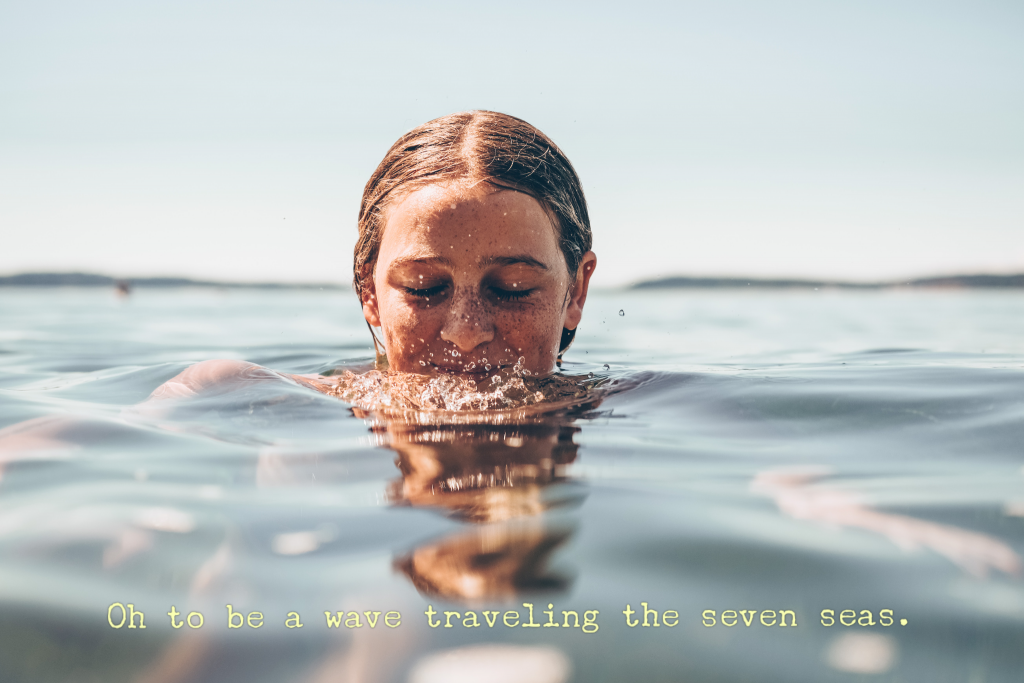
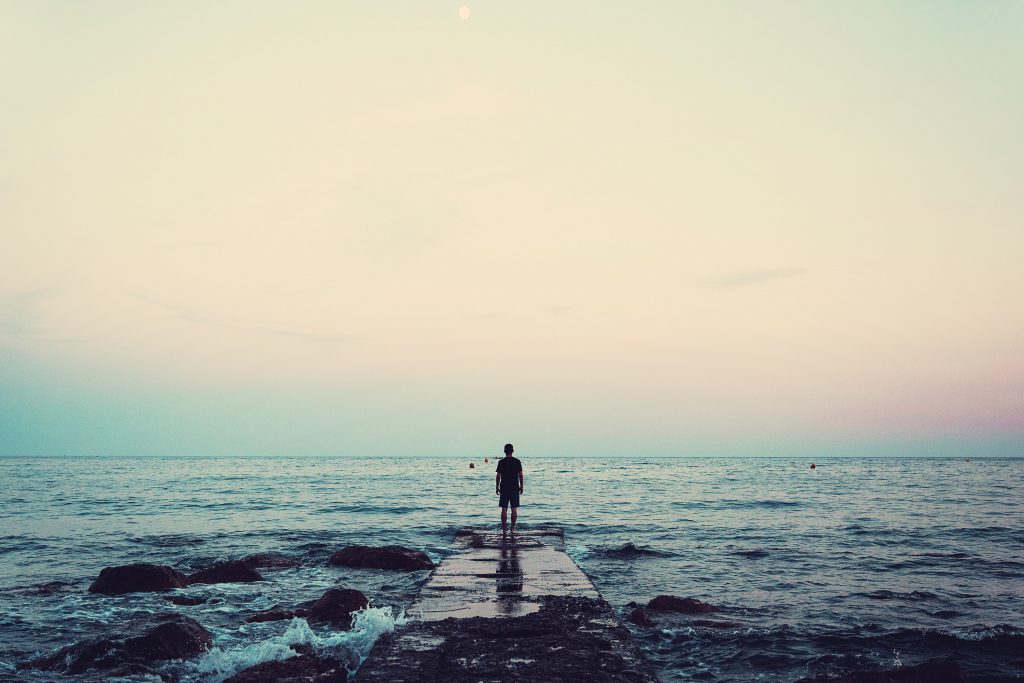
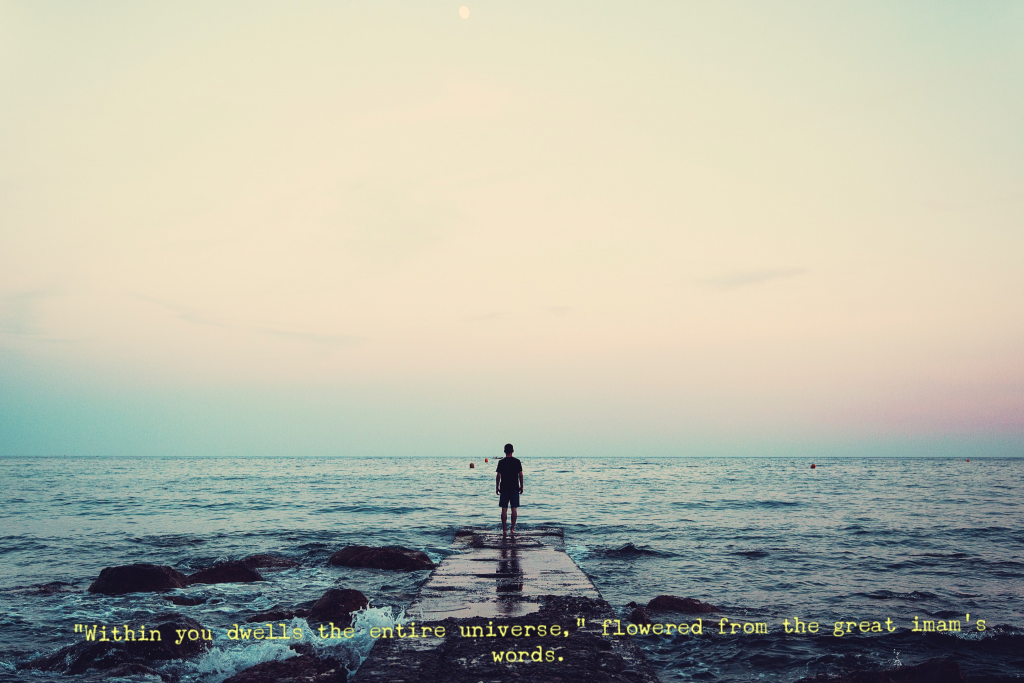
The color yellow pairs well with the calming blue color of the sea.
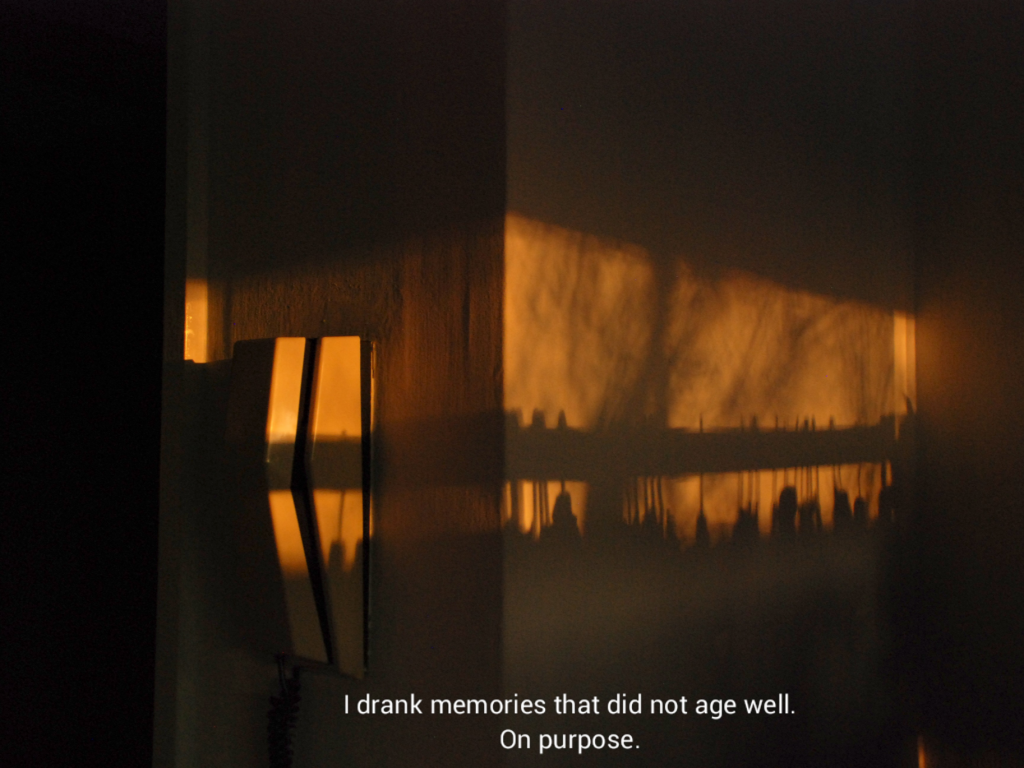
I used the 4:3 aspect ratio and the Roboto font for this scene. Notice how putting the phrase "on purpose" at the bottom adds a pause between the two sentences and creates a dramatic effect.
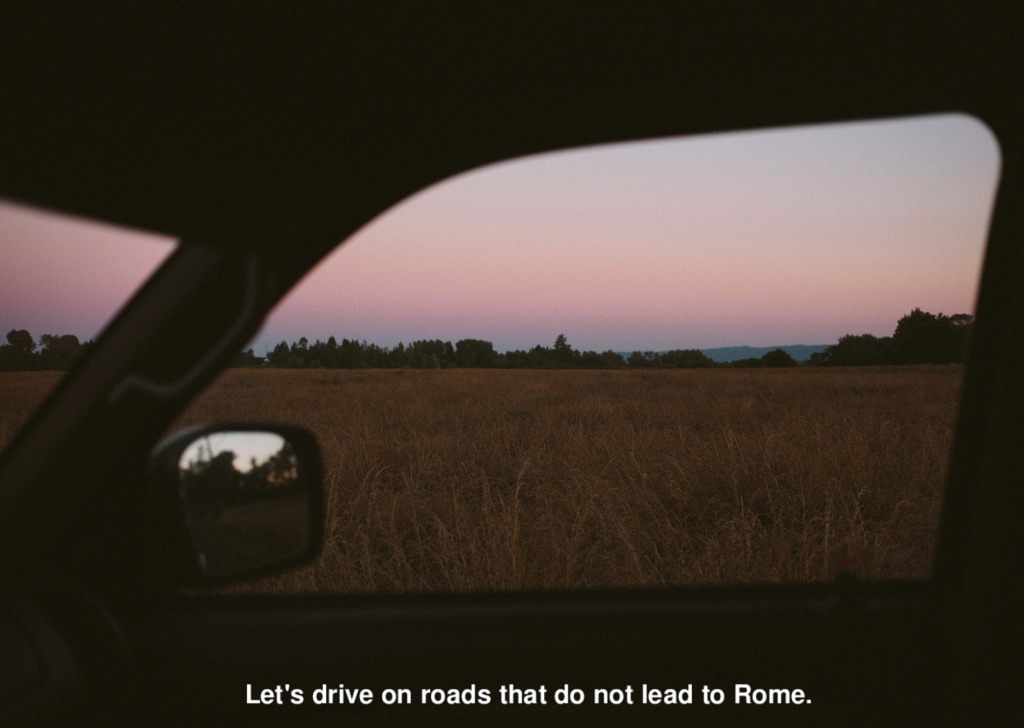
The 4:3 aspect ratio and the Nimbus SanL font worked well for this edit. Pro tip: type the word "aesthetic" in the search bar of Unsplash to find similar images.
Now it's your turn to make movie scenes!