Back
Back
 Pixomatic Team
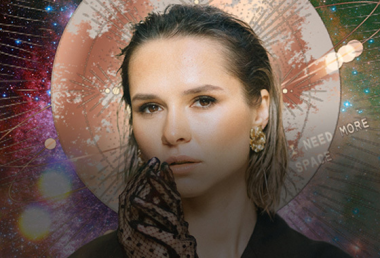
Double exposure images are taking the internet by storm! Overlaying two images is a technique that results in mind-blowing effects. This tutorial will teach you how to create a double exposure image using a close-up portrait and a landscape. By the end of it, you will have grasped the double exposure technique making you ready to create your own images. Don’t worry - it’s pretty simple to do; just follow the steps below!
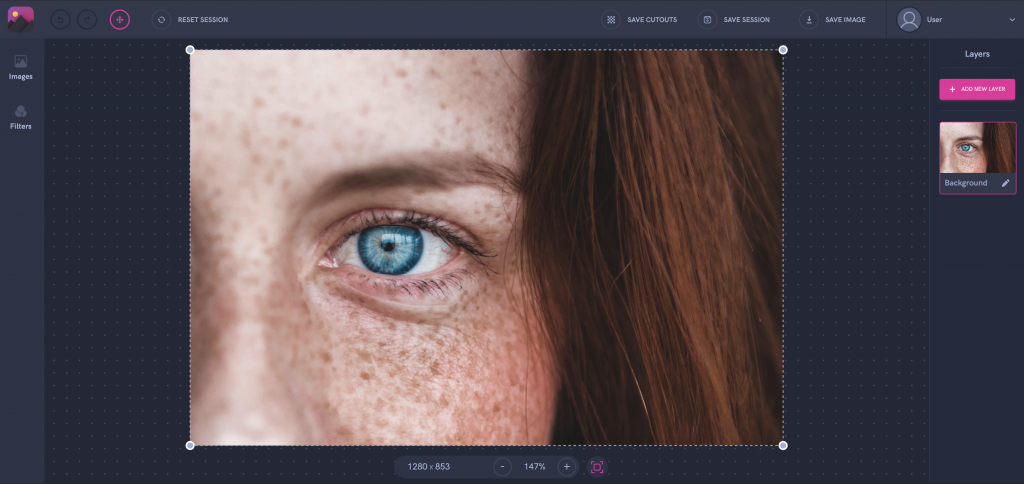
Choose a close-up portrait from your gallery or the integrated stock photo libraries. Alternatively, you can choose any portrait and crop it. You can crop an image manually or by changing the aspect ratio.
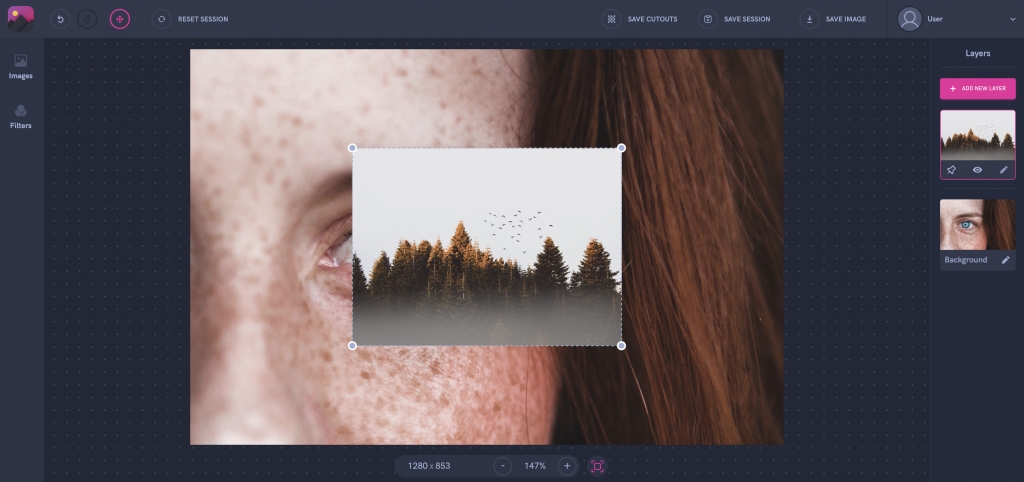
Select Add New Layer to add a second image. Choose a photo of a landscape, preferably one that contains trees or flowers to add colors and patterns to your composition. You may choose an image from your gallery or the integrated stock photo libraries. As you can see, the color of the trees and the color of the subject’s eyebrows and hair match. The layered colors hold meaning; so choose them carefully.
Adjust the size of your image and fit it over your background by dragging one of the corners upwards or downwards to resize it.
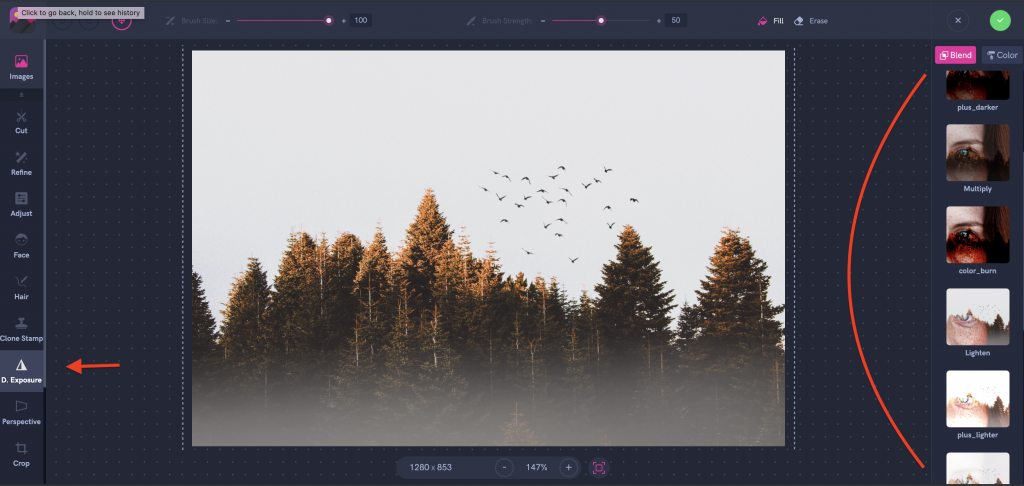
That’s the most exciting part! Click on Double Exposure in the left panel and select the blending mode in the right panel. The most common mode for double exposure images is Lighten. We will choose that one for this editing tutorial. Move and resize the second layer, then hit the apply button.

Click Save Session if you want to edit your work later, or hit Save Image to download your image.
Please watch the video tutorial to be able to recreate on Pixomatic PRO app!
Don't be afraid to unleash your inner artist! We can't wait to see what you create!