Back
Back
 Pixomatic Team
A little photo editing can go a long way and with a few new tricks up your sleeve, you can step up your editing game. A simple blur tool is usually used to hide parts of an image that are unwanted by putting it out of focus. This is commonly used to blur out faces, brand names, or clutter. There’s actually many more creative and practical uses for a blur tool that you may have never thought of and today we’re sharing 5 of them.
Sometimes landscape shots end up being too sharp and saturated, not letting your eye focus on one element of the photo. The sharpness of the clouds take away the attention from the detailed building. Instead, a softened sky is much easier on the eye and shifts the focus to important parts of the image that you want to highlight more. You can use the blur tool to soften just about anything that is too sharp and in focus more than it should be. Blurring doesn’t always mean erasing.

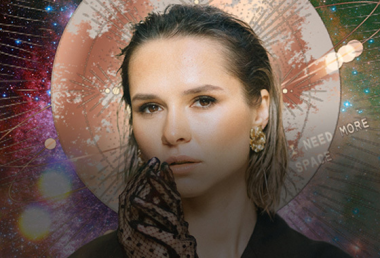
Does your photo have a few loose hairs that are just getting on your nerves? Erasing them entirely makes the photo look too perfect and you’re left wondering what other options there are. Consider blurring them away. On the pixomatic editor, lower the brush strength on the Manual blur tool to softly blur around the face. This blends in the loose hair strands into the background so they become less eye catching.
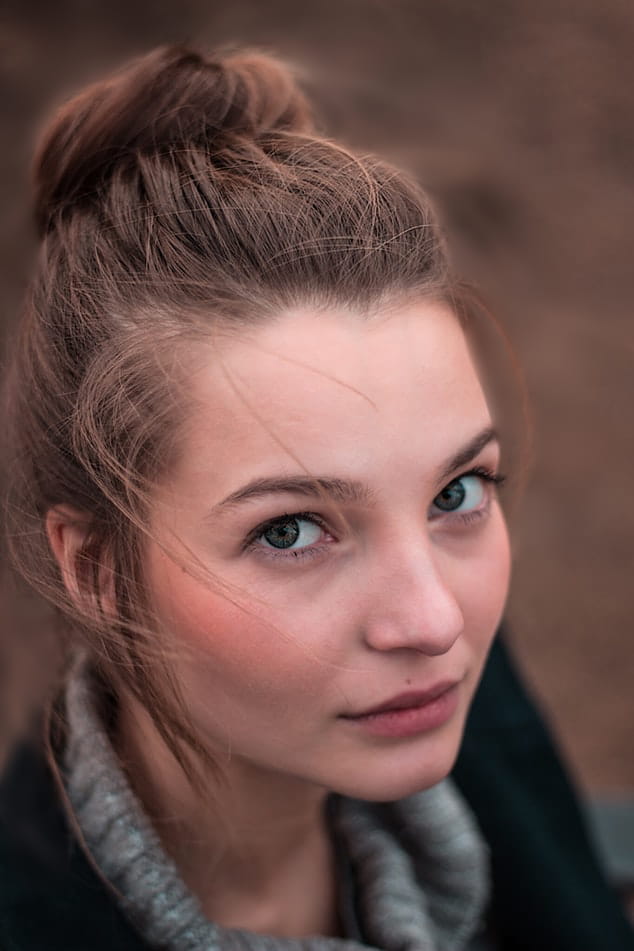
It’s easy to think our photo is perfect while we’re taking it but only after realizing that there are too many distractions. Luckily, this can be solved in the editing process. Using this hack, you can adjust the depth of field of your image by only using the Blur tool. Use the Radial blur feature to make your life easier. Place the circle on the main subject of your image just like a camera lens. Now you have that nice background blur effect you would get with your camera!

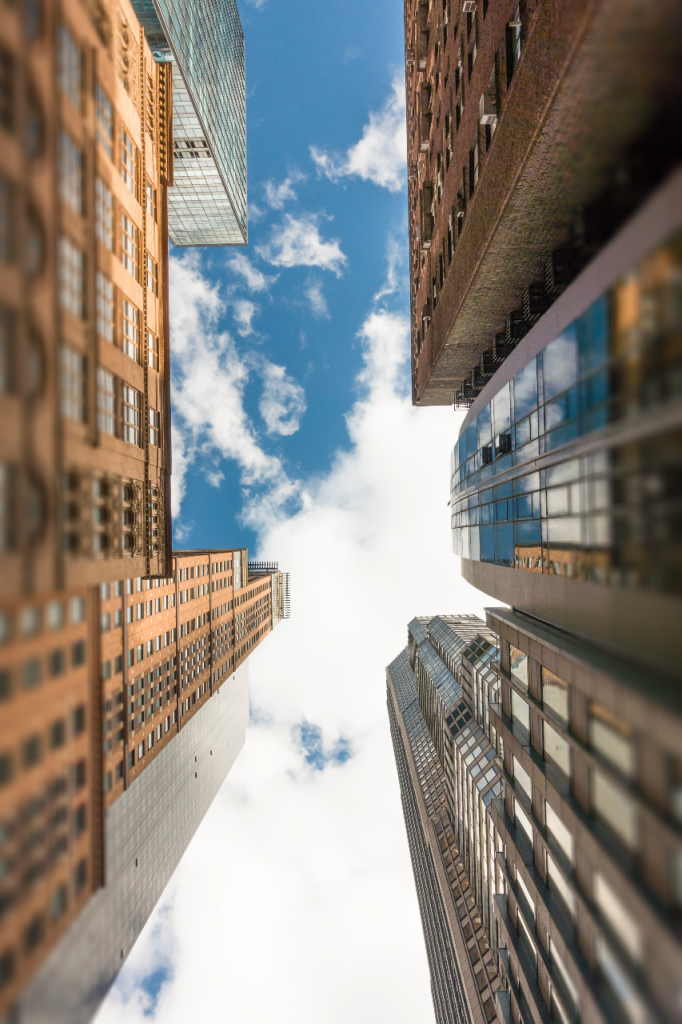
Another easy photo hack is to exaggerate certain parts of your photo. For example, when you’re looking up at skyscrapers from the ground up, they tower high several floors above you. You also wouldn’t have that much peripheral vision to see the sides of the buildings clearly. Using the Linear blur in this case can give this effect to make the buildings seem like they tower higher up than your camera may have captured.
Tilt shift photography is the art of using a tilted camera lens to capture a scene. As a result, the photo looks a bit like a miniature photography, everything in the image looks really tiny and almost cartoonish. You can actually get this effect using Linear blur again which mimics the tilt shift lens. Adjust the lines at the center of your image and that’s all it takes. Try out this new style if you’ve never heard of it before.
A blur tool doesn’t need to only be used to hide a few faces or unwanted parts of the image. You can use it to turn your photo into something completely new than what it was before!