Back
Back
 Pixomatic Team
The winter holiday season is upon us, and soon, families will be busily making festive food around the globe. As much as we enjoy eating delicacies, a part of the holiday spirit is sharing, which includes sharing culinary photos that are to die for. Do you want to make enviously beautiful food photography this winter? Some things to consider is the spacing, natural versus artificial light, color, and design elements.
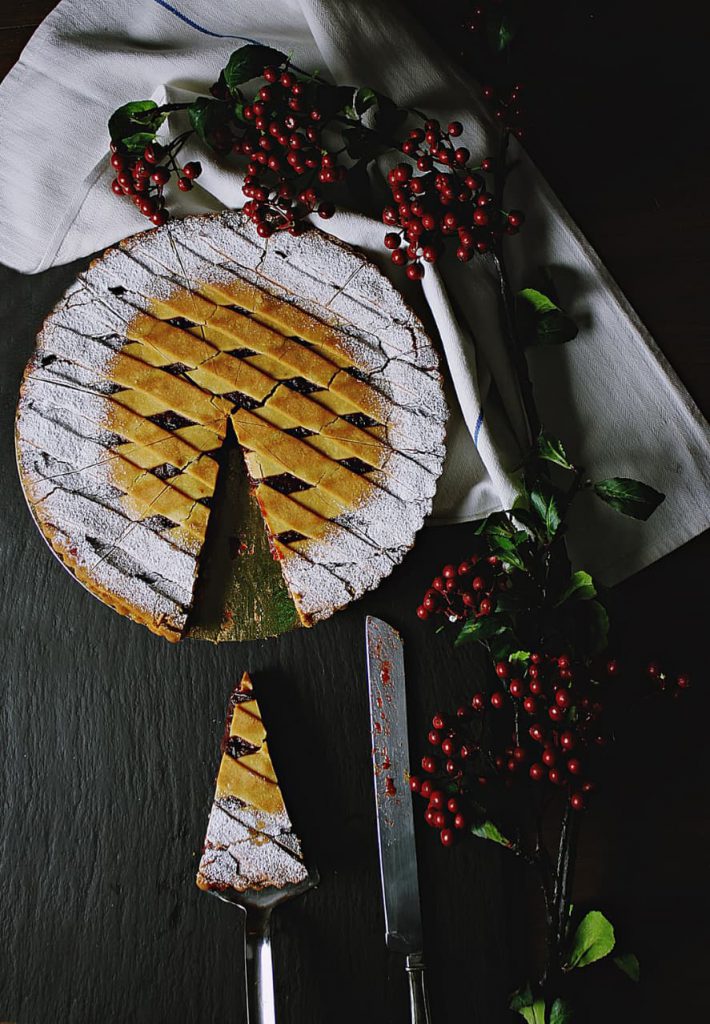
The angle at which you shoot the food should be based on what you want to focus on, what story you want to tell. A side shot is often used to show the contents of a container, the cooking process, or accentuate the height of an object. The key is to find the most interesting feature of the food you made so you can show it off. If the pie you made has a splendid crust pattern, try a top view to flaunt it.
When taking a photo of a single object, it is best to give it some room in the shot. The negative space created around the scrumptious piece of food will make it the focal point and the hero of the story. The less space there is between objects in the shot, the less focus there will be on the food you are sharing. You can either experiment with the camera zoom in the process or crop the image afterward.
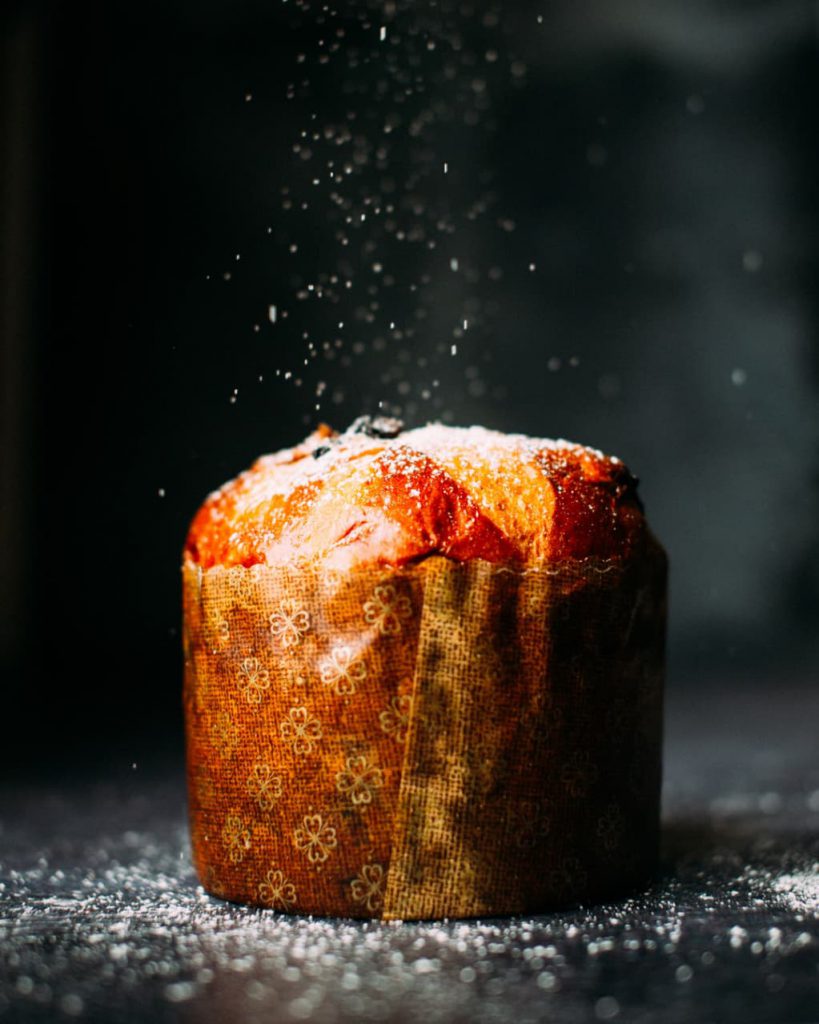
The choice of lighting can affect the atmosphere and mood that you set. Artificial light is convenient since you have better control over the shadows and vibrancy regardless of the time of day. Ambient lighting can highlight the food you made and contribute to its story at the same time. For instance, a cold light compliments dark textures and can add a wintery feel to the photo.
Natural lighting may be harder to control but will give an air of homeliness and warmth. Take advantage of dim morning light. Shadows are not a disadvantage and are likely to make the shot look cozy. If you are unhappy with the light your camera captured, try manually adjusting the photo exposure, highlights, and shadows.
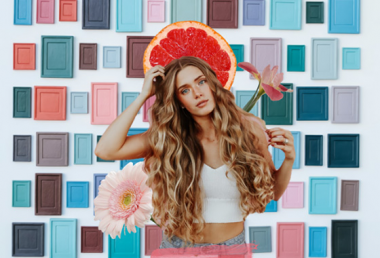
The rule of thumb is that brighter and colorful objects attract the eye. This also applies to food. Have you noticed that children tend to reach for daring ice cream colors as opposed to pastel ones? This is not to say that you ought to dye your gingerbread house green, but you can surely edit a photo’s vibrance and saturation. The key here is to not over-do it. If a photo glares in bright colors, it can even avert one’s interest.
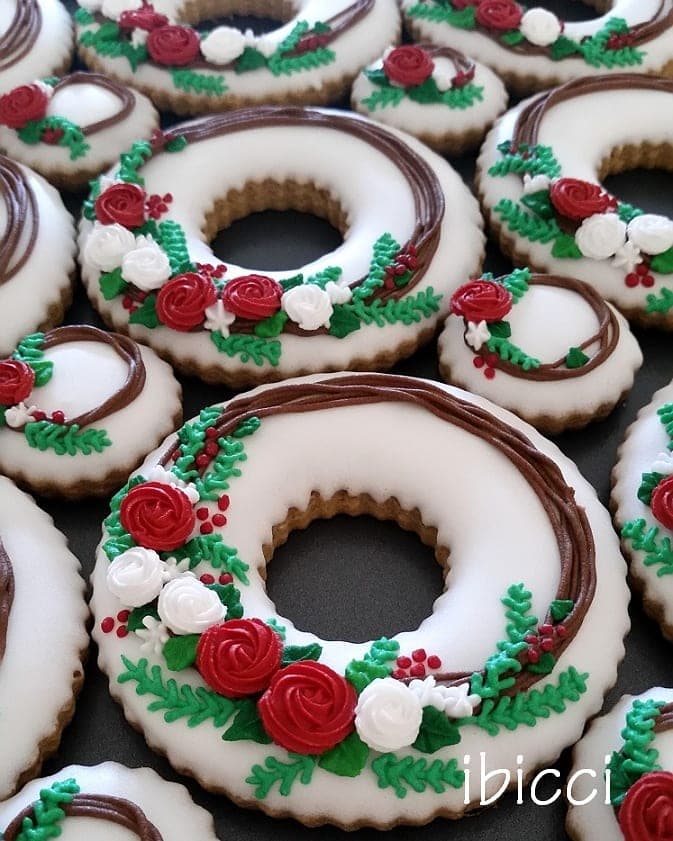
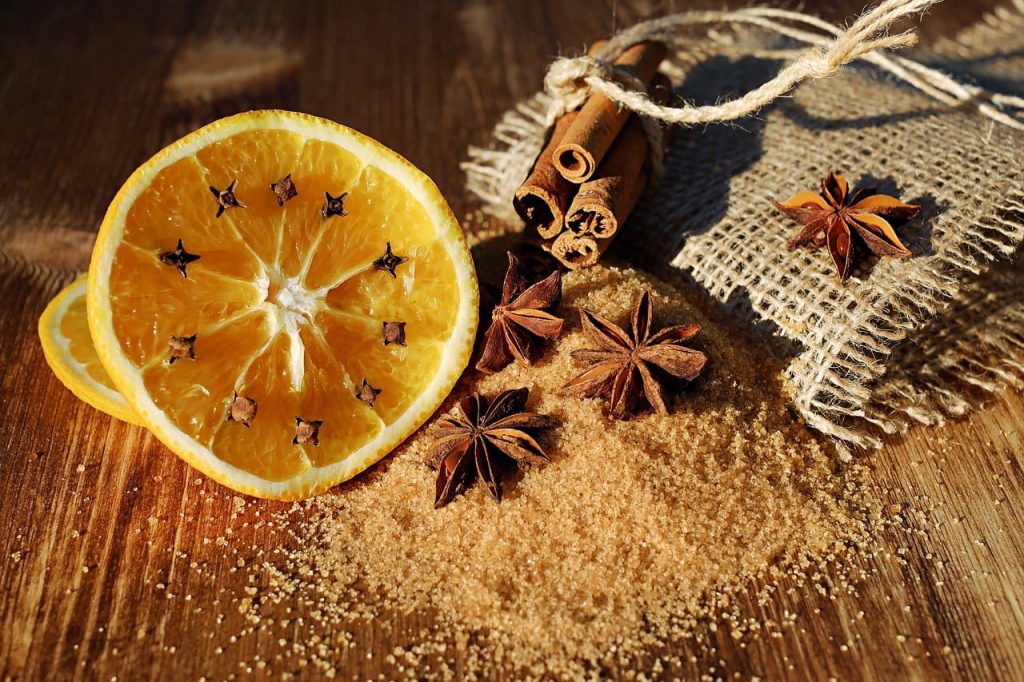
There are no rules to decorating or setting up your masterpieces. You can leave the background bland and simply photograph the food, or you can add a festive element or two. There are two ways to approach a holiday food setting. You can place recipe ingredients near the food as decoration.
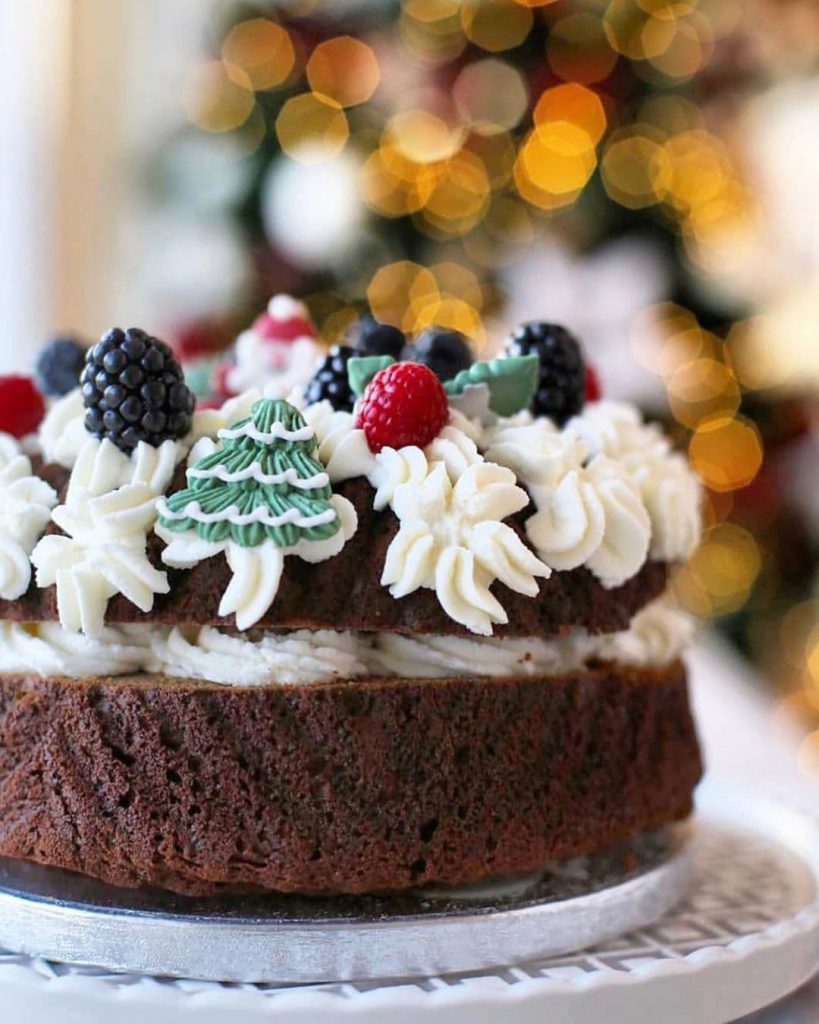
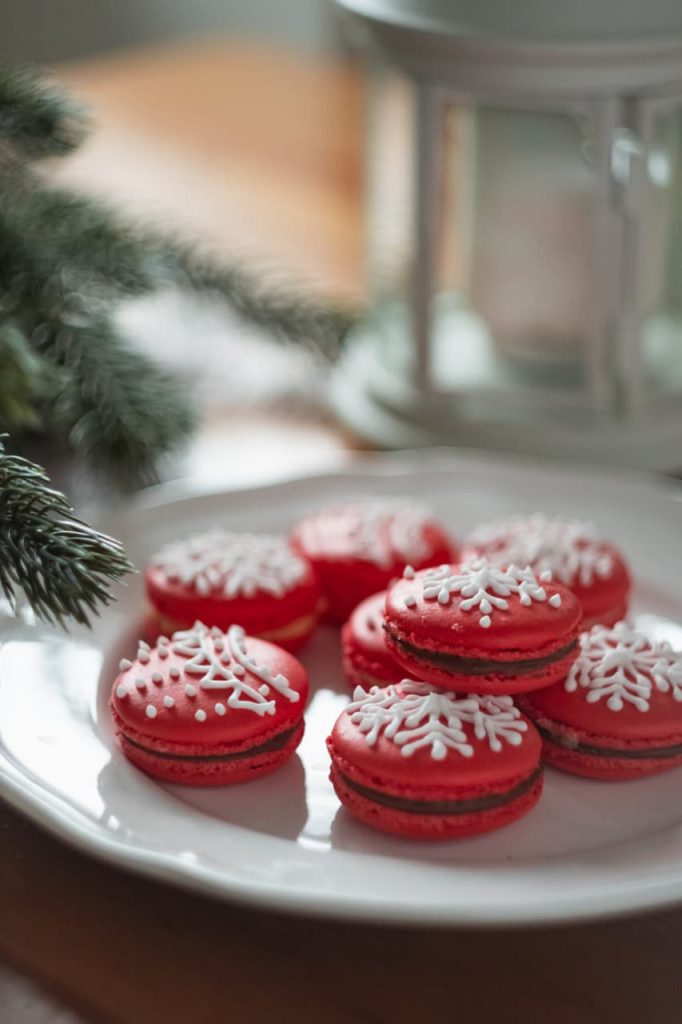
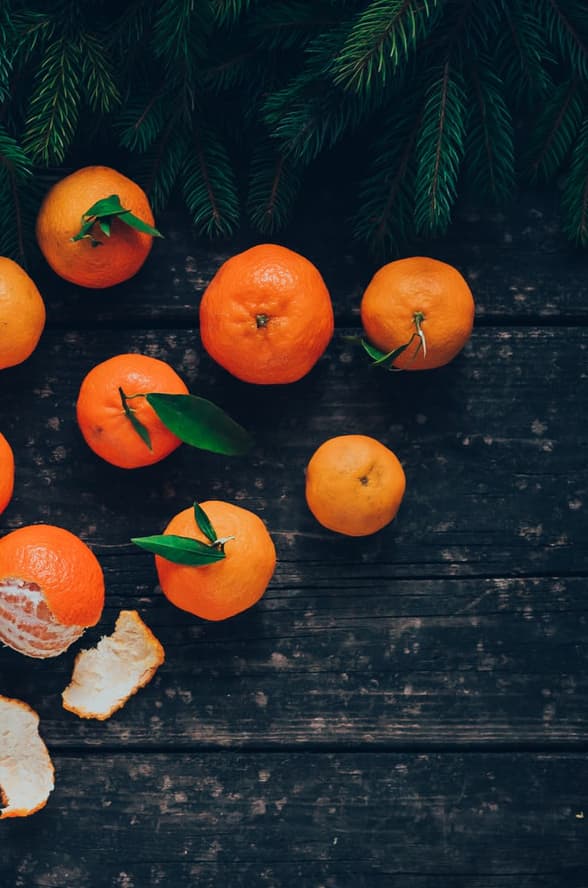
Experiment with spices, fruits, vegetables, etc. to reach out to the viewer’s senses. Oranges, cinnamon, star anise, and mint are commonly associated with winter holidays. A more symbolic option is to use ready-made Christmas decorations. You can sprinkle icing, layout some holly, pine nuts, snowflakes, or fairy lights.
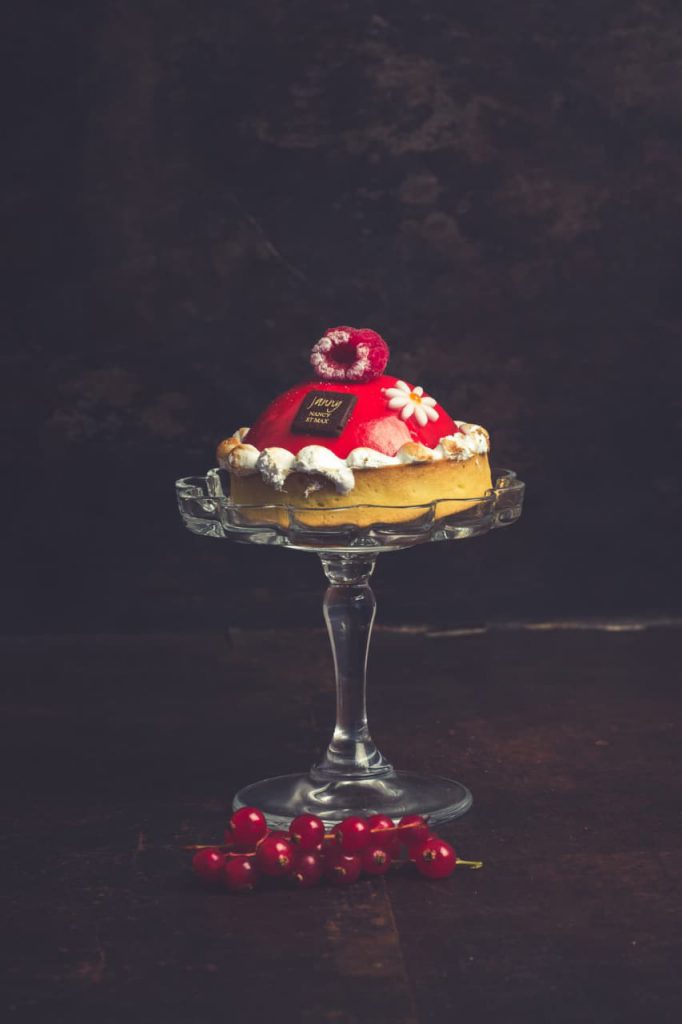
A photography tip that is highly effective in capturing drool-worthy food is playing with contrast. A highly saturated photo with multiple vibrant colors can be confusing to look at. Any photo has a hero. It is up to you to bring them to the foreground. The background plays an important role in making the color of the food pop. Try using finding background textures and colors that do not interfere with the food. While dark or light backdrops make the food outline crisp and clear, the color contrast could vary with lighting. To avoid changing the light setting, you can simply adjust the ready photo with one of three tools: contrast, shadow, and vibrancy.
Don’t settle for the obvious! Bring your own traditions into the photograph. The more unusual your combinations are, the more eye-catching the photo will be. Happy holidays!