Back
Back
 Pixomatic Team
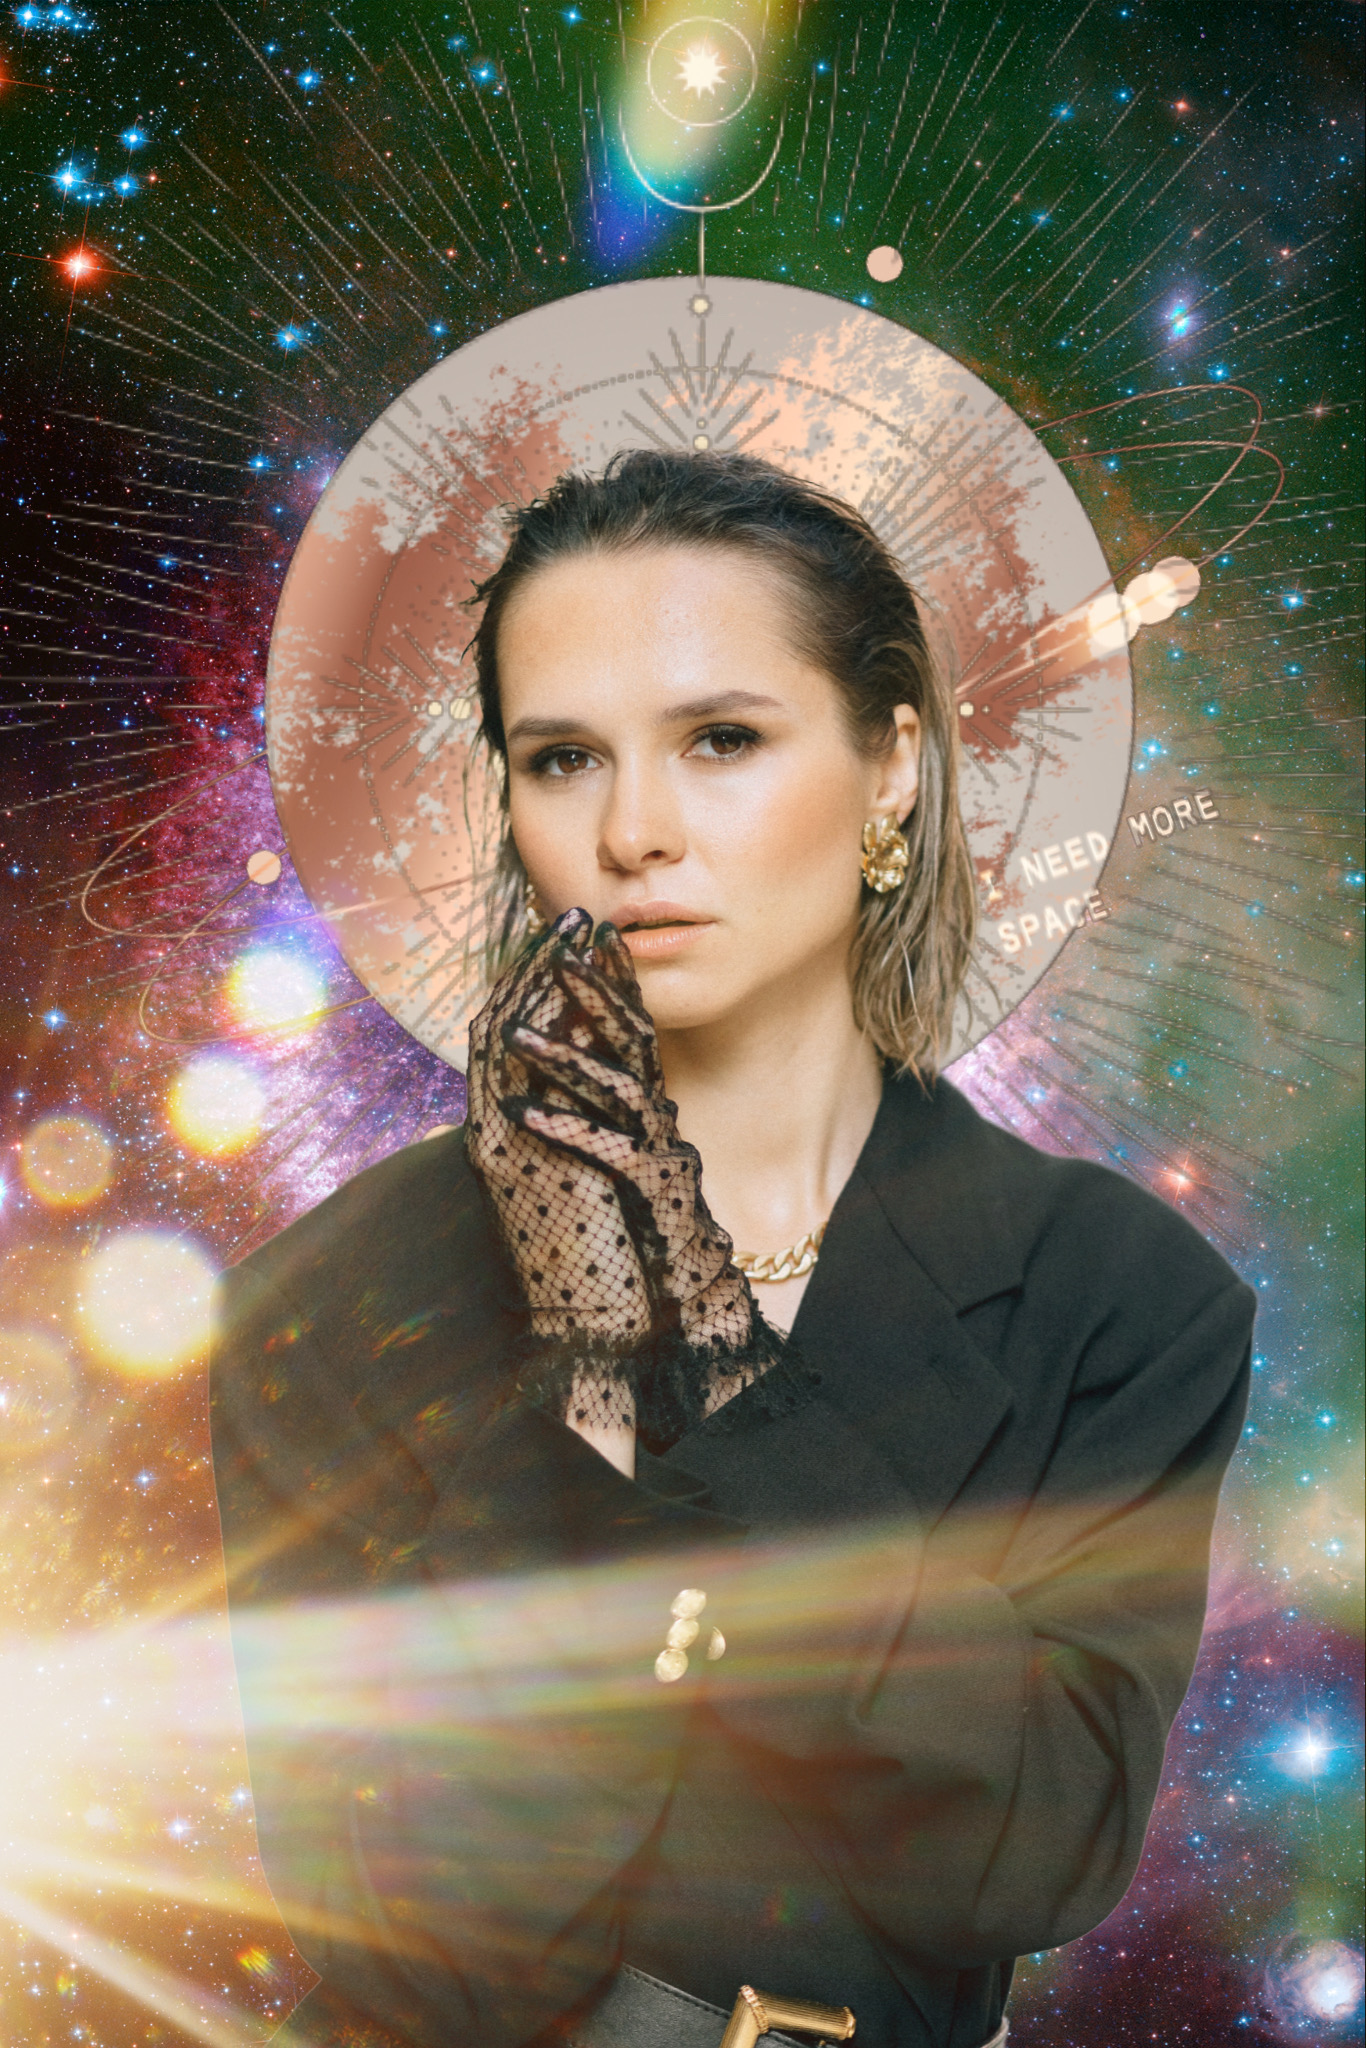
Let’s start your photo-editing 2023 with cosmic and zodiac-themed aesthetic images. Your photo, surrounded by a surreal starry sky, moon, and mystical astrology symbols – sounds breathtaking, right? And with a bit of Pixomatic magic, it will be as easy as one, two, three!
Here’s what you need:
– Your favorite photo
– Magic Cut tool
– Glowing and shining effects
– Astrology stickers
– Your imagination
Now let’s make the stars align and create your aesthetic pictures together!
What could it be? Try something with stardust, planets, or celestial objects. Feel free to browse the collection of backgrounds in Pixomatic to find something that fits your aura.
You can also create a unique collage-style background with your own objects. Here’s how you can add them to a background image with a single tap.
Browse the Pixomatic Library or your gallery, and select up to 10 images of planets, cosmic objects, or anything else that you like. Click on ‘+’ to create a project, then tap “Select” in the upper right corner, and tick the photos you’ve prepared. Next, choose “Apply Magic Cut.” All of the cutout objects will appear on your project’s canvas.
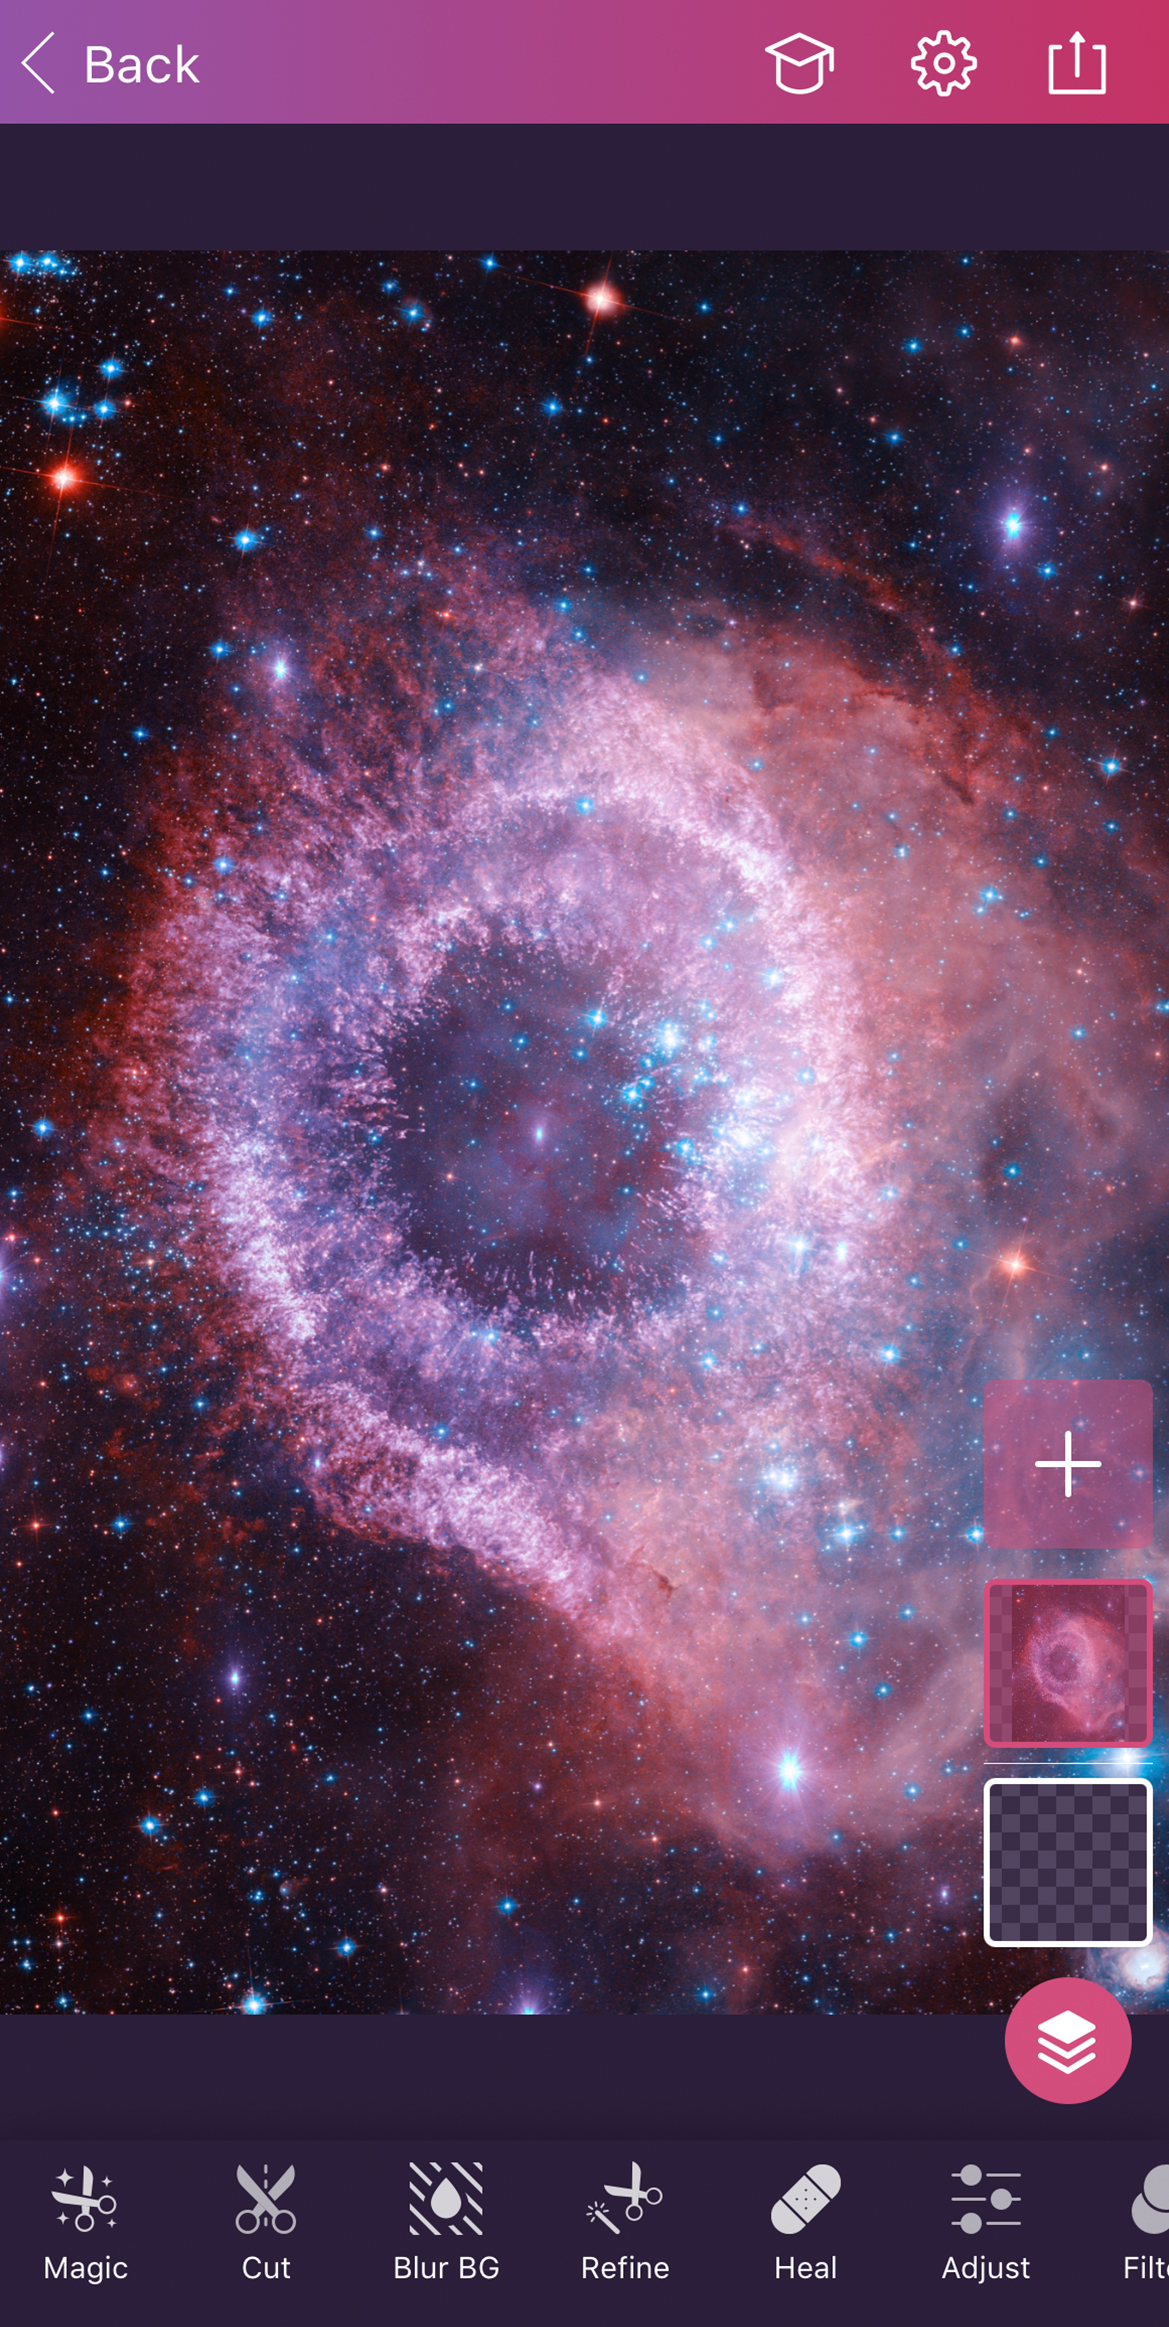
You can set the ratio for your design. To adjust your ratio, tap on the bottom square on the right panel. Use this transparent layer as a canvas to resize your layout. Select the Crop tool from the menu at the bottom of your screen, and choose the desired ratio.

Now you can get creative with the placement and size by adding a background color or image. Your background is done!
If you don’t feel like creating your own background from scratch, you can pick a colored background instead. It will be just as awesome.
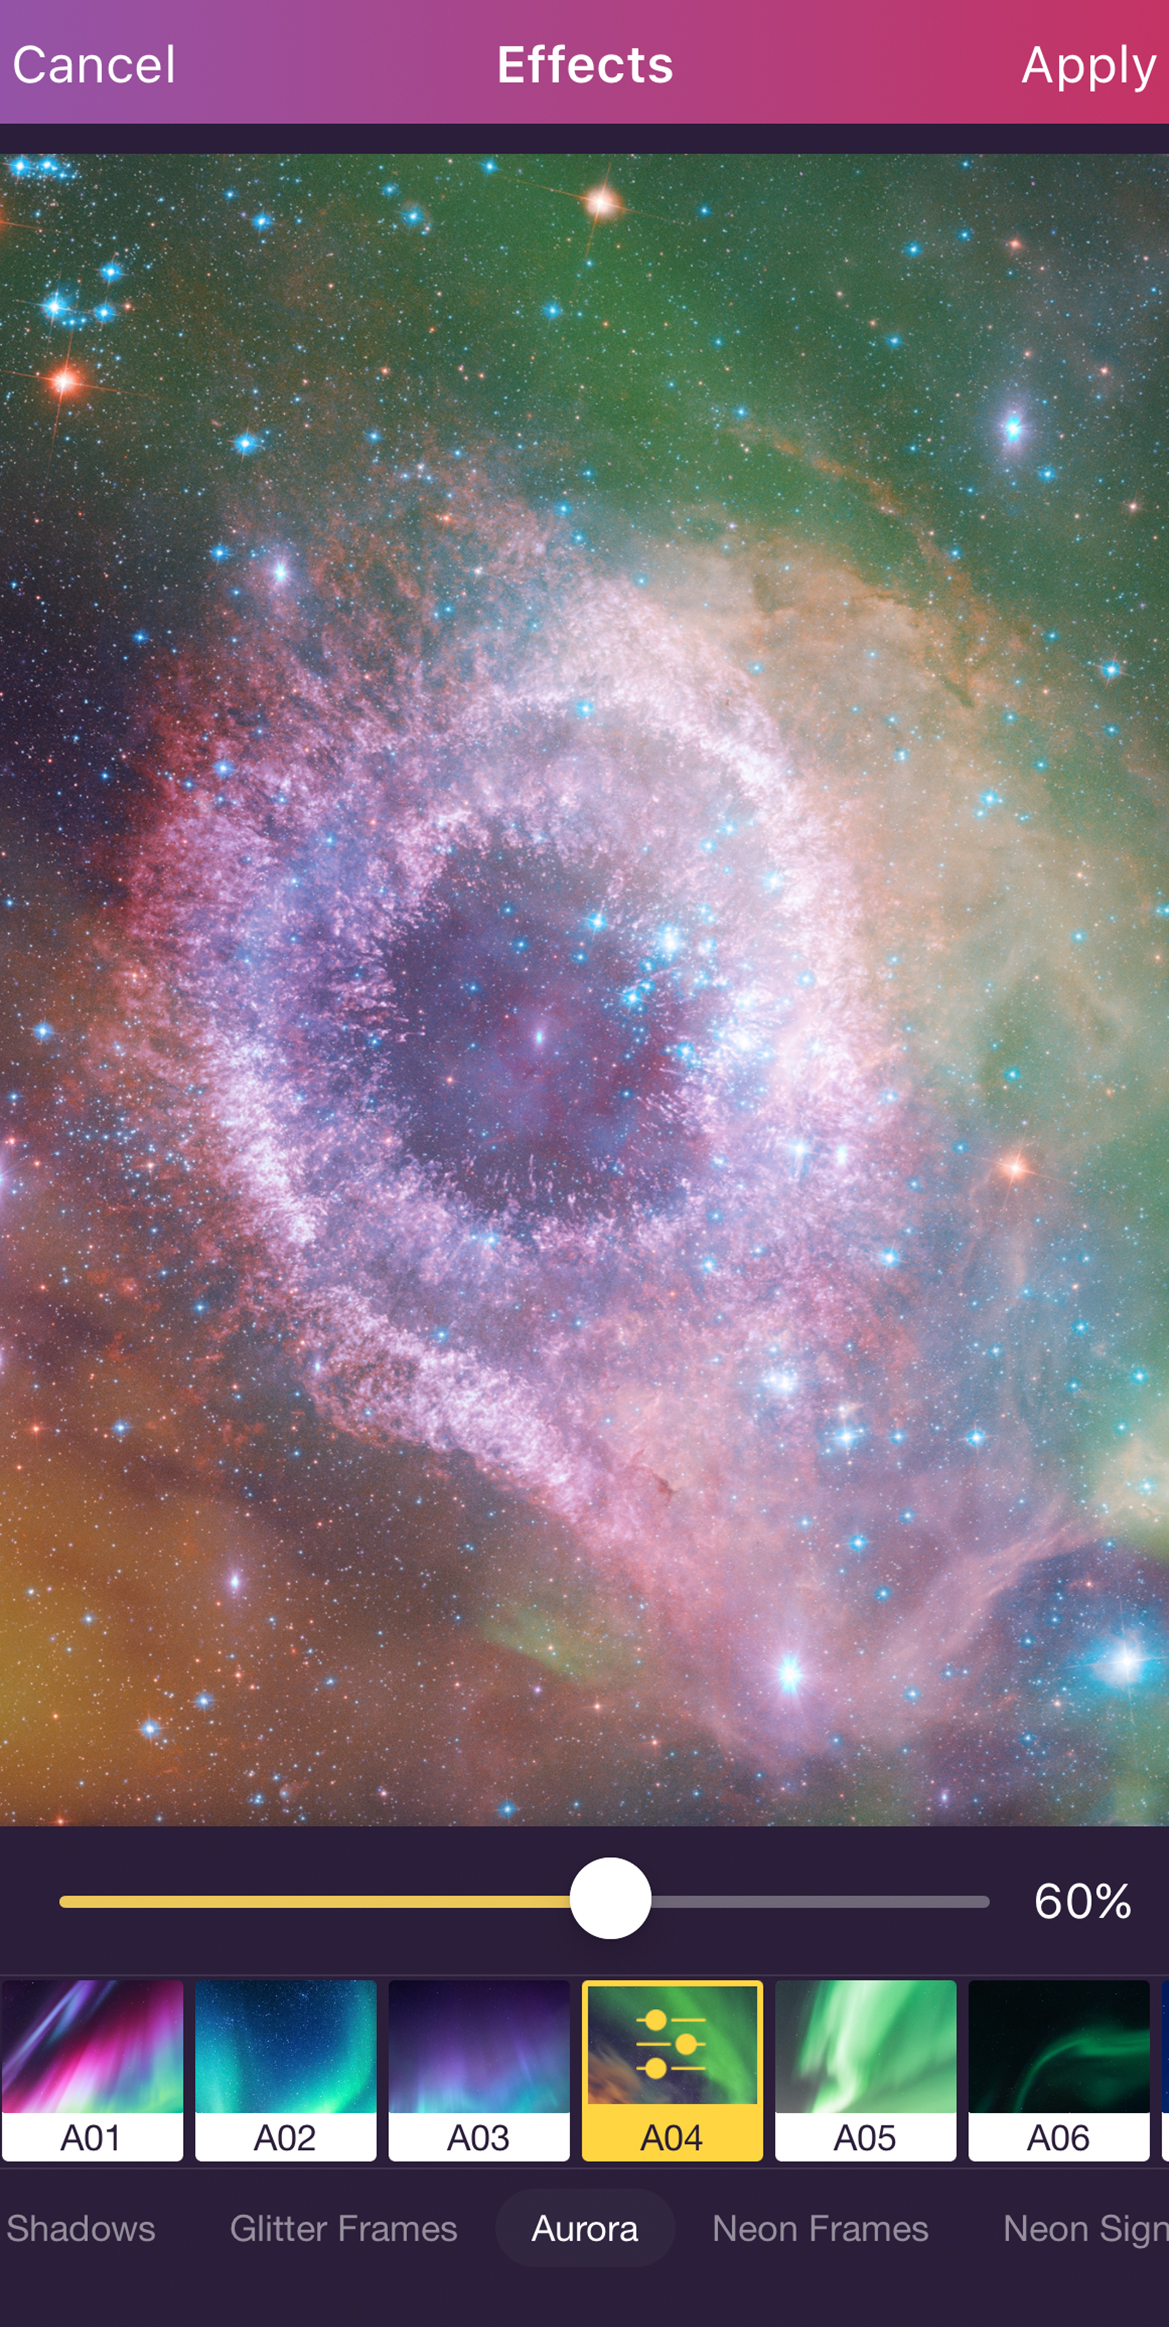
You’ve picked the background, and now it’s time to add mystical effects.
There are many effects in Pixomatic that fit the bill. Tap on the Effects tool from the bottom menu to browse them all. We suggest playing with Aurora or Light Leak effects – perfect for creating a celestial vibe! Or you can mix and match a few effects together.
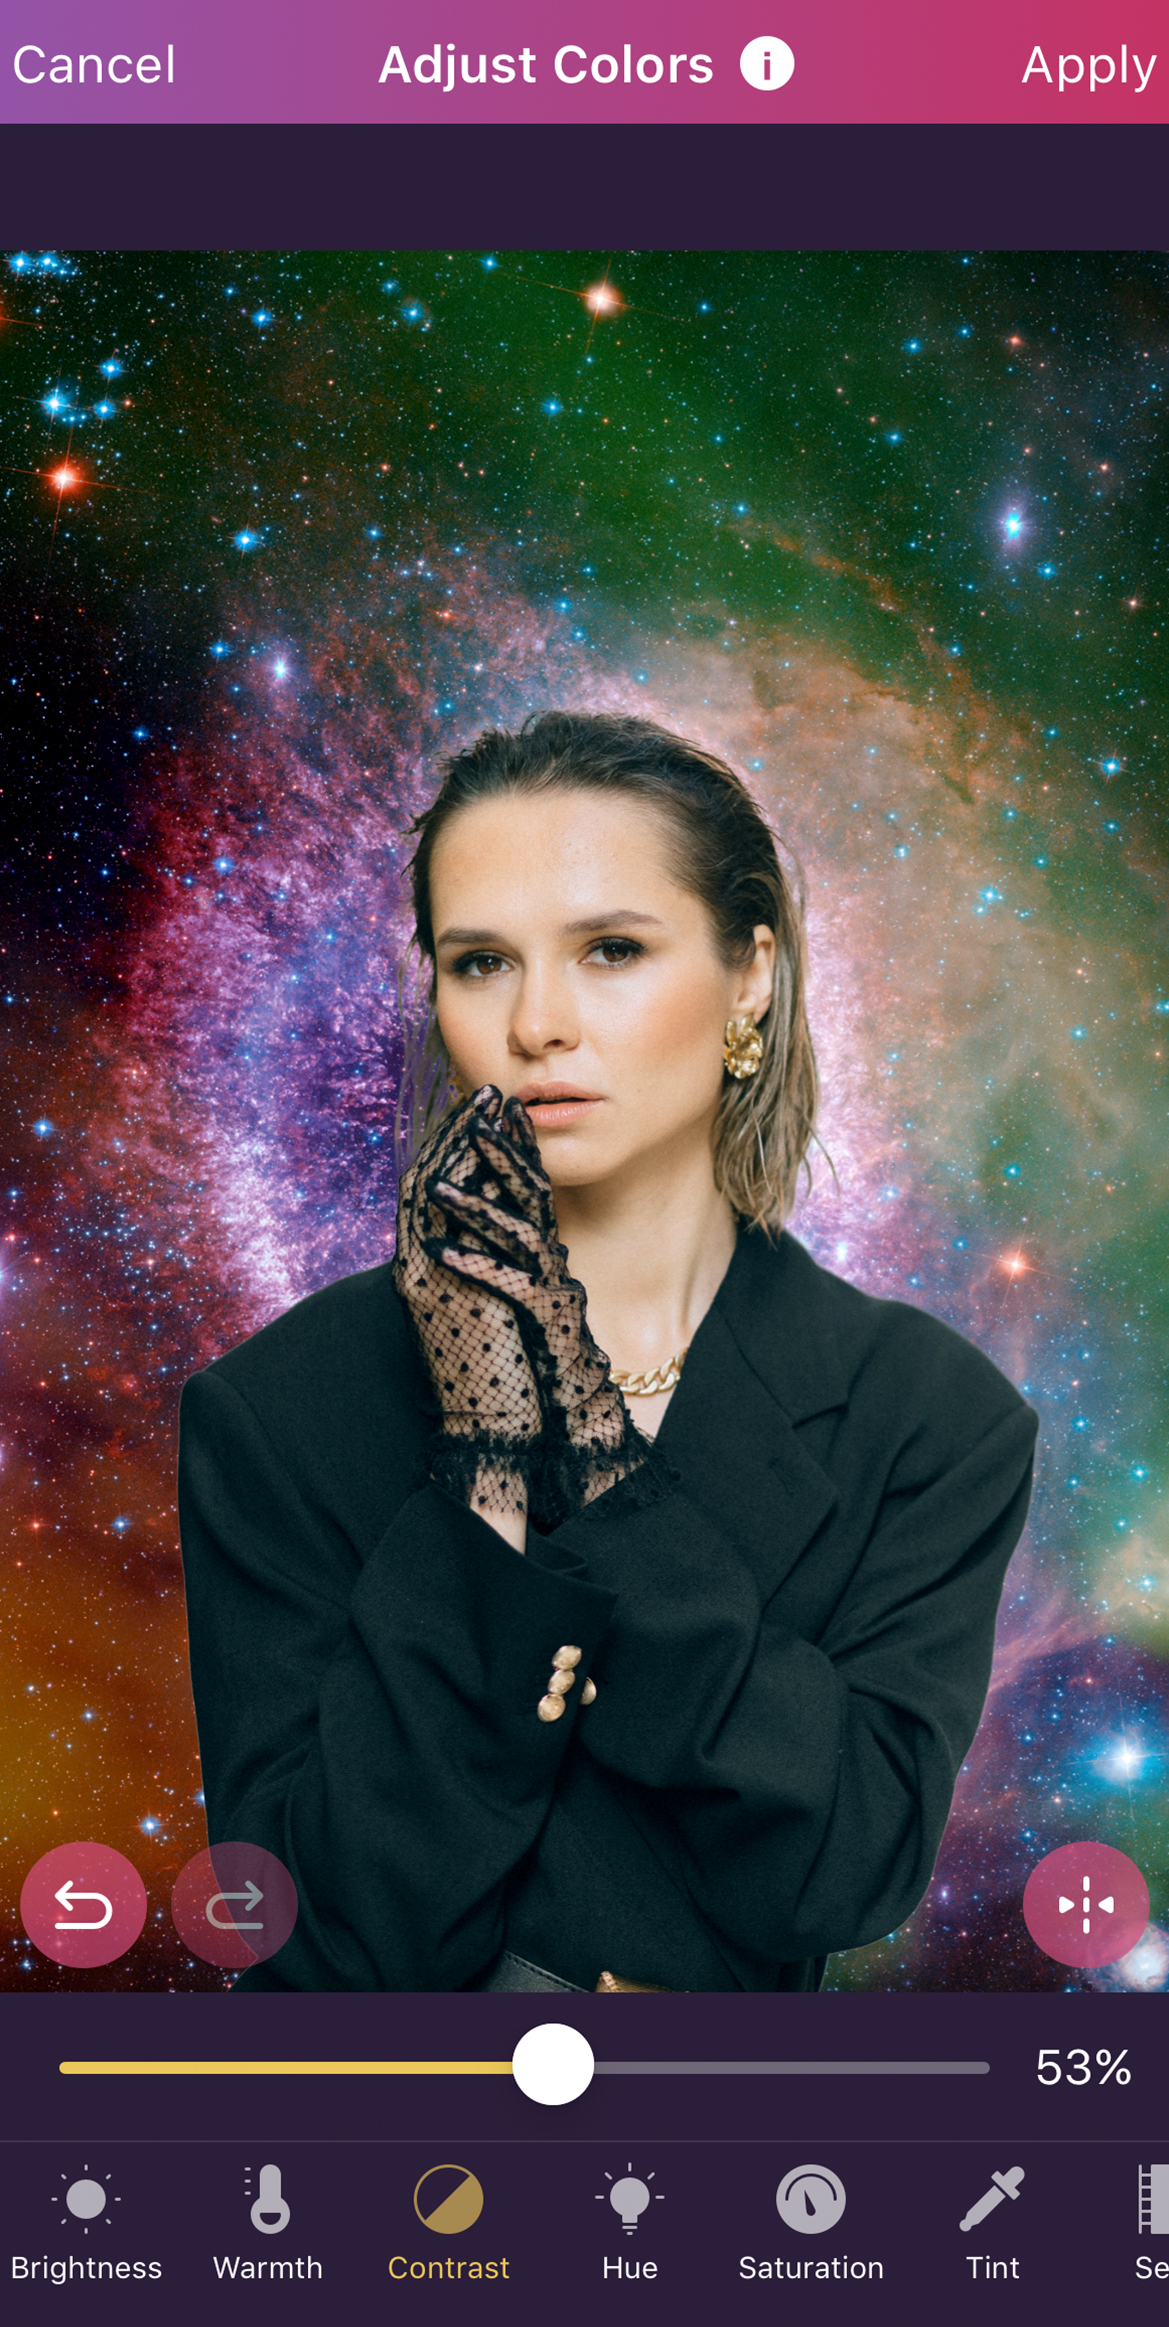
Feel free to edit the light and colors of the layer. Tap on “Adjust” to select the desired tool and tune the image.

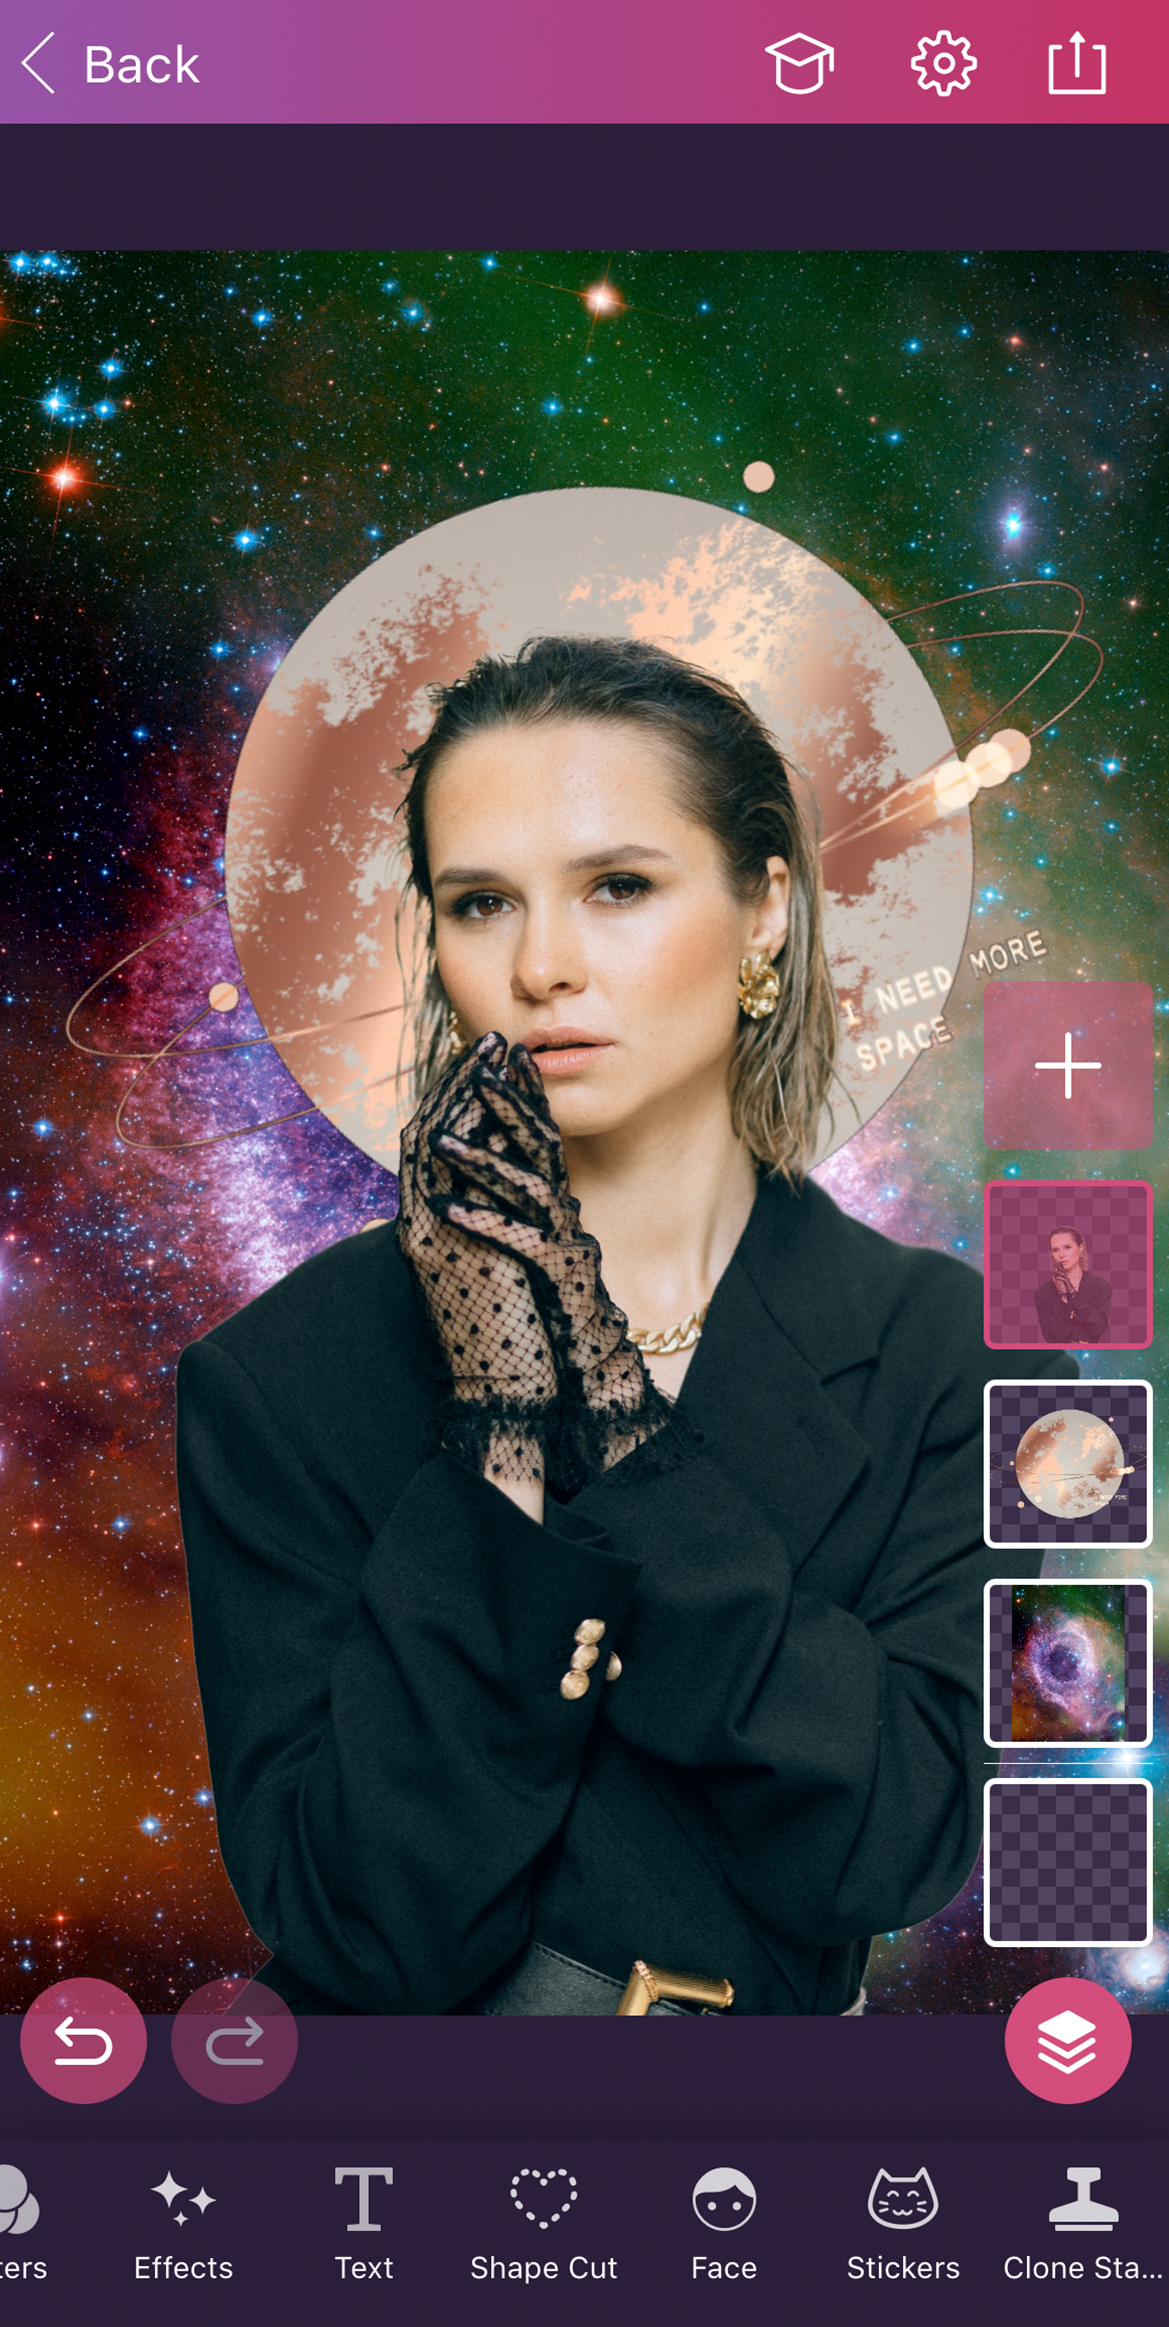
Our next step is to choose and add your photo to the artwork.
The image will appear as a new layer. Just click "+" on the right panel and "image." Then select the photo you’ve picked.
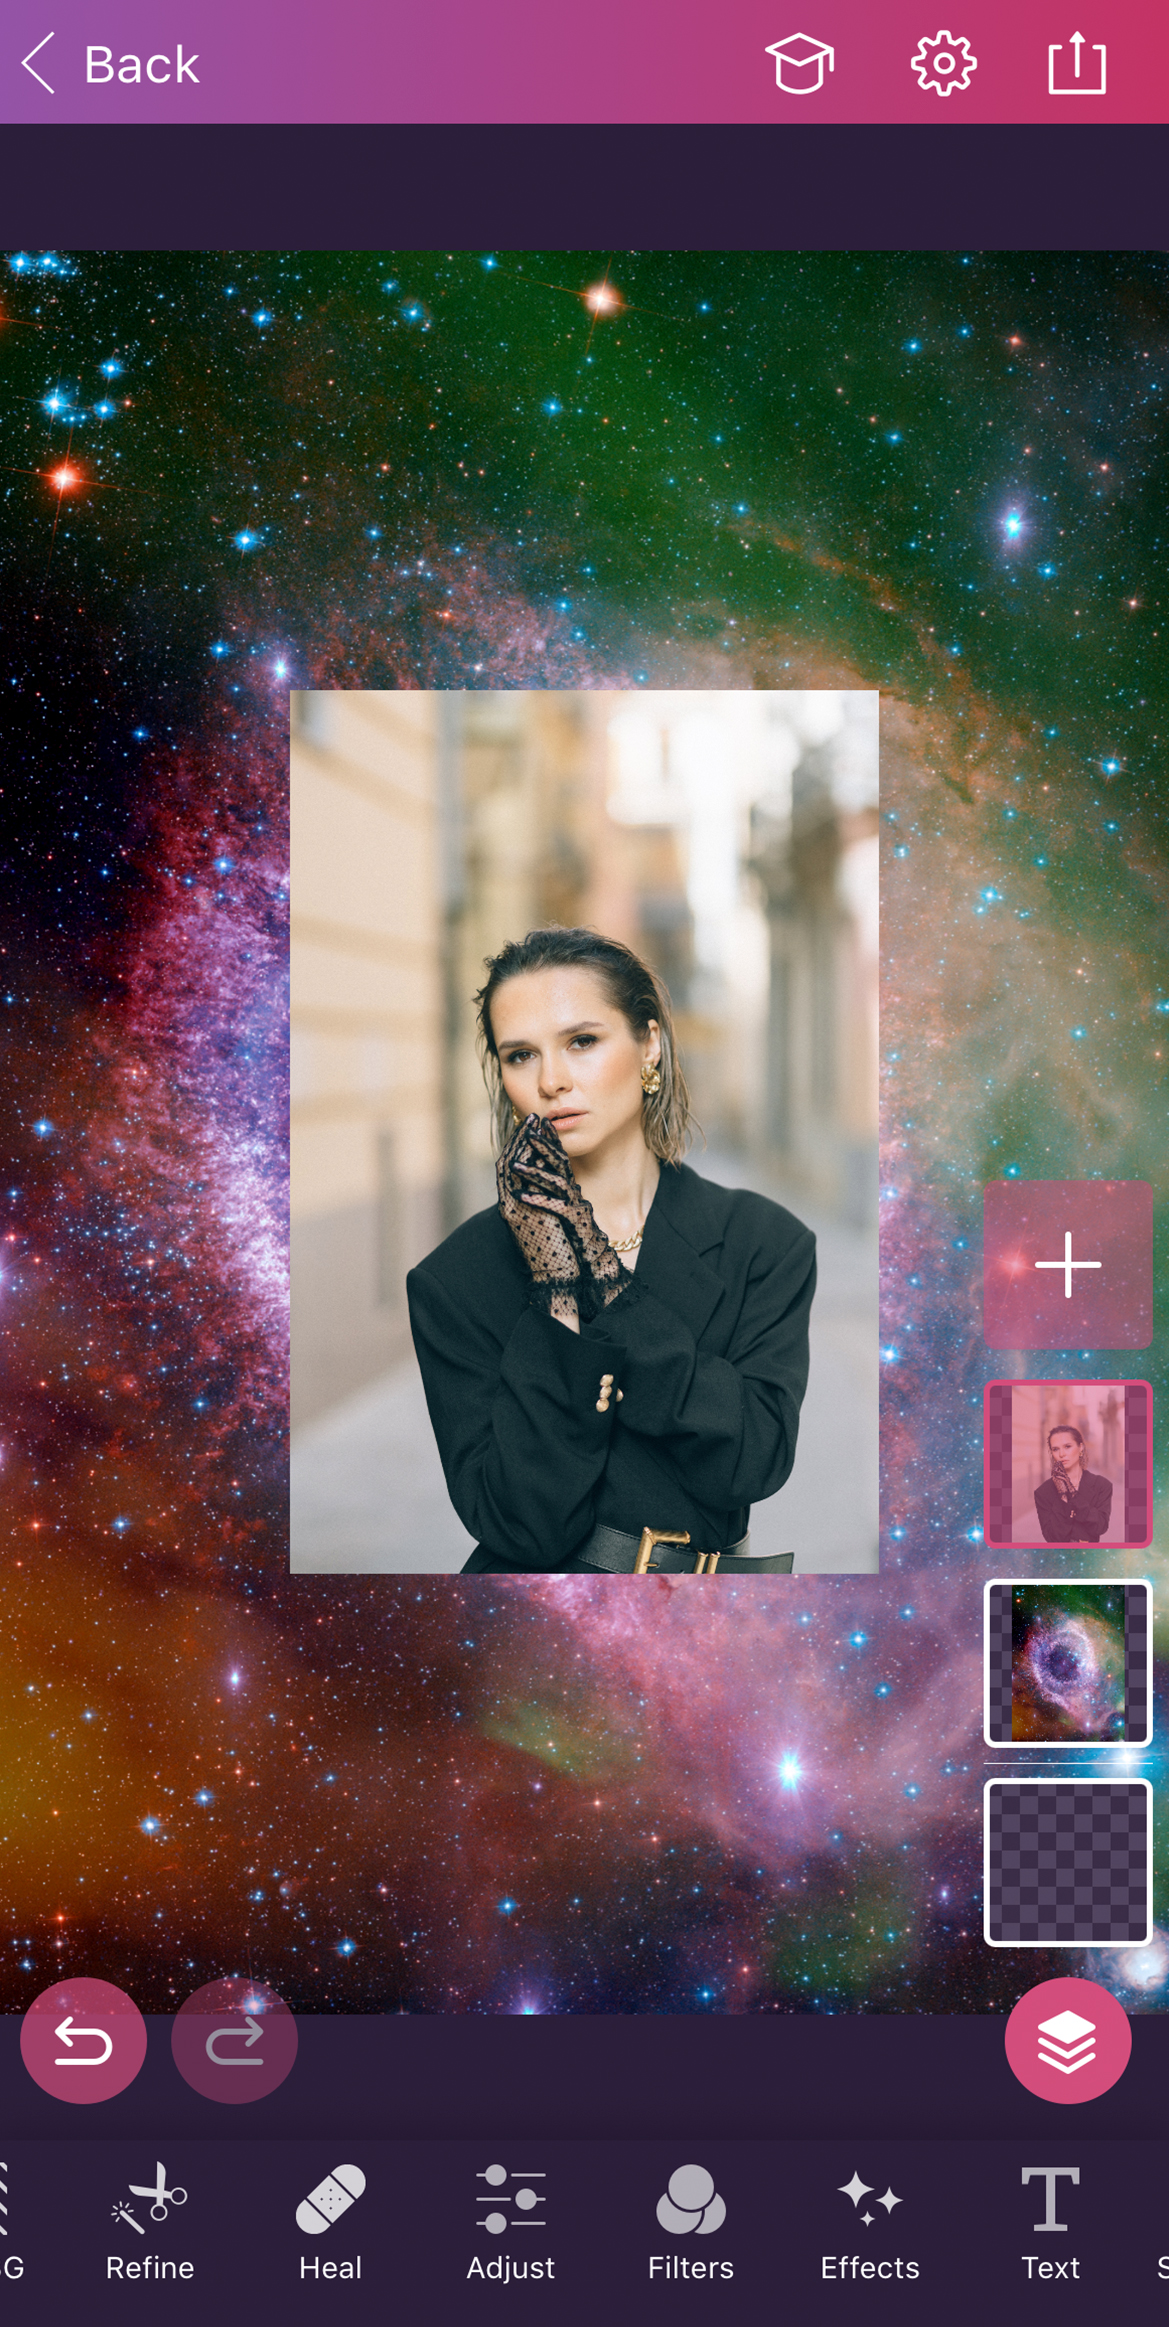
Use the Magic Cut tool to remove the background with the unwanted objects from your photo. It's super easy – just click, and voila! You're done.

If necessary, enhance the cutout with the Refine tool. You can soften the edges or adjust the hair to make everything look flawless.
Now take a look at how the background and your photo go together. Maybe you need to adjust the brightness, exposure, or saturation? Take your time, and play with the Adjust tab.
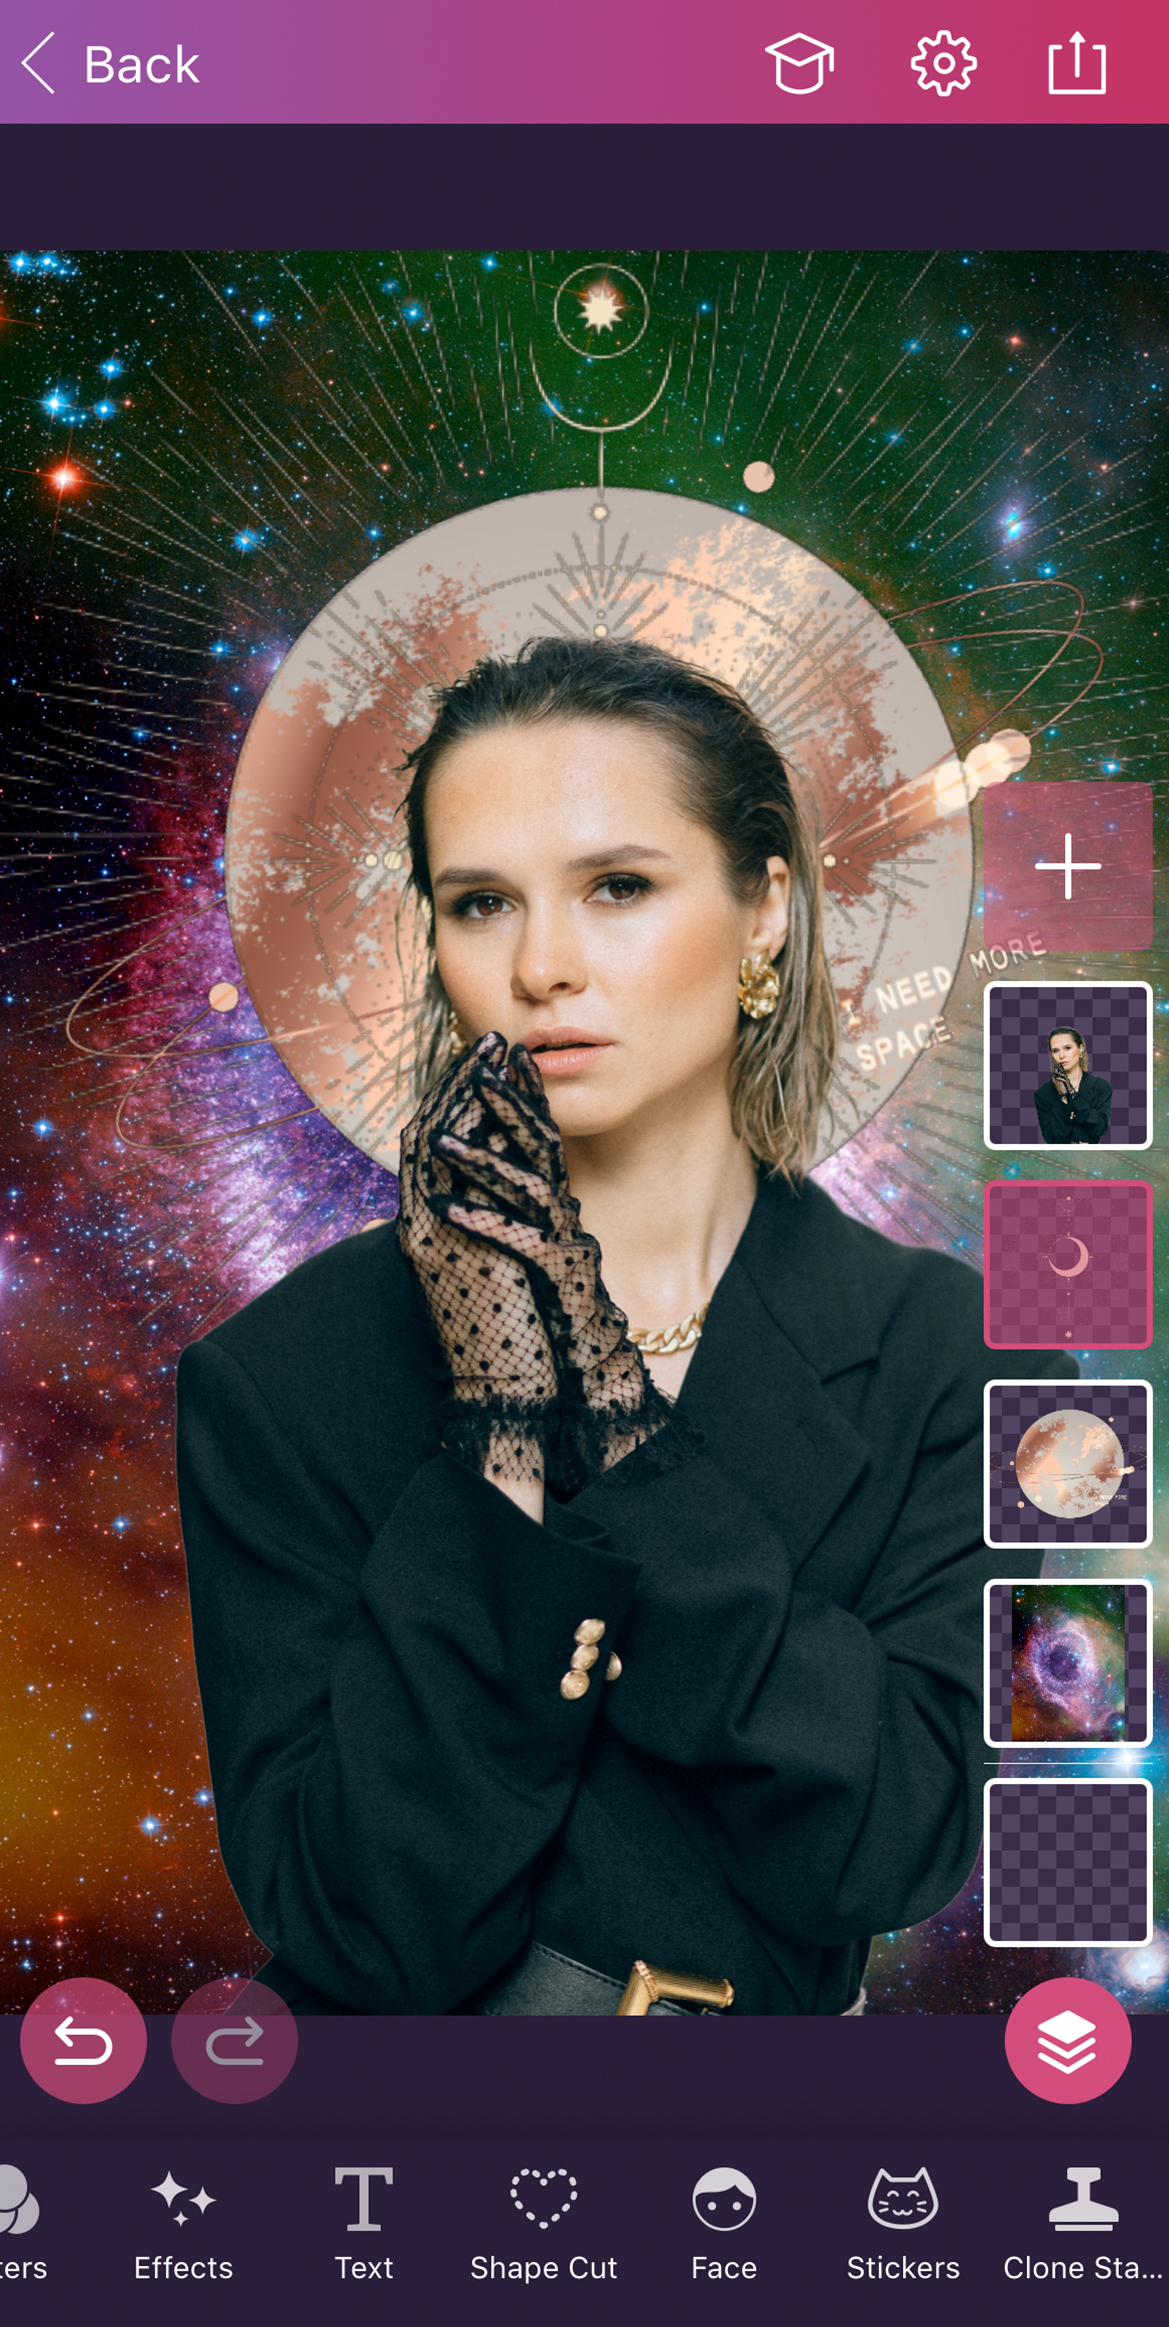
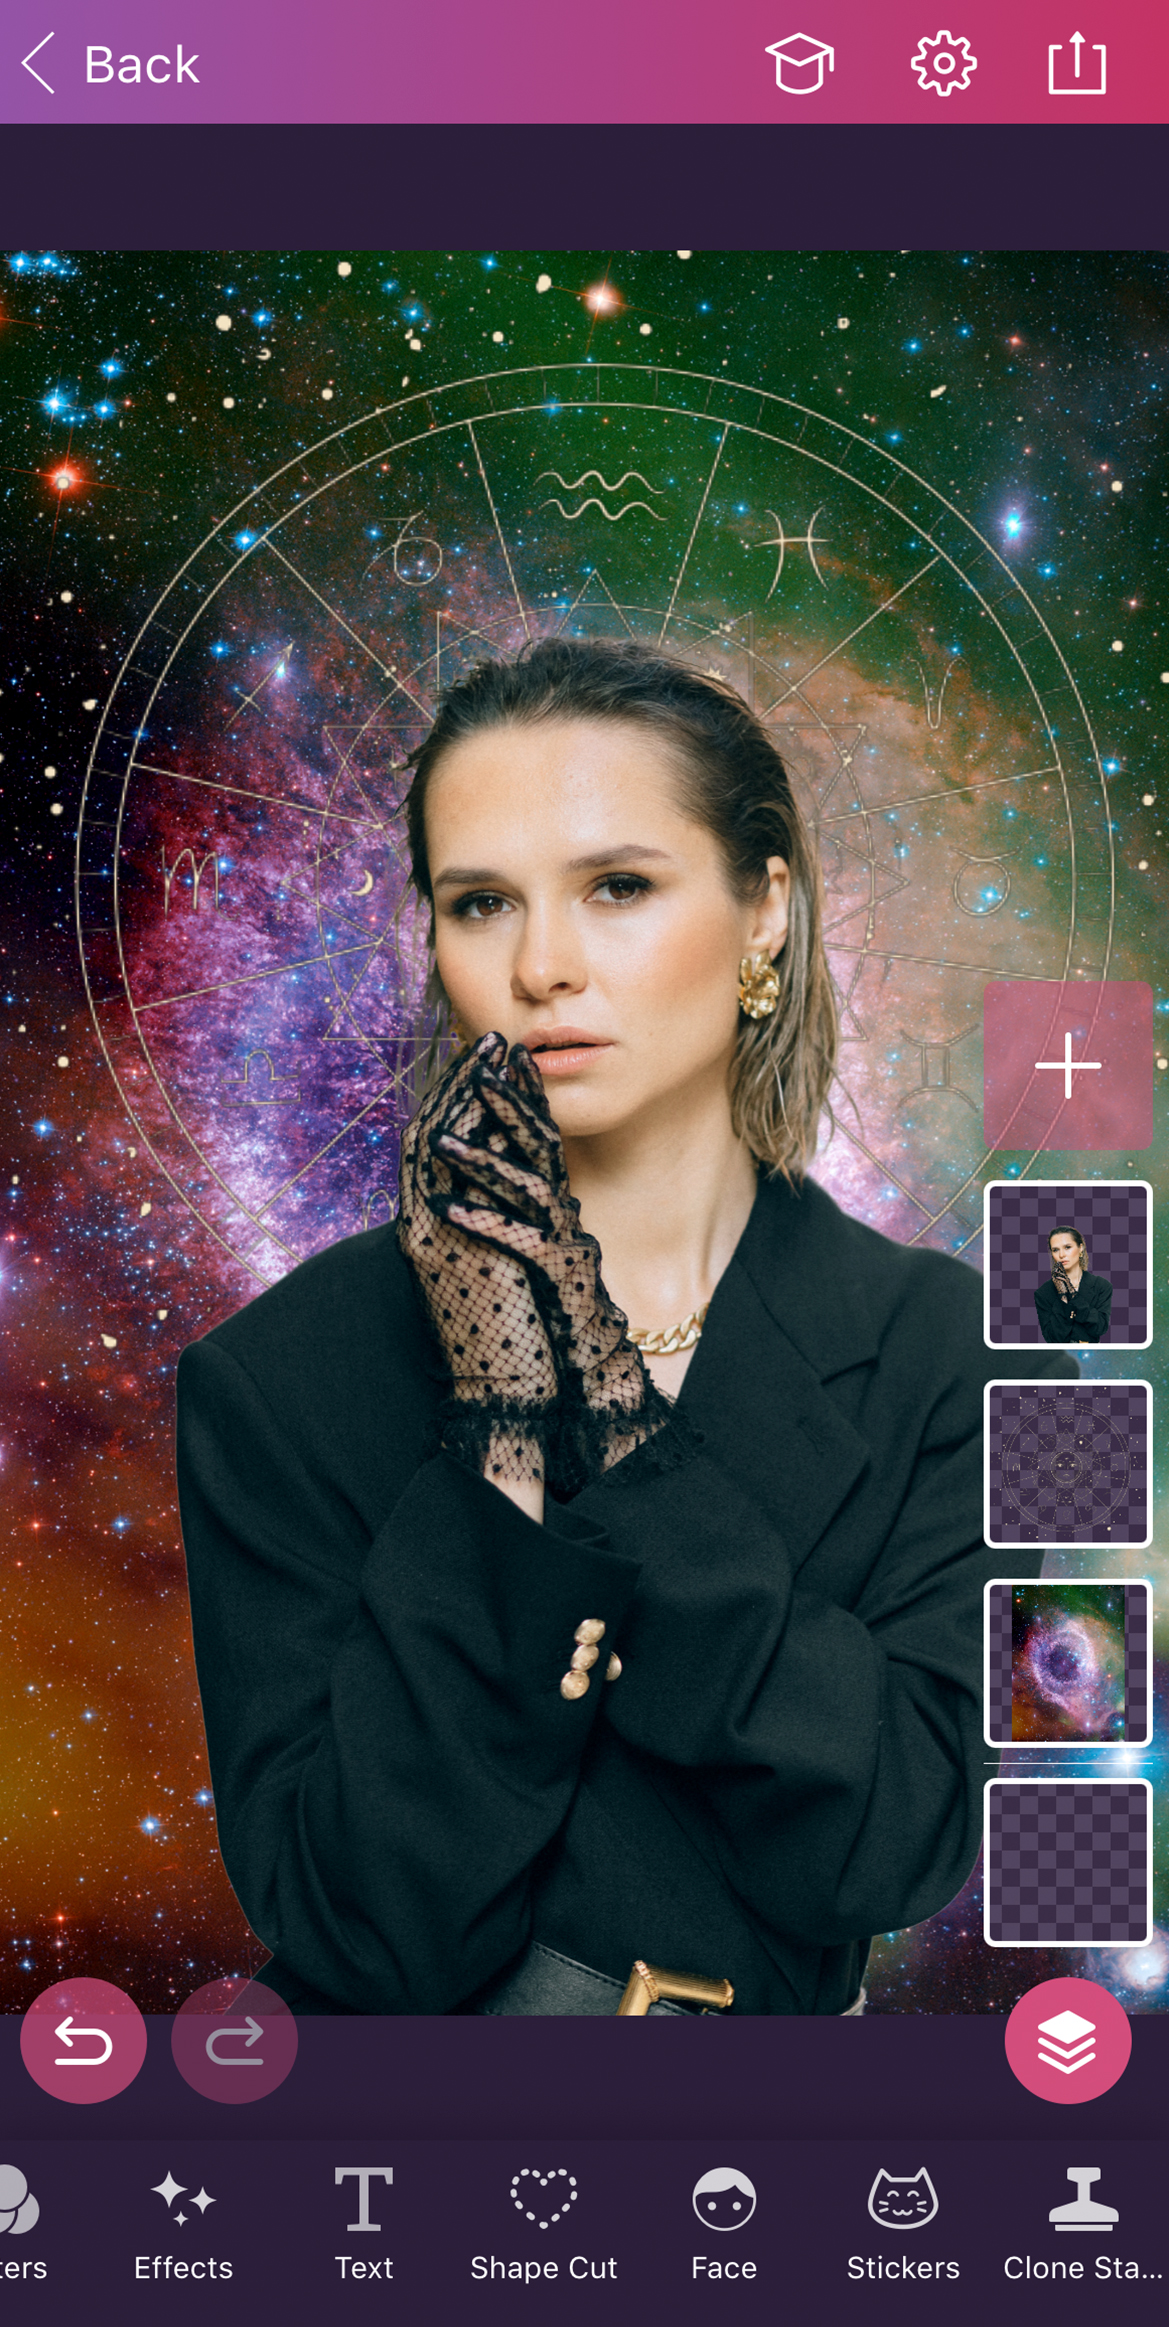
Here’s where the true fun takes place – stickers! Tap on the Stickers, and find the Astrology collection. Moon, sun, zodiac constellations, and mystical symbols – let your creativity guide you!
To add a sticker, just click on the one that you like. Use your fingers to adjust the size of your sticker, and place it where you want it to be. To make the sticker part of your background, move the sticker layer under the cut photo layer by tapping the layer on the right panel and dragging it below.
Not satisfied with just one sticker? No problem, add another by repeating these quick steps. For example, you might add your zodiac sign!
Once you're done embellishing with stickers, move on to the last step.
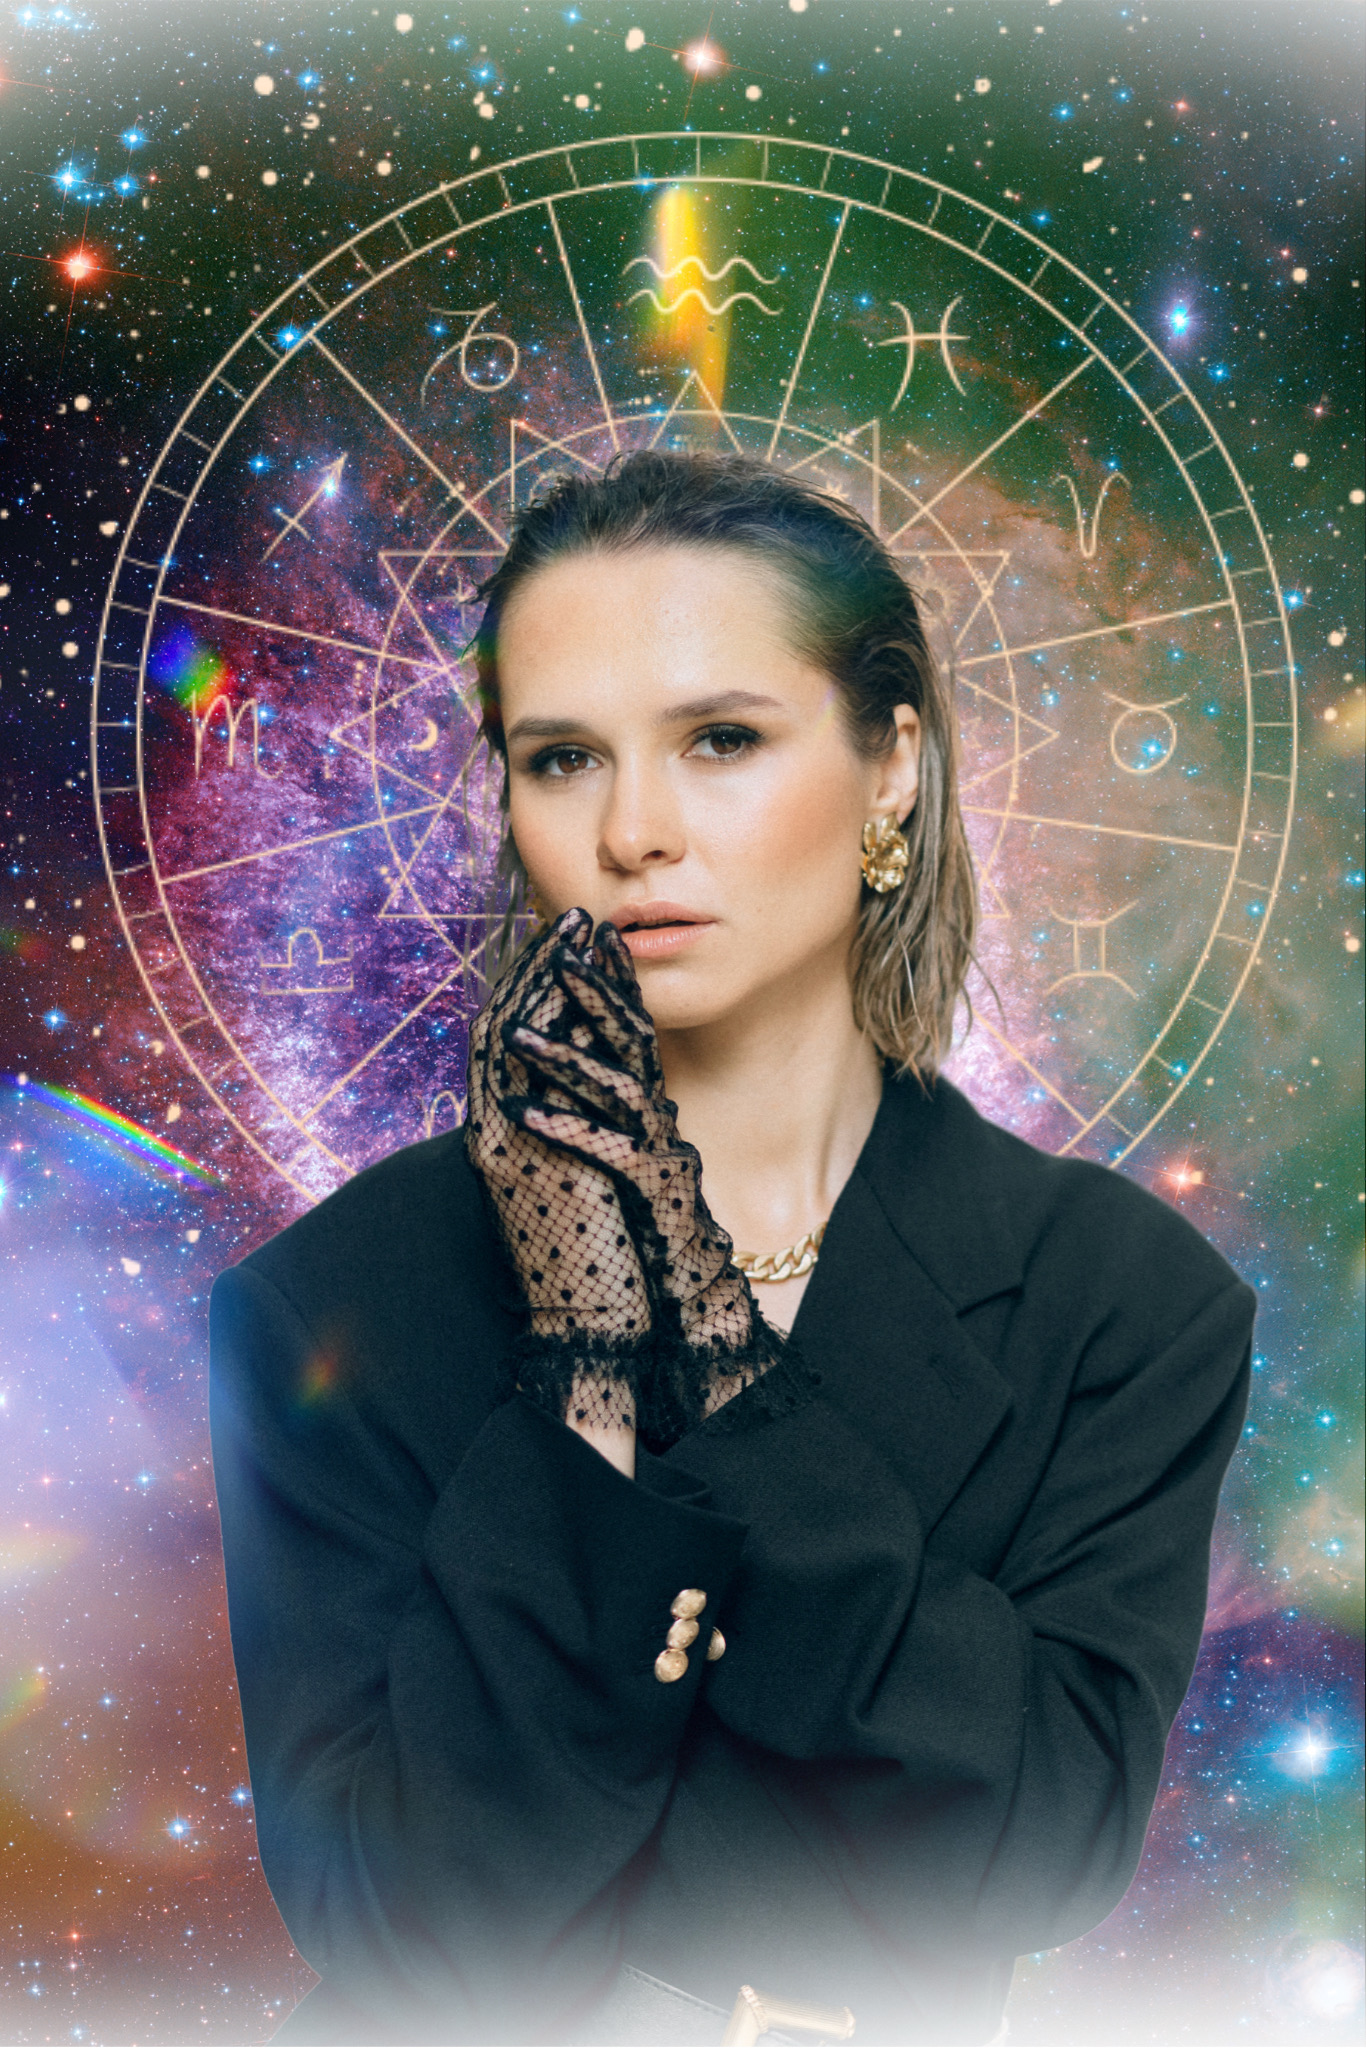
The Sun Gleam effect is not just for creating sun rays and warm flares. It can also add an amazing, enchanting vibe — as if your sun and moon are working in your favor.
Go to Effects again, and find the Sun Gleam collection. Choose the effect you like, and play with it – moving it to the right place, turning it upside down, or scaling it up or down.

Repeat steps 1 through 4. Add a sticker following the instructions from Step 5.
Fill the sticker layer with color. To do that, tap on the layer box, and click "Edit."
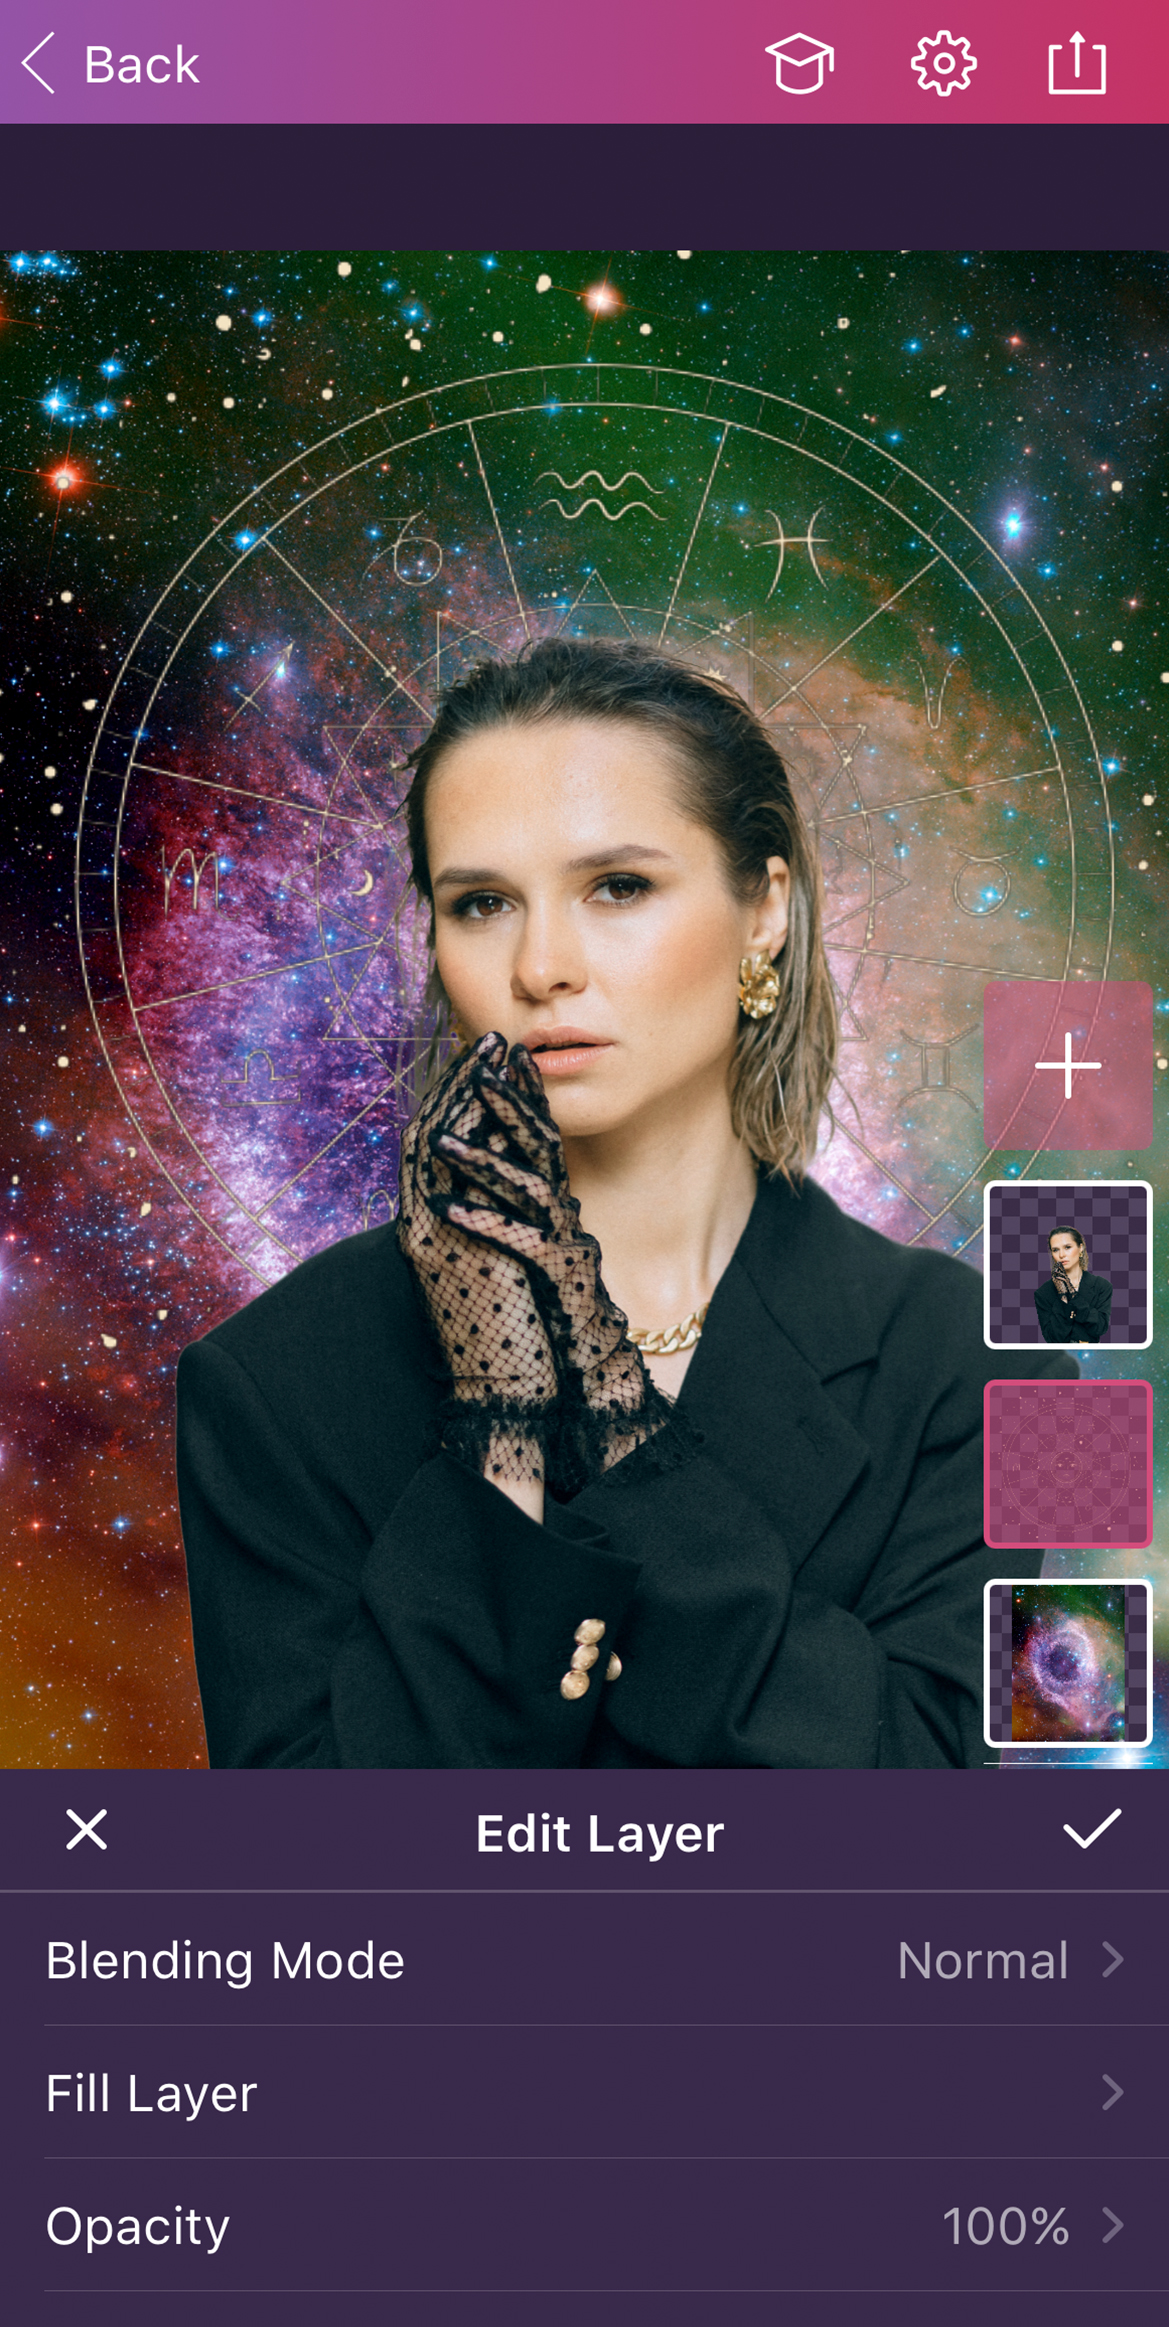
Then, tap on "Fill Layer" and choose the color you like.

Tip: If you want to increase the contrast of your sticker, duplicate the sticker layer and place the second sticker on top.
Next, repeat Step 6 and add the Sun Gleam effect to your photo.

That’s it! Now your out-of-this-world photo is ready to share on your socials.
Can't wait to see what you create!