Back
Back
 Pixomatic Team
Trends come and go in a blink of an eye. Without this, we would get bored easily of blogs, social media posts, and just about anything else. If you want to know the latest trends in photo editing, or just need some inspiration for your feed, look out for our pinned photos sign on the right corner of our blog thumbnails each month to not miss out on a single series. We’ll follow the latest trends and, why not, create some of our own.
Whether you want a matching theme on social media or just for fun, here are a few color schemes you can think about when taking or editing your photos.
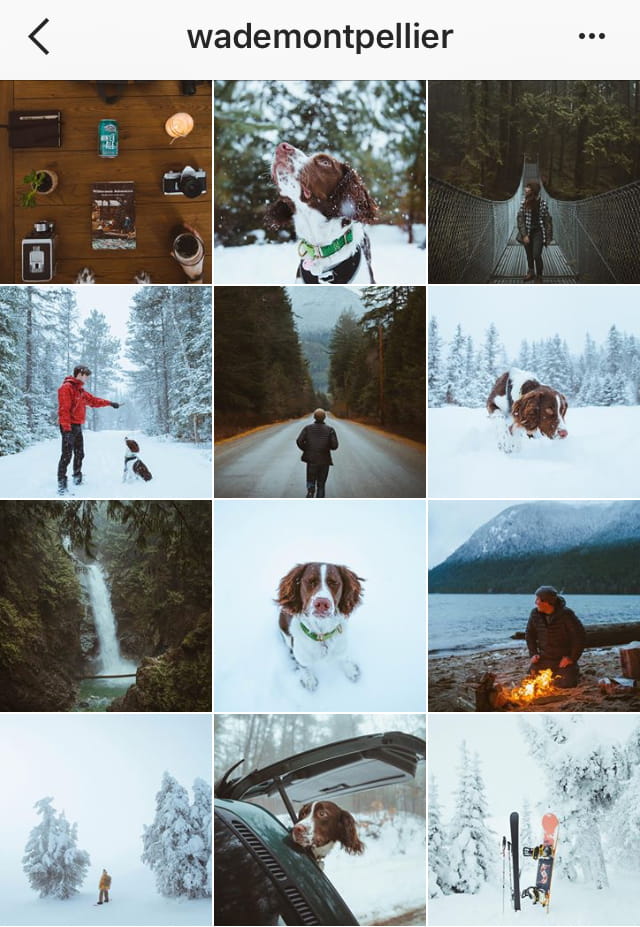
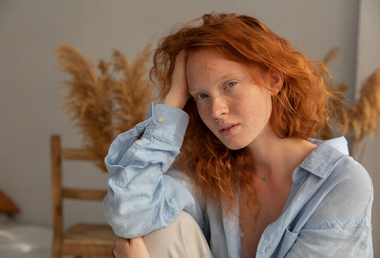
It’s no surprise that winter is a pretty colorless season filled with a lot of colder shades. Taking photos with this color scheme is pretty easy in December, especially if you live somewhere with a lot of snow and ice. This color set perfectly captures the natural tones of December from the frosty snowflakes to the contrast of the leafless trees.
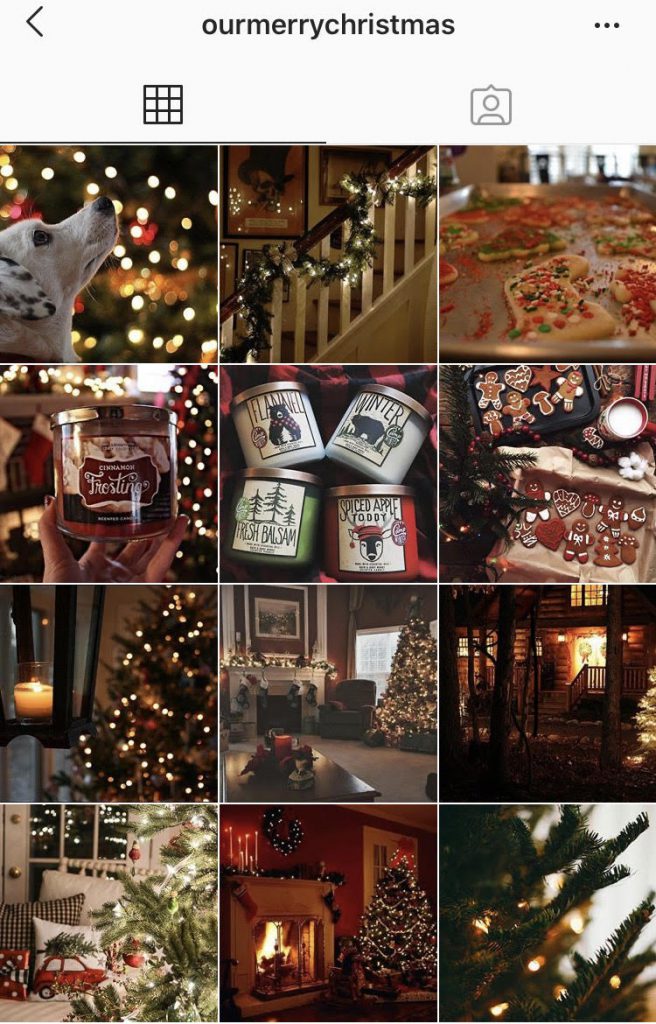
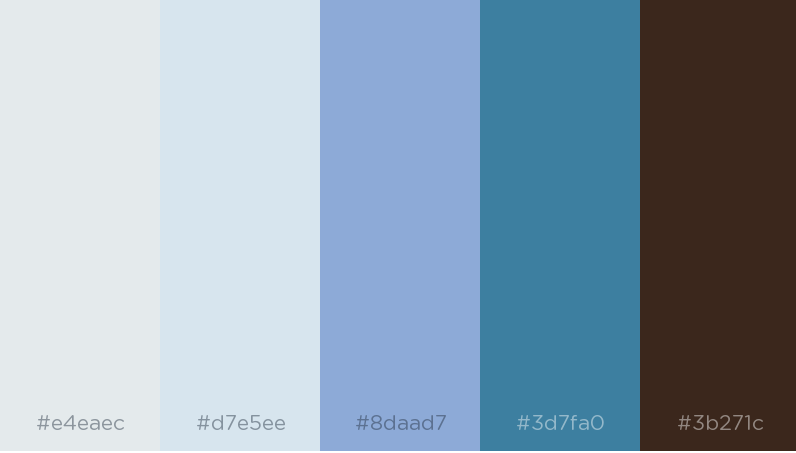
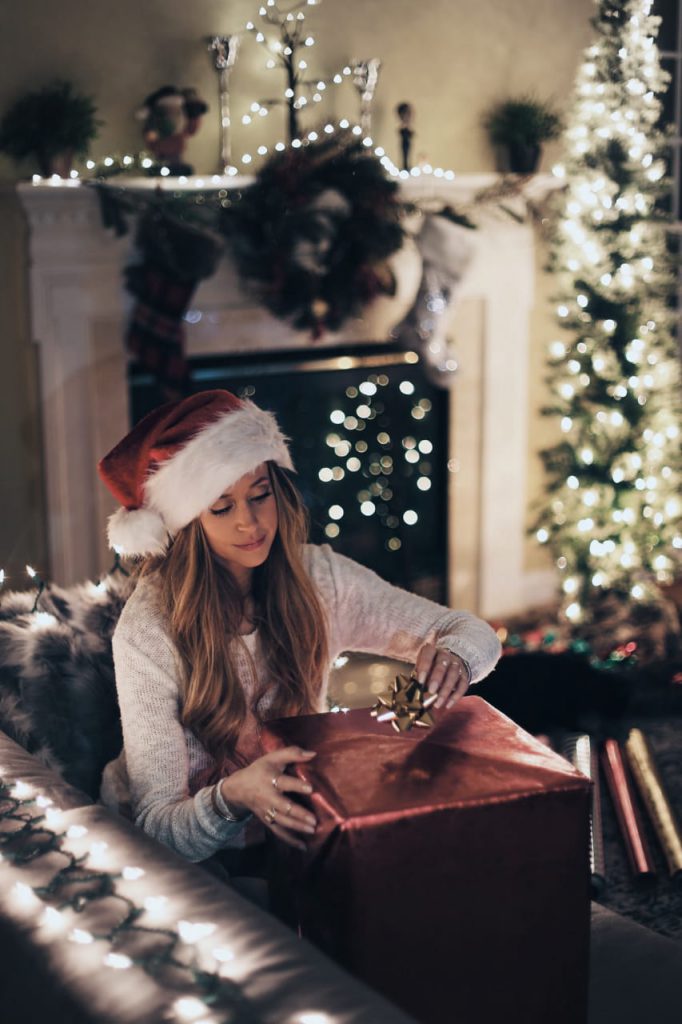
For anyone who’s a big fan of December as the “month of Christmas”, you’ll like this color scheme the most. Shoot and edit your photos involving colors that make you think of Christmas at first sight. This includes the green tones of your tree and the deep reds of mistletoe, cranberries, candy canes, and the sparkle of holiday decorations.
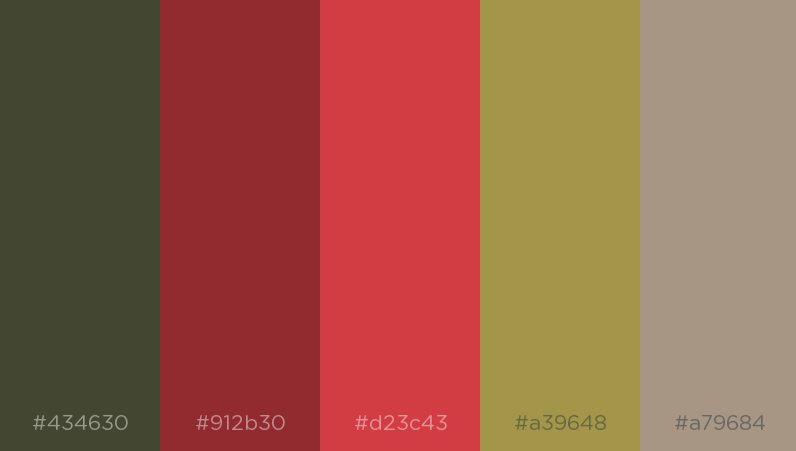
Even though fall is over, that doesn’t mean winter should be any less cozy. You’ll be surprised how well you can incorporate warm colors that will contrast with the cold and gloomy weather outside. Capture items that have color, whether it’s a building or your own clothes. You can always add warmth by adjusting saturation and highlights through an online editor.
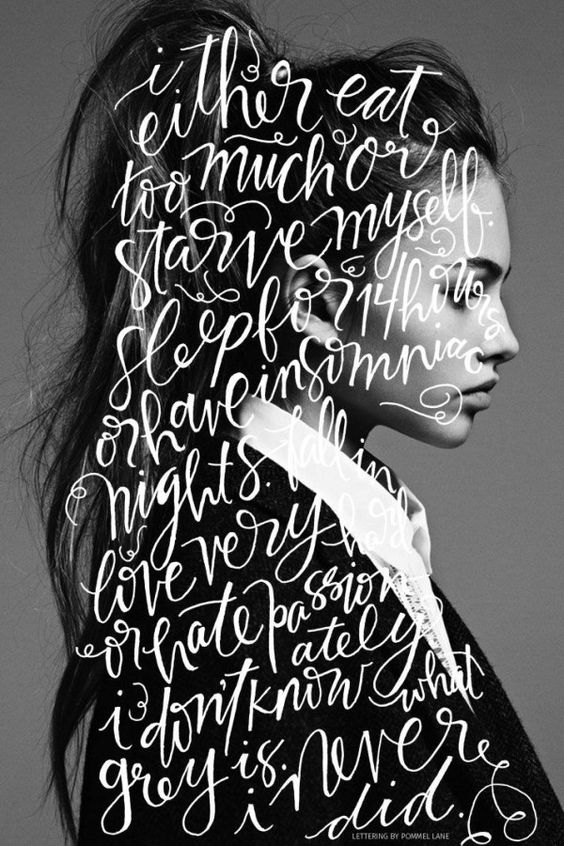
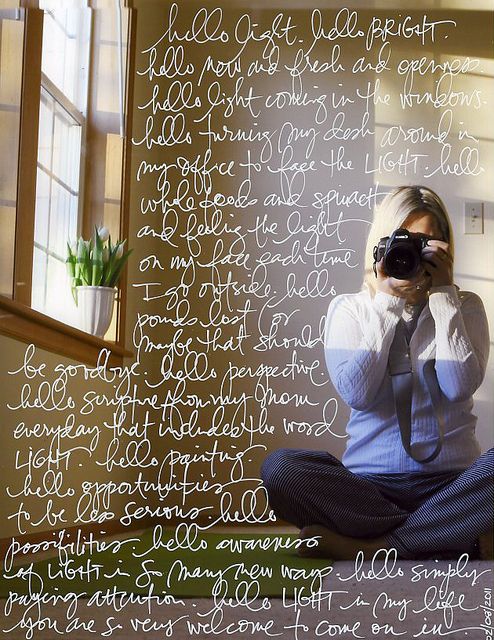
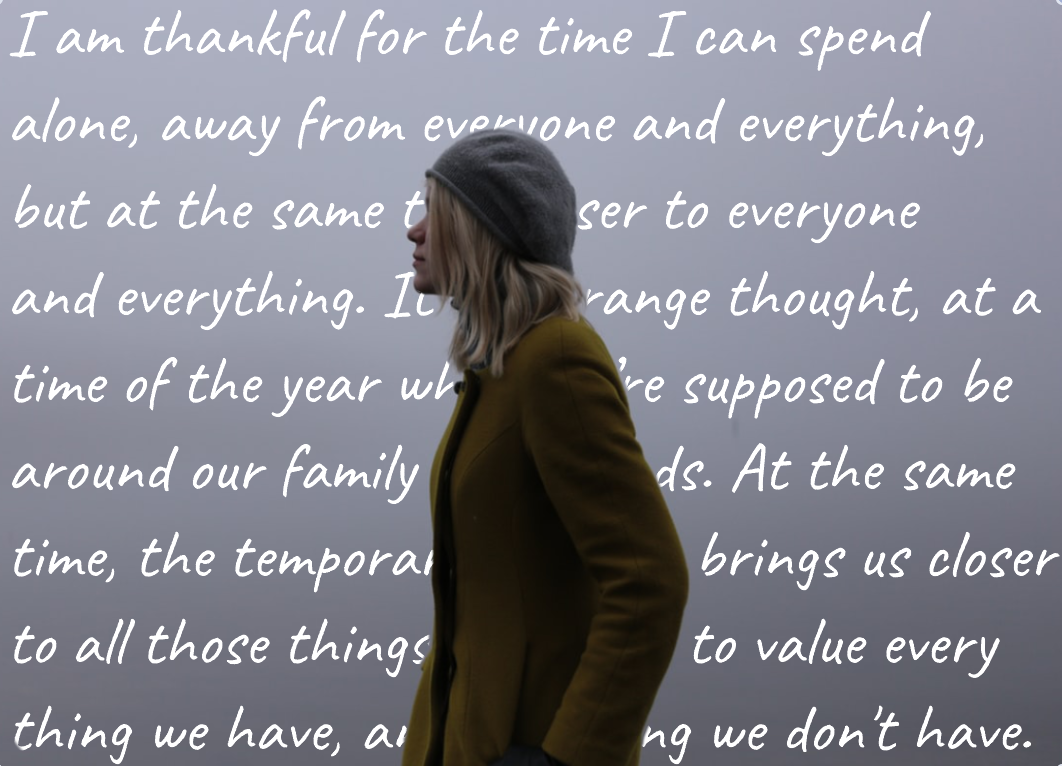
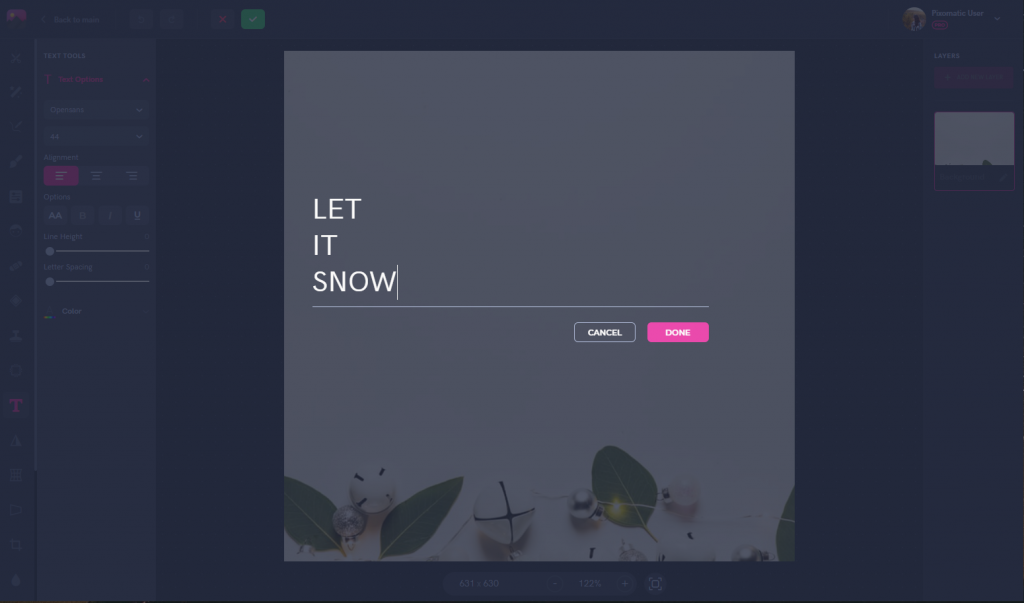
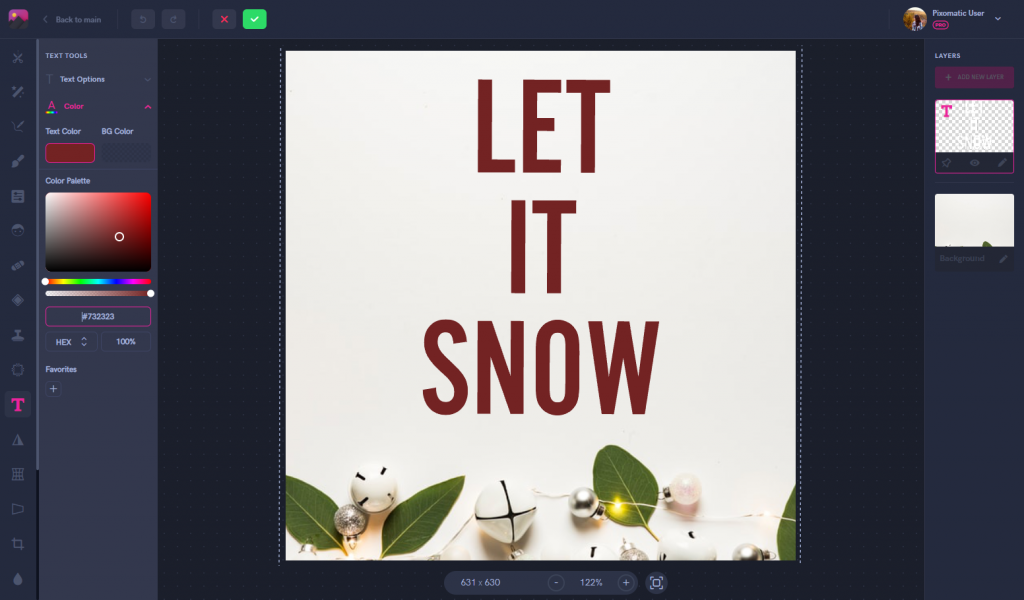
An image surely tells a thousand words, but what if we added a couple more words? Storytelling on your photos is something you may be interested in if you want to combine your love for photography and writing. Instead of short quotes, you can write several paragraphs worth of text on your photos. Since this month Pixomatic’s desktop editor launched the Text tool, we’re going to show you a quick edit you can do in this style.
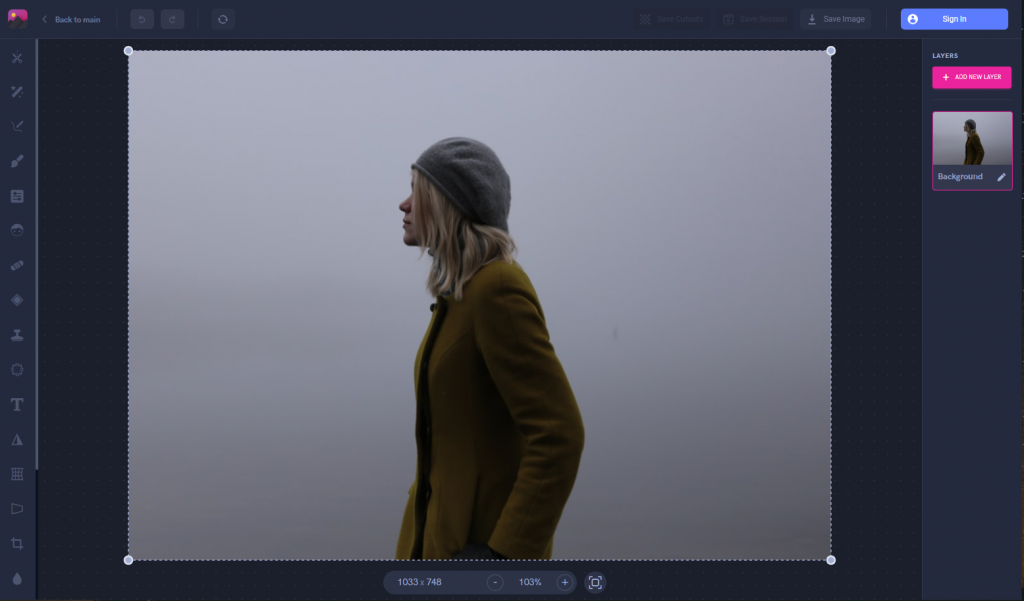
For this storytelling image, we want the text to wrap behind the girl instead of covering her. Start by choosing the photo you want to use. It’s best to find one which has a solid background so the text is readable.
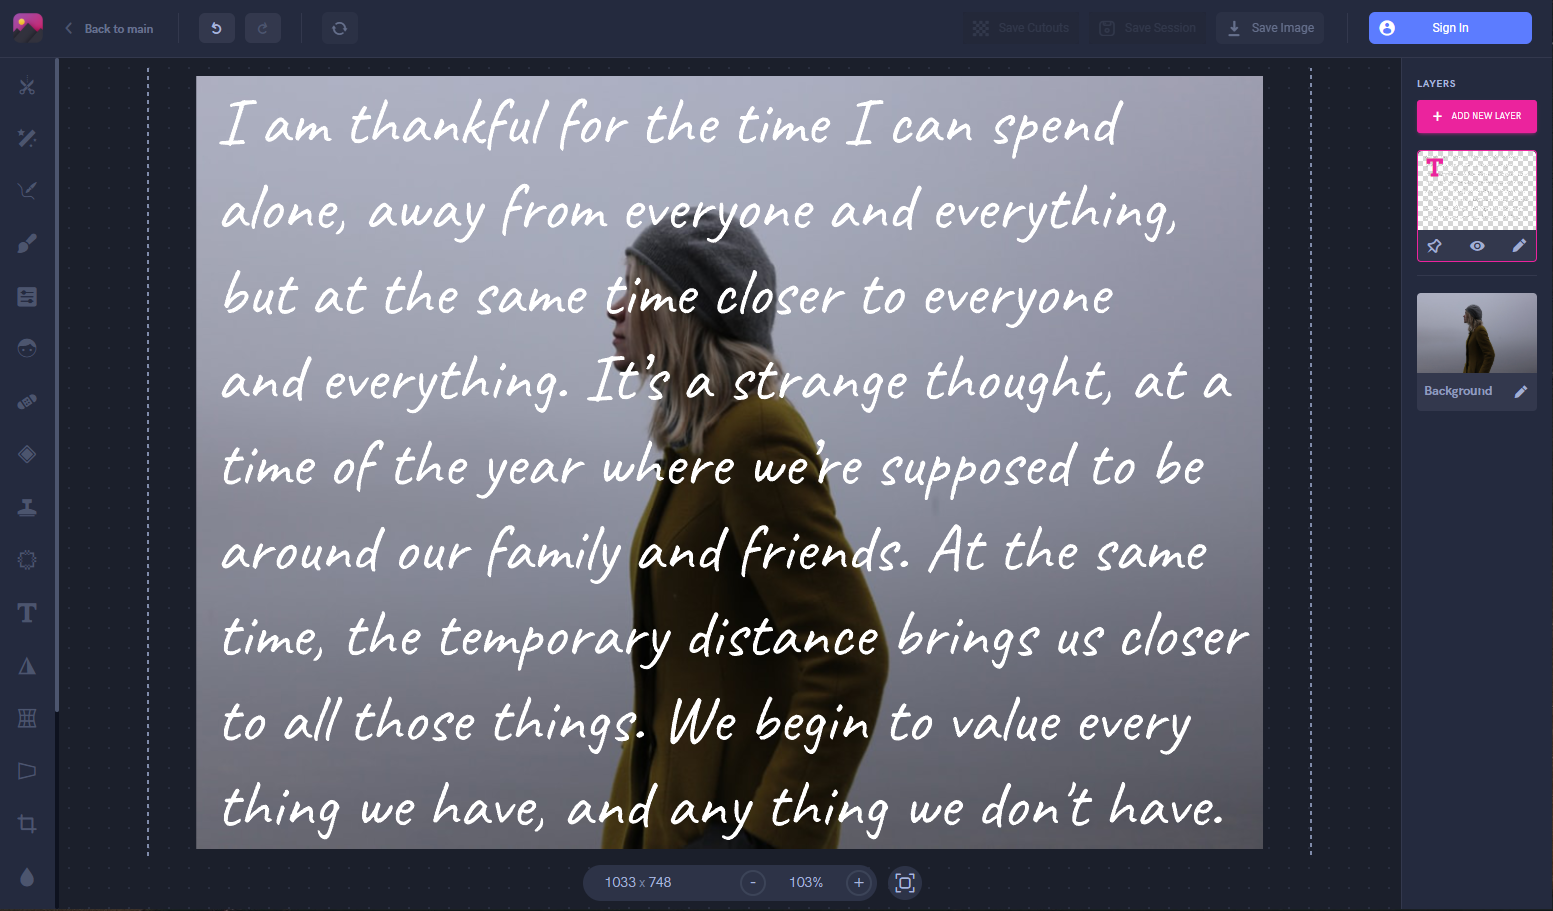
Add text to your photo and begin pouring your story into it. Adjust the font and size according to preference. If you have a lot of text, then choose a smaller font size and vice versa.
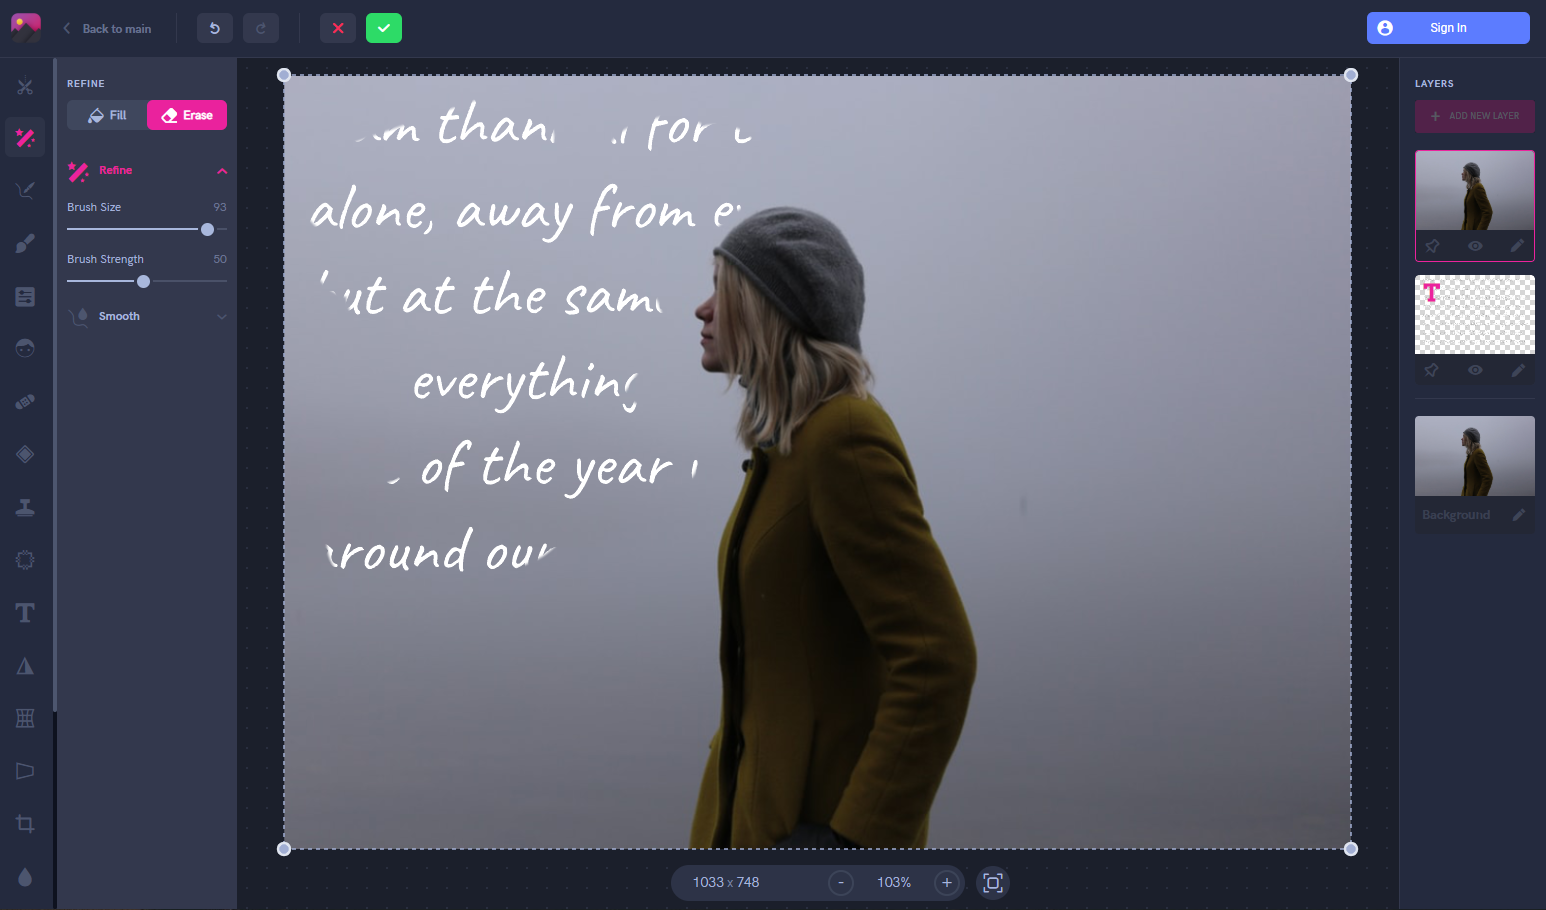
An easy way to get the text behind the woman is to duplicate her photo and add it as the top layer. Now using the refine tool, erase this layer to reveal the text under it. Just erase everything in the layer besides the text that covers the woman.
Social media is transitioning into a place where people can feel free to be creative, fun, and authentic. This has lead to a rising trend in doodling and drawing on photos. You can draw a few lines to an entire pattern or design on your photo .Anything that will take your photo beyond just being a regular photo. You can even cartoonize yourself by drawing on your photos. The styles and creativity options are limitless. This is a perfect way to spice up some photos taken on a gloomy winter day.

With all the bright lights and colors of the holiday season up until New Years’ Day, sometimes we just want calmness. That’s why this year, people are toning down their photos to be easier on the eyes. Soft grey, beige, off-white, and similar tones are dominant in photos. Even if you didn’t take a photo with this in mind, try out some grey toned filters to help you out. We edited the photos above with the G_04 Grey filter on Pixomatic’s editor. You can play around to find a filter that gives you the best balance of bright color and grey. The emphasis is now less on the eye-catching lights and more about the contents of your photo.

Have a favorite quote or saying? Don’t just write it, show it. Typography is an interesting way to make your message shine instead of leaving it in the caption. Images with transparent backgrounds can easily be used to decorate around your text, as we used above. This is really easy to accomplish in a few steps too.
Add the Text of your choice on the background. It’s best to work with a solid background so that your text isn’t hard to read.
Adjust the color, font, and size of the text afterwards. For this edit, we used the font Alternate Got No 2d which is already quite bold. It’s easier to work with thicker fonts in typography edits like this because we need room to add different details between the letters later.
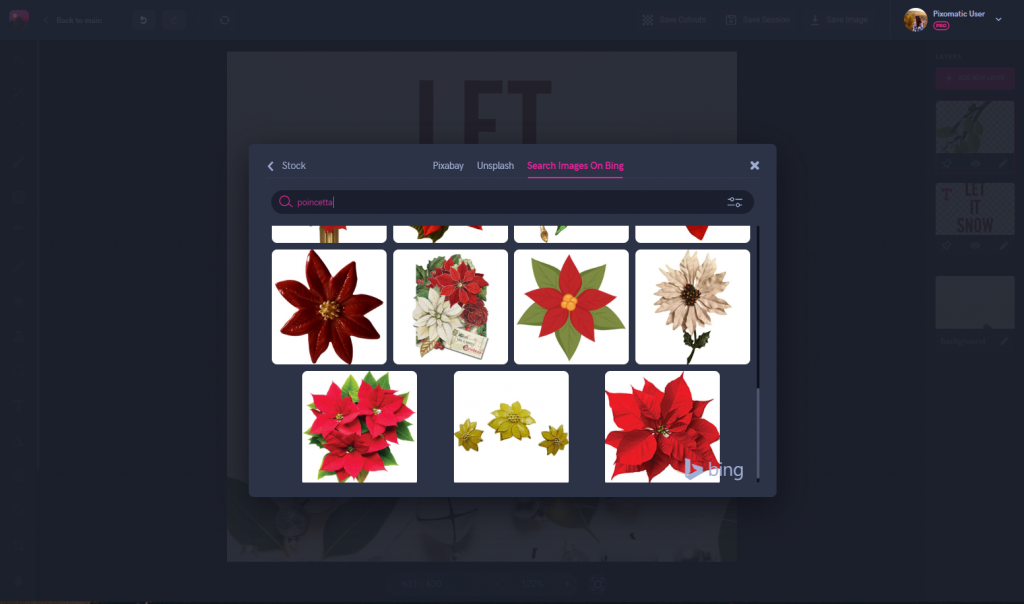
We filtered the stock photo searcher results for only transparent images to make the next step much easier. You won’t have to spend time removing backgrounds off of each separate item. Add mistletoe, pine cones, bells, snowflakes, or anything else fitting with your quote.
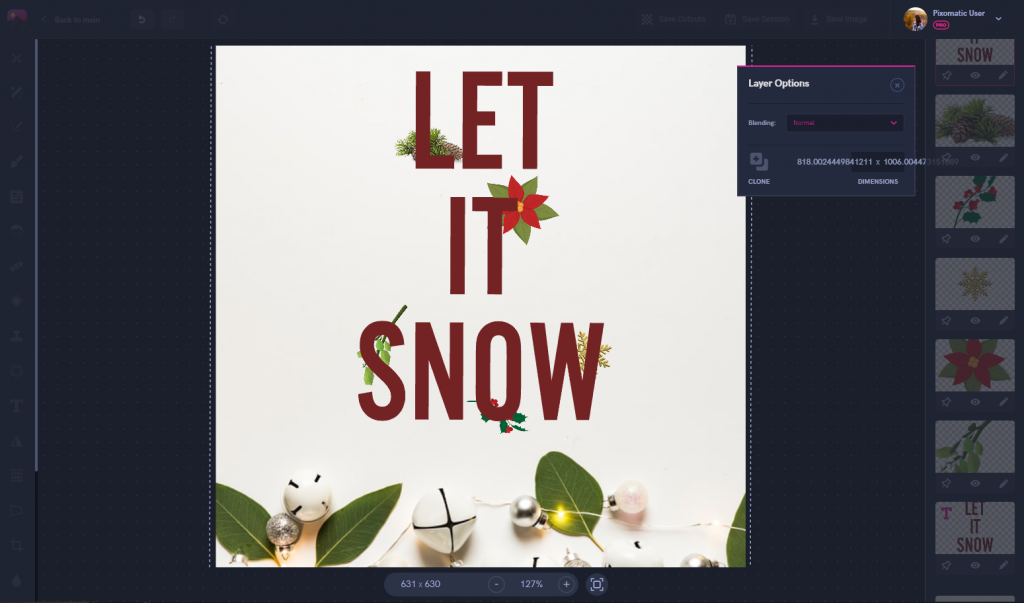
Now that you have all the small details, put them in the places you want around the text. Place them in between, behind, or through the curves of the letters to add depth to your typography. At this point, the decorations should be covering some of you letters. Simply duplicate your Text layer and add it directly on top of the original text. This creates a sandwich effect with your first text layer, the decorations in the middle, followed by the second text layer on top.
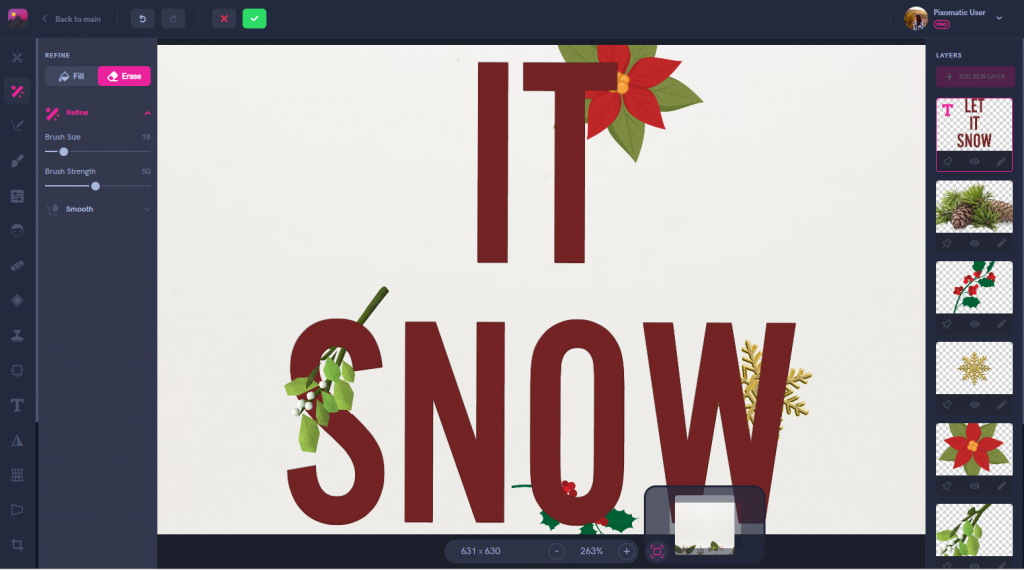
Using the refine tool, erase around the parts of the decorations that look like they are coming out from behind the letters. As seen with the mistletoe above, part of the stem is behind the letter ‘S’ while the leafy part is coming into the foreground. Do this step for all the letters and decorations until you get the desired final result.
That's all for our December photo editing tips and trends. Look out for our next post in 2020.