Back
Back
 Pixomatic Team
Photo editing is opening new avenues for artists. Art has changed over the years, and now we can create masterpieces on our computers, tablets, and smartphones. Photo editing is allowing us to manipulate images and create parallel universes. Double Exposure images, for instance, merge nature with portraits. Digital collages, on the other hand, bring together different elements and create pieces of art that make sense and don't make sense at the same time. In this tutorial, I'm going to be showing you how to wear famous paintings with Pixomatic.
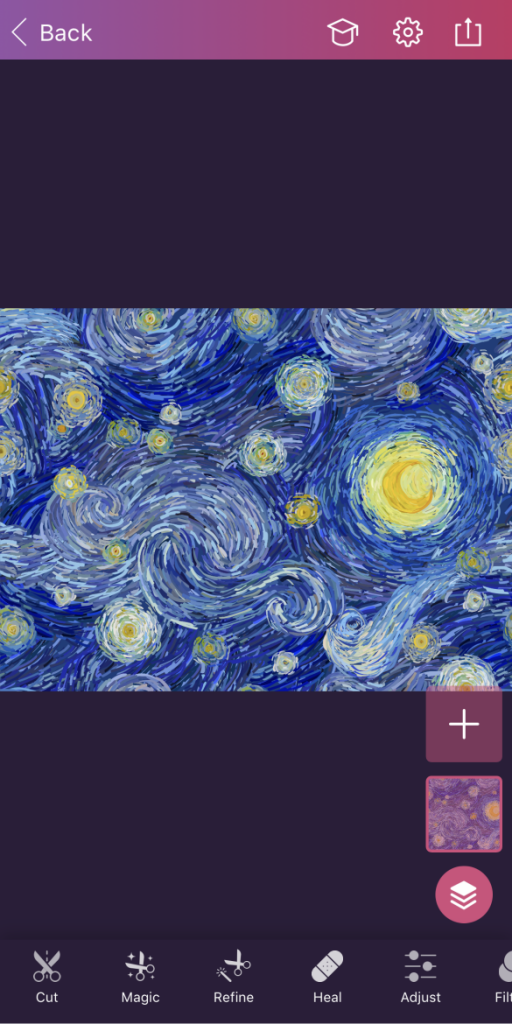
Whether it's Monet's Water Lilies or Dali's The Persistence of Memory, choose a painting that resonates with you and is aesthetically pleasing. For this edit, I decided to go with Van Gogh's The Starry Night.
Fun fact: Van Gogh loved sunflowers, and he believed they represent gratitude. His sunflower paintings are among his most famous works of art. There is a maze of sunflowers next to the Van Gogh Museum in the Netherlands, where you can go and pick sunflowers.
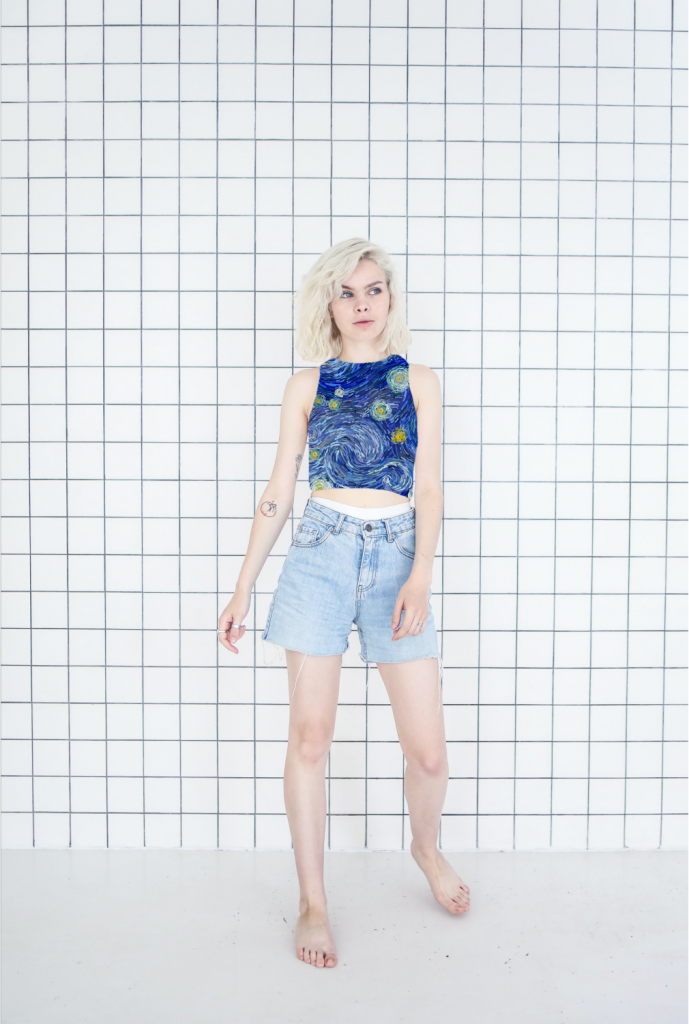
Click on the plus (+) icon in the right panel, and choose an image of a person from your gallery or a stock photo library such as Unsplash or Pexels that feature high-quality photos, which you can use for free. I chose this image because I thought that The Starry Night by Van Gogh would look perfect to complete her look. Remember to take the outfit into consideration when choosing a picture of a subject.
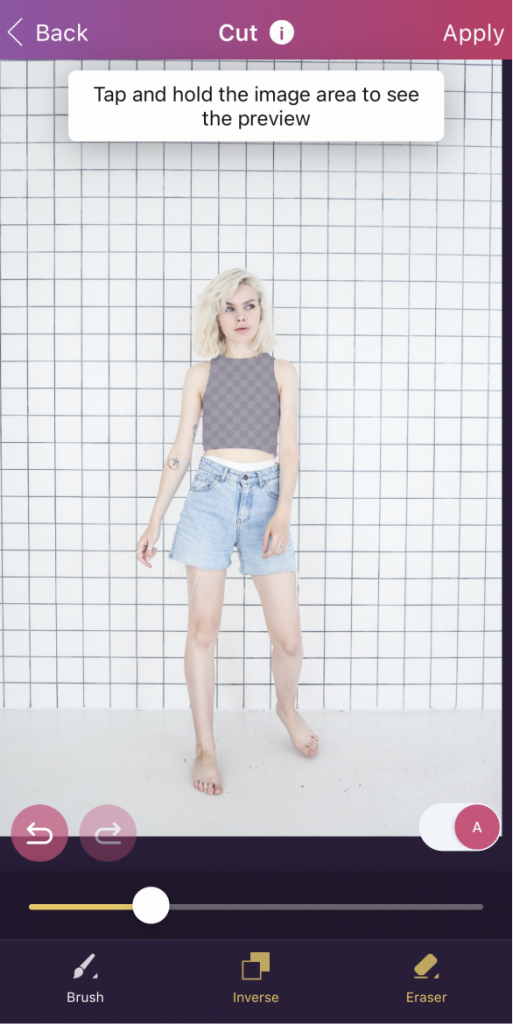
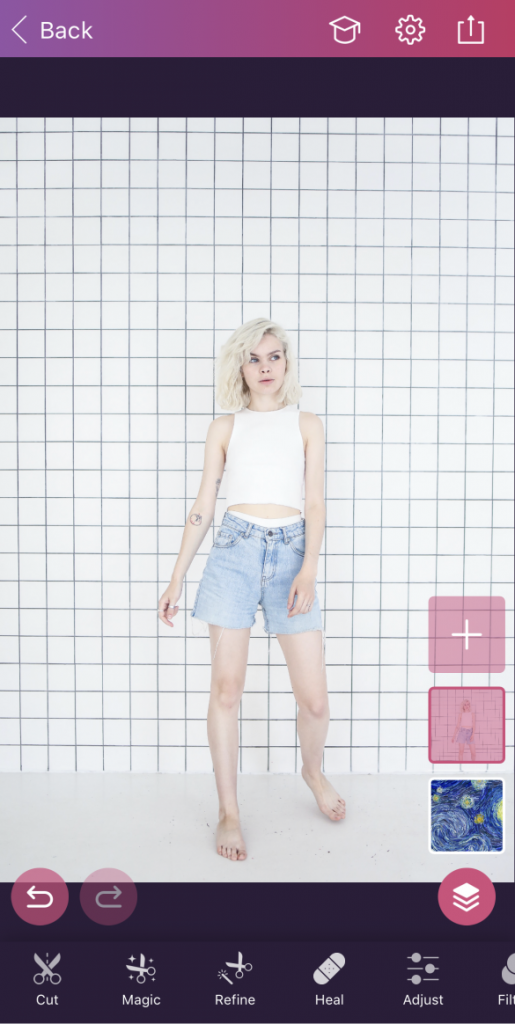
In one simple step, we're going to turn a boring white t-shirt into a piece of art. Click on Cut and tap on Erase. Now brush over the t-shirt carefully. Here's a tip, decrease the size of the brush, and zoom in to trace the t-shirt's outline as precisely as possible.
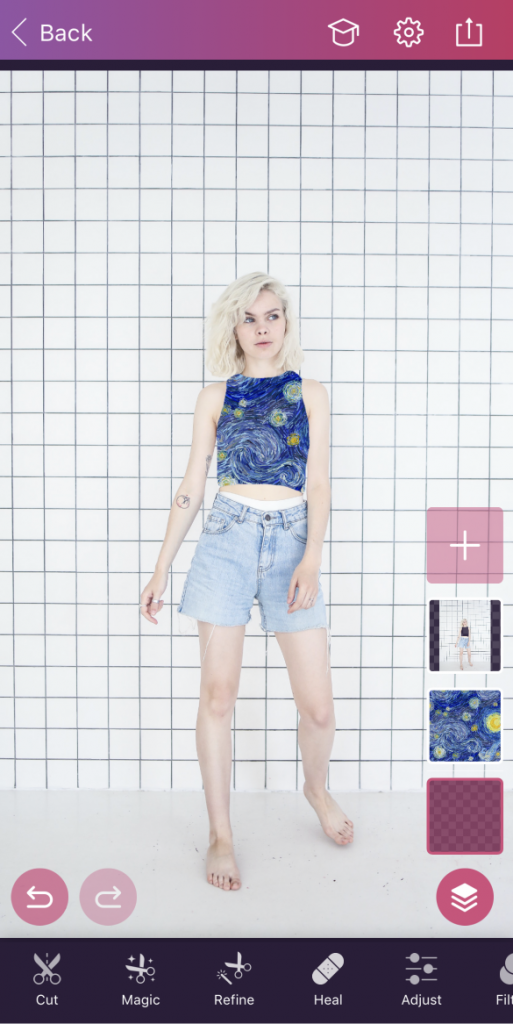
You're done! Click on the icon in the top right corner. You can save your session to edit later, save your image, or share it directly on social media.